Learn how to turn a dated wood spice rack into a stylish vintage-inspired propagation station!
Let's make another thrift store upcycle!
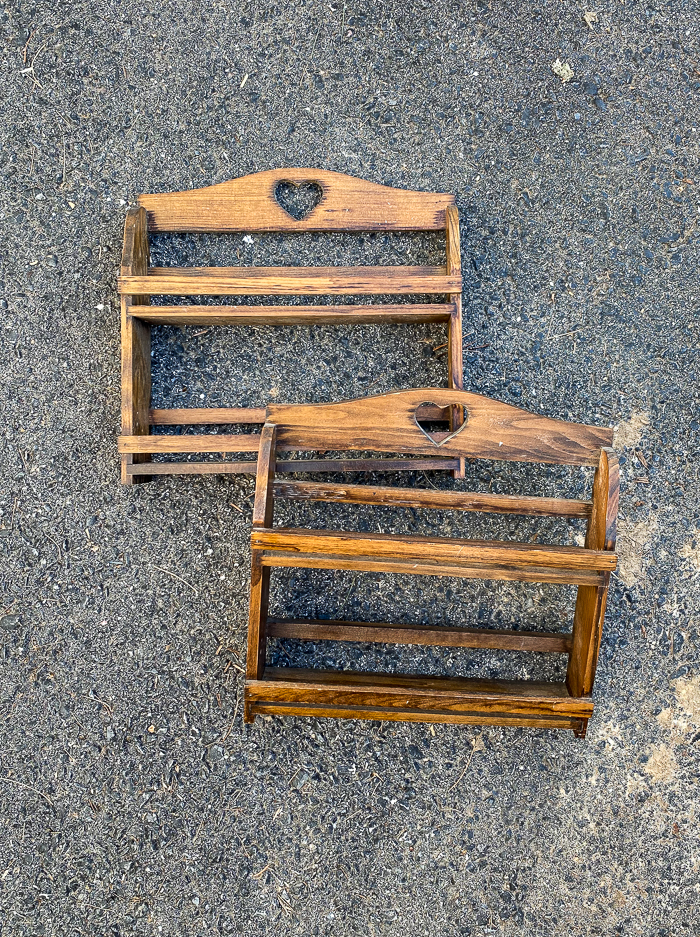
My mom found a pair of matching spice racks a few months ago at a local thrift store. She bought them thinking my daughter could hang them in her room to organize and display nail polish.
The idea was good, but unfortunately, they ended up being too small for my daughter's rapidly growing collection of nail polish.
I didn't want the dated spice racks to go to waste, so I decided to turn one into a propagation station with vintage-inspired glass bottles.
SUPPLIES NEEDED TO TURN A SPICE RACK INTO A PROPAGATION STATION
- Wood spice rack
- Scrap wood ( I used 1/4" x 1 3/8" lattice wood)
- Pliers or screwdriver (depending on how the spice rack is constructed)
- Rubber mallet
- Miter saw (could use a miter box and saw)
- Drill and small drill bit
- Small nails or screws
- Sander with 150-grit sandpaper
- Paper towels
- Paint (I used Sherwin-Williams Iron Ore)
- Glass spice jars or similar jars
HOW TO TURN A SPICE RACK INTO A PROPAGATION STATION
STEP ONE: FIND A DATED SPICE RACK
Search your local thrift stores, yard sales, and flea markets for an old wood spice rack. It doesn't have to look pretty since I'll be sharing how to remove and replace dated wood features.
STEP TWO: REMOVE UNWANTED DETAILS
The spice rack I was updating had a heart cut out in the top that I definitely wanted to remove. There was absolutely nothing wrong with the spice rack, it just wasn't my style.
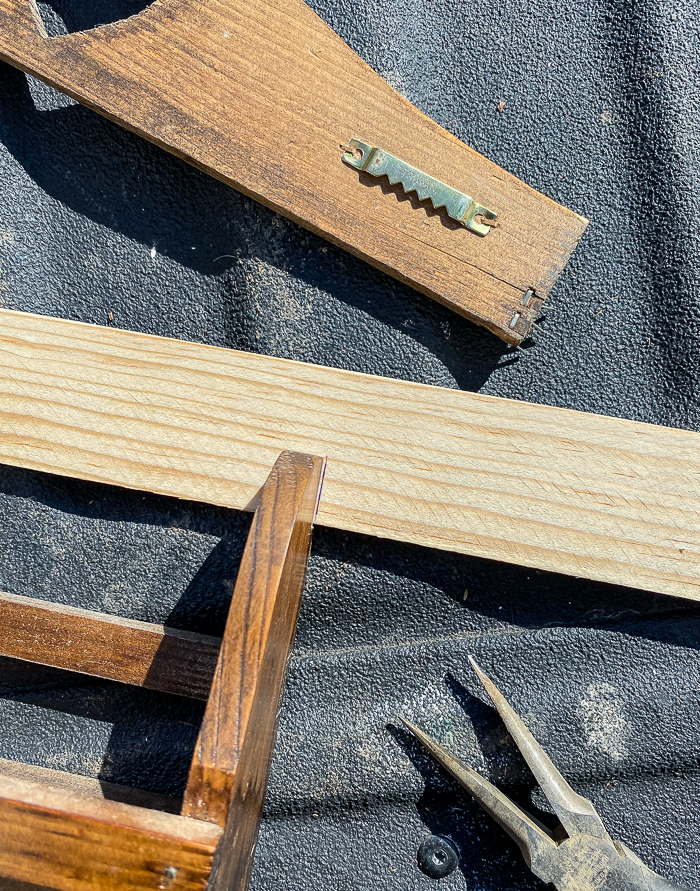
Depending on how your spice rack is constructed will determine how you deconstruct and remove unwanted details. My spice rack was constructed using staples, so I used pliers and a rubber mallet to easily remove the decorative wood heart.
STEP THREE: MEASURE AND CUT NEW WOOD
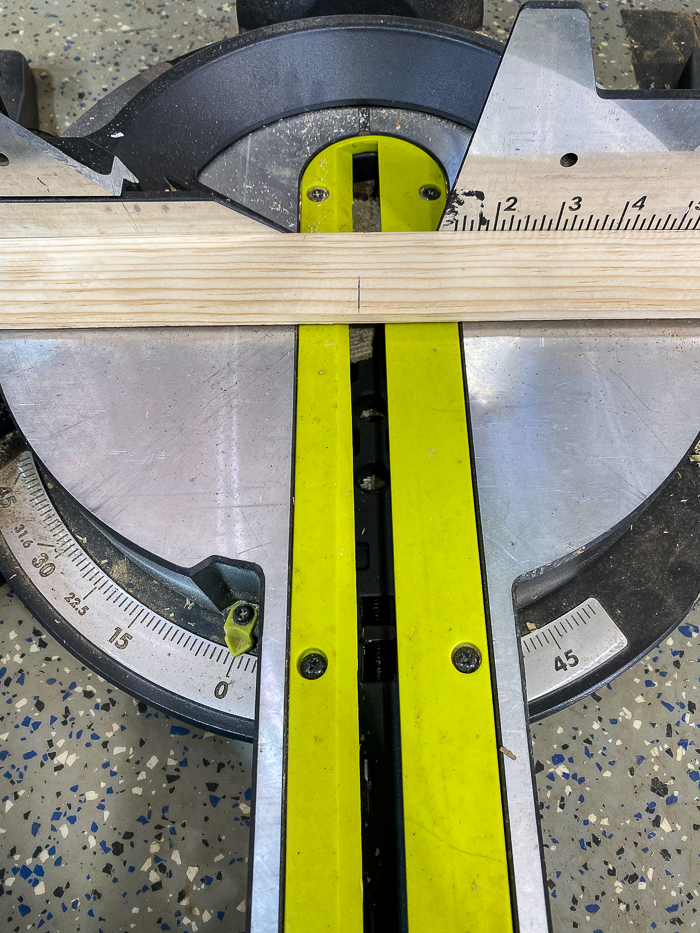
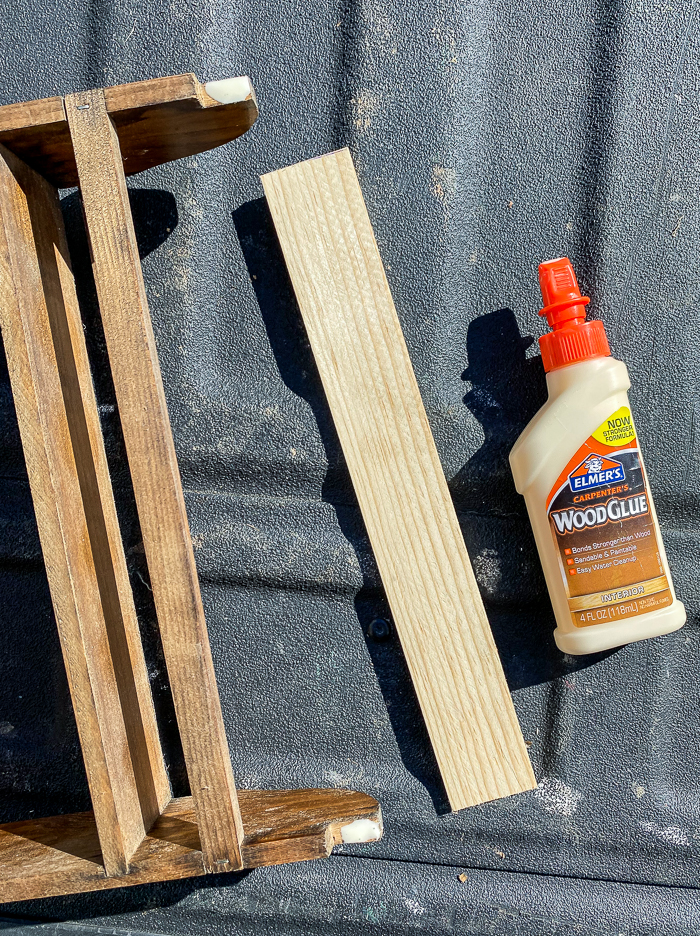
Once I had the top piece of wood removed, I grabbed a scrap piece of 1/4" x 1 3/8" lattice wood to use as a replacement. I measured, marked, and cut the new piece of wood using a miter saw.
STEP FOUR: ATTACH NEW WOOD
Apply wood glue to where you need to attach the new piece of wood. Hold the wood in place or clamp for a few minutes then reinforce with a nail or small screw. Use a drill and a small drill bit to start a pilot hole if you aren't using a nail gun.
STEP FIVE: SAND
Give the entire spice rack a good sanding with medium grit sandpaper (I used 150 grit) then wipe clean.
I wanted a softer look, so I smoothed out the corners and some curvy details in my spice rack.
STEP SIX: PAINT
Paint your updated spice rack whatever color compliments your style and home. I gave mine two coats of Iron Ore in satin. Is there even another option?
STEP SEVEN: ADD "VINTAGE" LABELS TO SPICE JARS
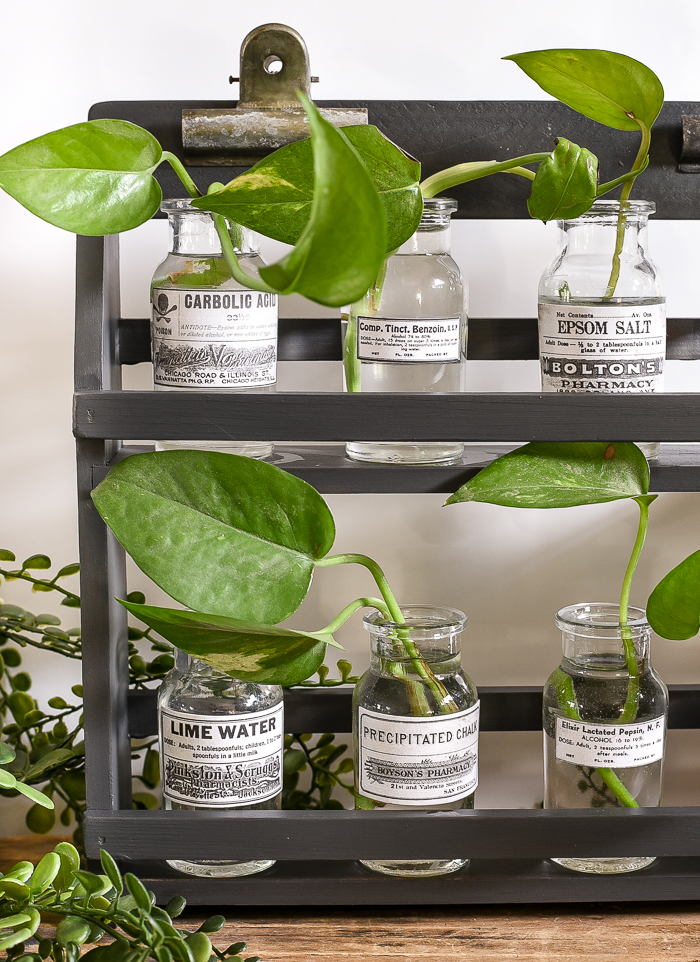
I happened to have a bunch of old glass spice jars in the garage, but any glass jars that fit in the spice rack will work. You can leave the jars as is, or add apothecary/poison/pharmacy labels for a cool vintage-inspired look.
TIP: Look in the bagged section at thrift stores for affordable collections of jars.
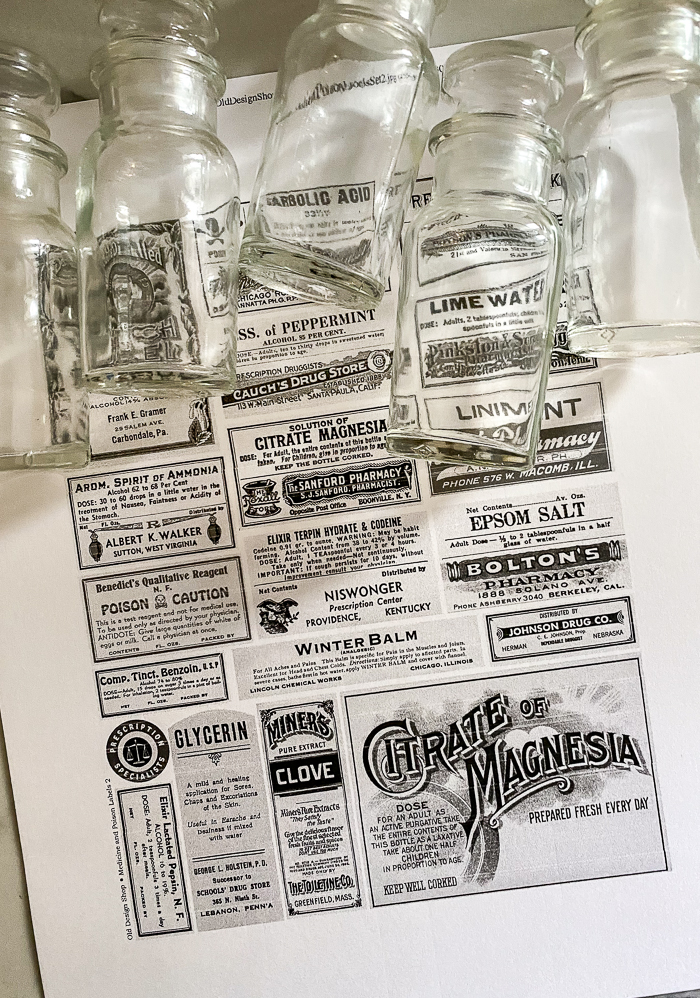
A few years ago, I bought a digital sheet of medical pharmacy labels to use for a Halloween project. I printed them on thick paper in black and white then attached them to the bottles using Mod Podge.
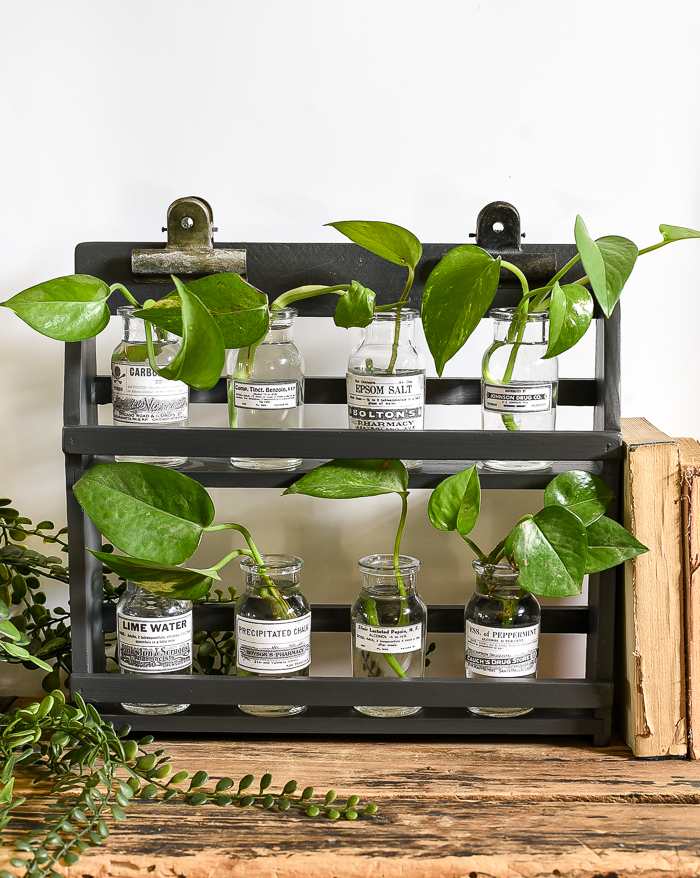
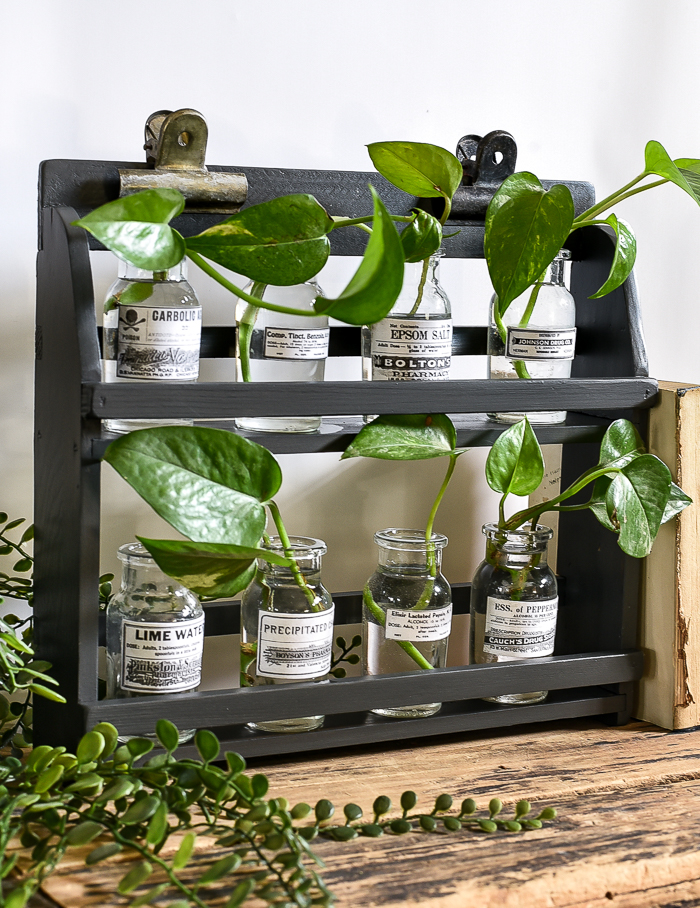
I filled the bottles with water, snipped off a few sections from my Pothos plants to add to each bottle then carefully placed them back on the rack.
Turning this dated spice rack into a propagation station was a super easy project that I was able to complete in one afternoon. It's also an affordable (and stylish!) solution to leaving random glasses filled with growing plants sitting around on my counter.






.png)




0 comments: