Friday, July 29, 2022

Friday Favorites: Vintage-Inspired Amazon Finds


Do you love the look of vintage decor and fashion?  Shop my favorite and highly curated vintage-inspired Amazon decor and fashion finds!


It should be no surprise that I love incorporating unique vintage decor and mixing old and new in my home decor.  Shopping and buying secondhand and authentic vintage is and always will be my preferred and go-to way to decorate my home.  

From thrift stores and flea markets to auctions and antique shops, I'm always on the hunt for the next unique vintage or thrifted piece to add to my home.  The thrill of the hunt is one of my favorite aspects of shopping secondhand, but what if you're impatient or just don't have the time to travel, search and wade through endless aisles and racks? 

Buying NEW vintage-inspired home decor is the next best thing when the real deal isn't feasible.  And did you know AMAZON has some pretty amazing vintage-inspired fashion and home decor?


vintage card catalog and home decor

New vintage-inspired decor may not have the actual age, character and wear and tear of the real deal, but they definitely have the look.  

The biggest bonus?  Prices on new vintage-inspired items are usually better and because you're buying new there's no need for updates or repairs!

Today, I'm sharing some of my absolute favorite vintage-inspired home decor and fashion finds from Amazon.   

Amazon vintage-inspired home decor

Get the look of vintage without leaving your home, weeding through racks, or searching endlessly.

Simply shop my favorite and highly curated vintage-inspired Amazon home decor and have it delivered right to your door! 

VINTAGE-INSPIRED AMAZON DECOR AND FASHION FINDS


shop our home


Click here to subscribe


Sunday, June 12, 2022

Antique Oak Card Catalog Makeover


How to clean and restore an antique oak card catalog without losing its original character!


Who doesn't love authentic antique card catalogs and multi-drawer cabinets?

They are by far my favorite pieces to hunt for, both for myself and my vintage shop

In the past, I've fully refinished card catalogs, but a recent oak card catalog that I just picked up had so much original character that I couldn't bring myself to fully refinish it.

It had some marks and blemishes but was nothing I couldn't take care of without completely sanding, staining and refinishing.

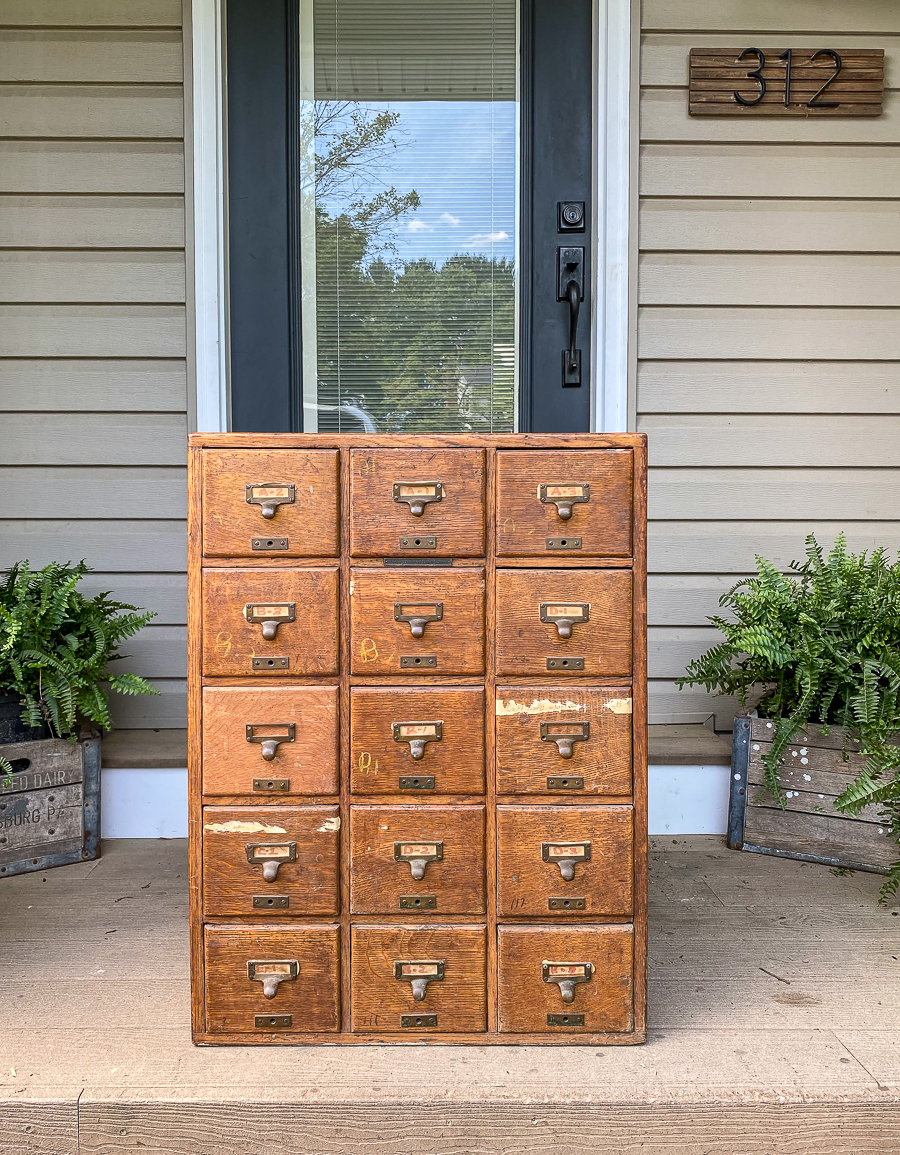
15 drawer oak card catalog

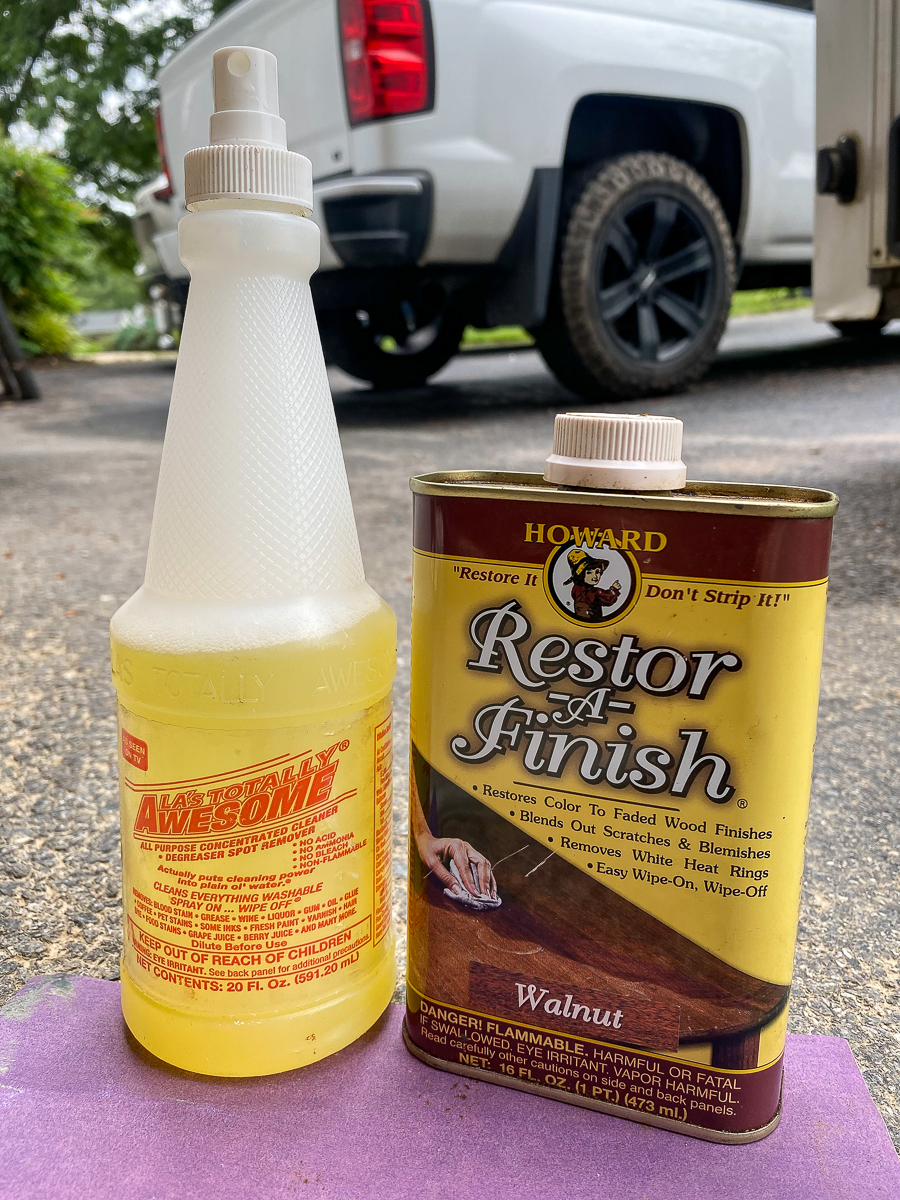
SUPPLIES NEEDED TO RESTORE AN ANTIQUE CARD CATALOG

 (without fully refinishing)  


- LA's Totally Awesome (available at Dollar Tree)
- Restore-A-Finish (Walnut)

How to restore a card catalog without refinishing

There's something about original stain and character that you just can't replicate.   I know some may not like marks, knicks and imperfections on their furniture, but I welcome and appreciate the added character when it comes to antique and vintage furniture. 

In an effort to maintain the original character of this 15-drawer solid oak card catalog, I opted to give it a good cleaning over fully refinishing. 

15 drawer card catalog before

oak card catalog before

supplies to clean card catalog

Working in small sections, I sprayed on a generous amount of LA's Totally Awesome to the top, sides and drawers of the cabinet.   On each section, I let the cleaner sit for about 30 seconds before scrubbing and wiping it off. 

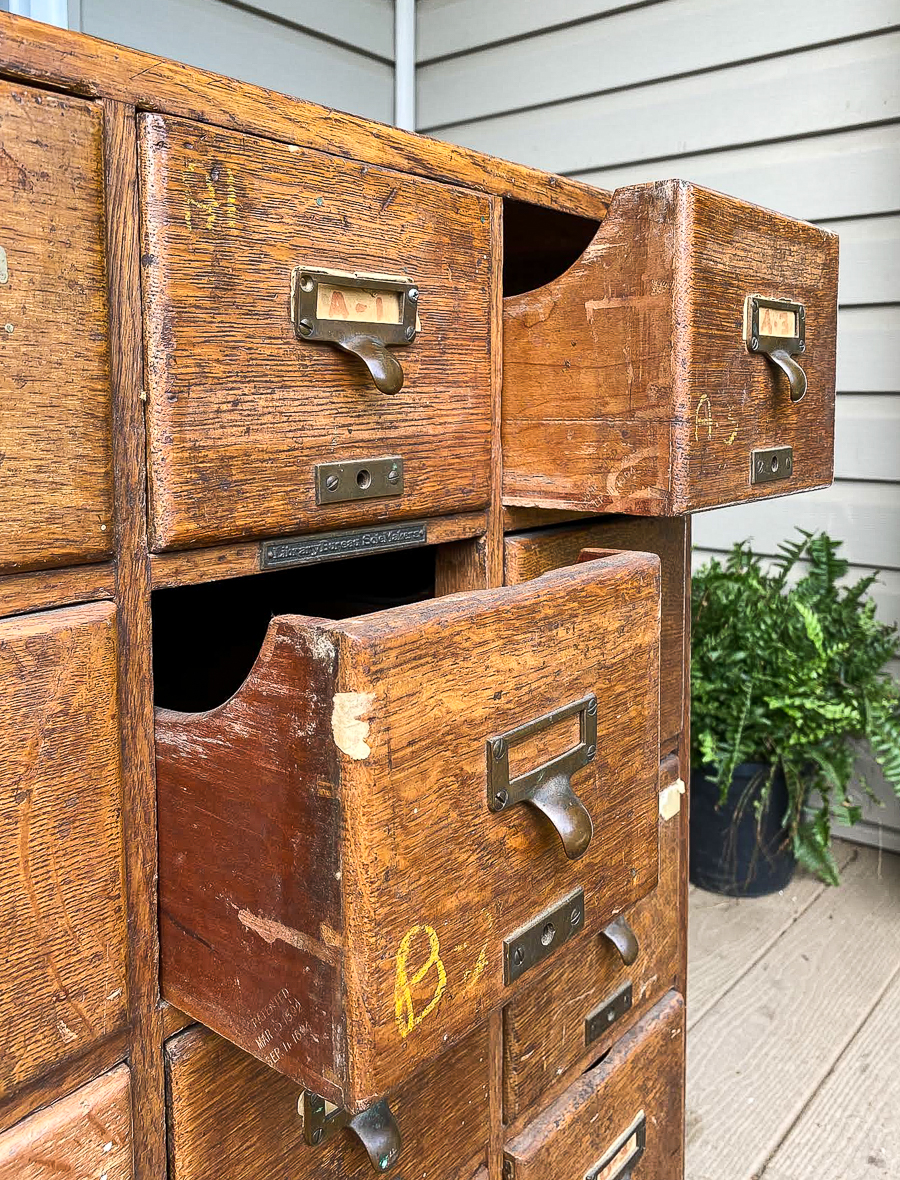
On tougher areas where tape residue and yellow marker were left, I let the cleaner soak in for a few minutes before wiping it off.  I kept repeating this process until all the unwanted marks were removed.

cleaning oak card catalog

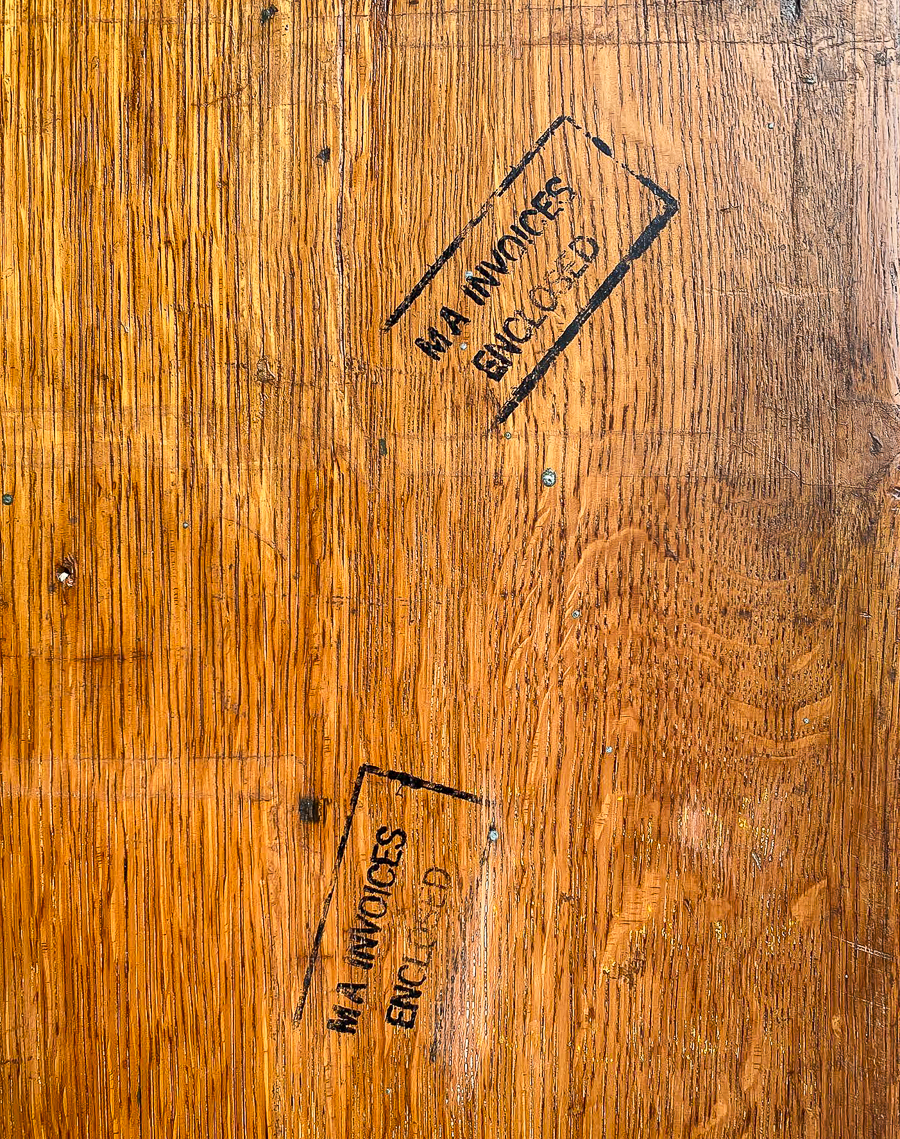
The hardest part was removing the two black stamp marks that were on the left side of the cabinet.  

I began by very lightly sanding the marks with 400 grit sandpaper, being careful not to sand too hard, removing and damaging the original stain. 

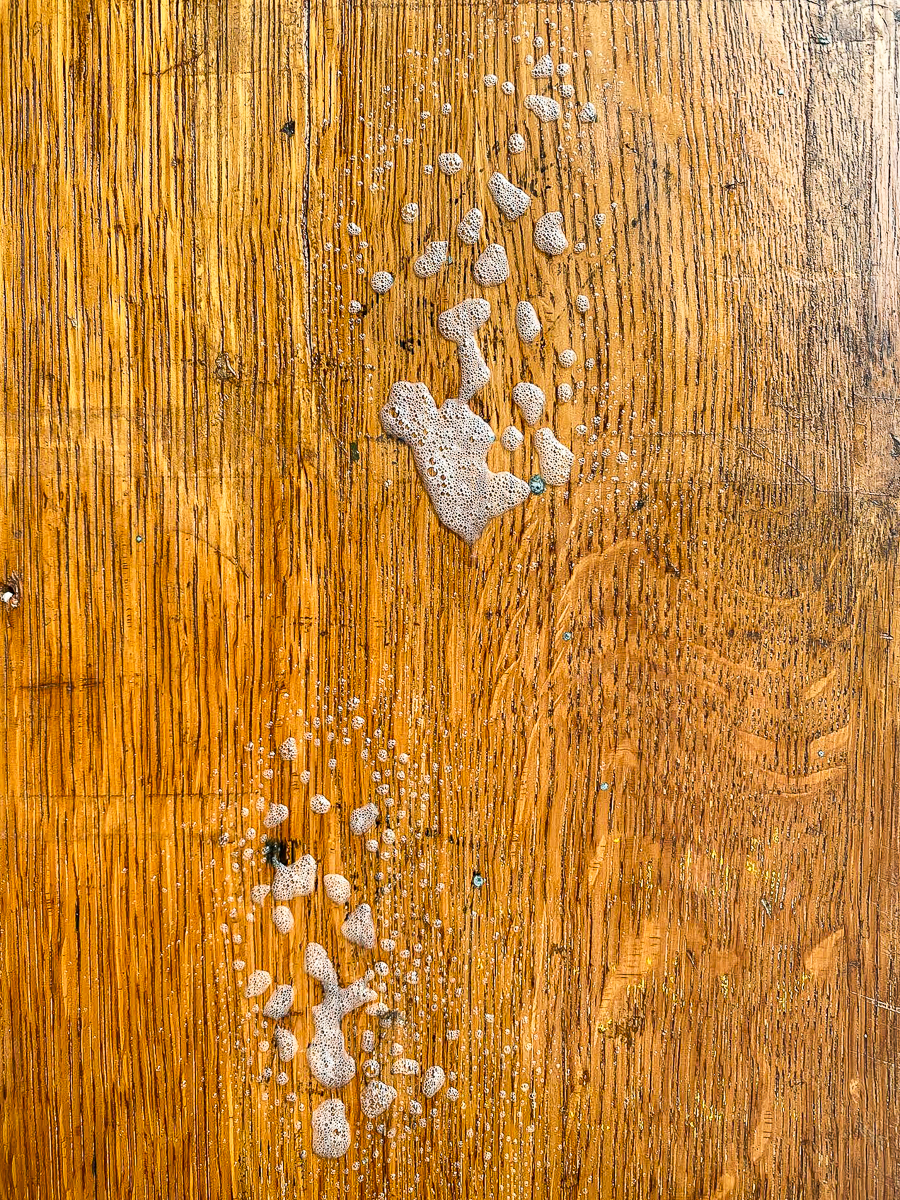
I then sprayed on LA's Totally Awesome Cleaner, let it sit a few seconds then scrubbed off what I could.  I repeated this process two or three times until the ink was completely removed.  

Marks on card catalog

spraying card catalog with LA's Totally Awesome

Once the cabinet was clean and dry, I went over the entire card catalog with Howard's Restore-A-Finish in Walnut.  This product is like a miracle drug for wood.  It completely revives dry and damaged wood in seconds. 

I finished off the card catalog by adding four black triangle furniture feet to give the cabinet a little height and a more finished look.

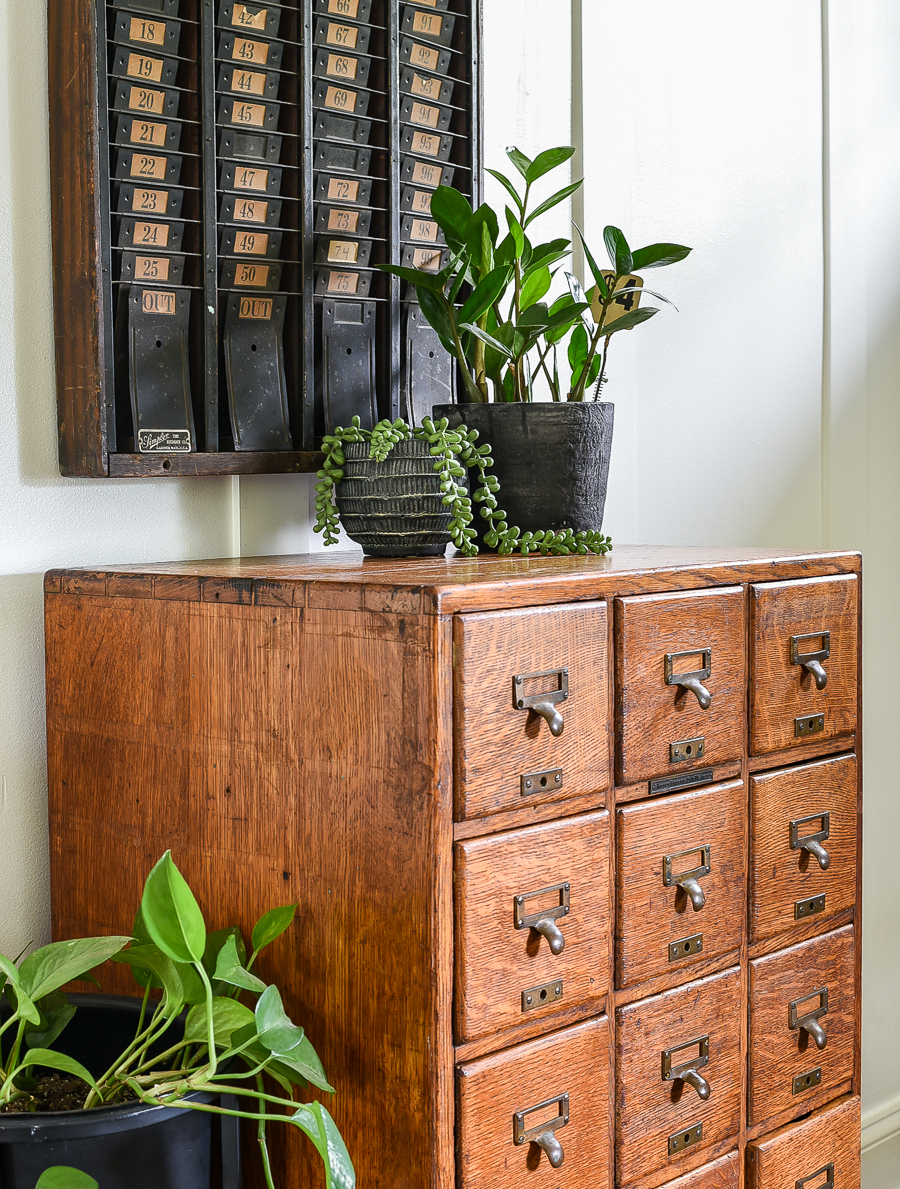
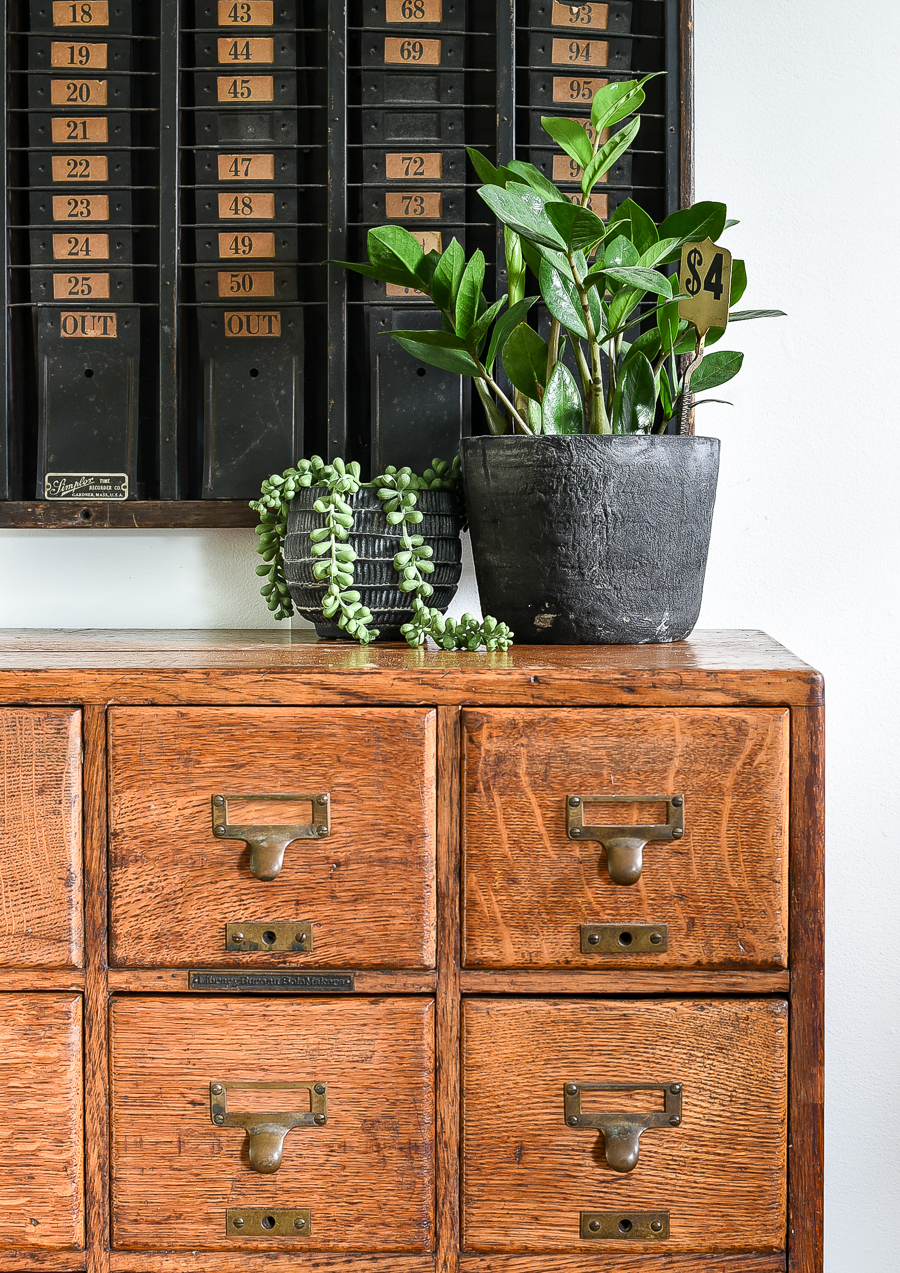
Cleaned and restored oak card catalog

This beautiful restored antique card catalog (and all the decor and plants in the pictures!) will eventually end up in my new office and I can not wait!

Restored oak 15 drawer card catalog

restored oak card catalog

Restored antique oak 15 drawer card catalog

I love that this antique 15-drawer oak card catalog has an updated vintage-industrial look without losing all its beautiful original character!   


shop our home


Click here to subscribe


Friday, June 3, 2022

Furniture Makeover: $15 Dresser Turned Industrial-Inspired Chest


Learn how to turn a small dated dresser into the perfect industrial-inspired chest! 


I know I said I've been staying off Facebook Marketplace lately, but every once in a while I hop on and see if anything catches my eye. 

I usually scroll quickly and look for something affordable and easy to update.

The other day, I stopped my scroll when I came upon a $15 solid walnut dresser.  It was local, super affordable and I knew it would be an easy piece to transform into an industrial-inspired chest

Dated dresser turned industrial-inspired chest

Read more »

Sunday, April 9, 2017

Finished shiplap walls and farmhouse door trim in the loft!

Oh MY. I've been nailing, filling, caulking and painting for what feels like weeks. It's only been three days but I am worn OUT. :) 

I've been focused on the "hallway" part of our loft for the past week or so. This is the open space at the top of the stairs and I want to make the most of it. Here's how it looked back in June before I started replacing the door trim: 
open hallway with doors

This space isn't big but took a lot of work! Gah. I'm SO HAPPY this part is done. 

Here is the pretty DIY farmhouse door trim installed (just not looking so pretty yet): 
DIY farmhouse door trim

I've added this trim to almost all of the doors in the house and it makes a BIG difference. They look so much more custom! 

I showed you how I add the look of shiplap for less on this wall: 
how to add shiplap walls for less

But I still had a lot to finish up. Most were smaller walls but it just takes a ton of time. As I've mentioned, this is not a hard project, it's just very time consuming. Painting three coats on everything takes eons, for real. 

I had to finish up the planked walls along the rest of the hall and then add trim and baseboards everywhere. I also finished up the baseboards around the stairs and over on the other side of the room (that I still haven't shown you because it's kind of boring right now). 

This is how the luan looks before painting: 
adding planked wood walls

As you can see all of our security system stuff is on this wall. Not pretty but not much I can do about it. I do need to patch a small hole up there but that will have to wait. 

The first day I finished up the wood walls, the second day I filled and sanded all the holes, the third day I painted (forevvvvver) and caulked, and this morning I finished up with one more coat on everything and a little more caulk. 

Thankfully I'm THRILLED with it!: 
tall white shiplap walls

I can't even tell you how much it brightens up this space. I told you before that these white walls have me considering doing it everywhere but I'm not sure I could take that leap. I do love contrast -- though the dark floors against the white walls sure is yummy. 

By the way, speaking of white walls, those stairway walls will go light sometime next year. I have a big project in mind for the entire staircase but it will be some time before I start it. I think it will pull everything together beautifully. 

I am looking forward to adding art up here and can't wait to see how it will add some pops of color and fun to the space. I think the white walls will make the art stand out even more. And now I cannot WAIT to paint those doors black. I've done the rest of the house but still have the upstairs to do. They are going to look so amazing!: 
white shiplap walls around doors

I'm not sure I'll get that part done for the reveal but I'm going to try! I still love it just as is so I'm not going to be in a huge rush. 

I took the trim down around the "hall" to the book nook -- this is the closest we come to a hallway in our open concept house: 
DIY book nook closet
I think the new door trim and wall treatment make that little closet shine even more. :) 

I'm just so happy with how this has all come together -- these walls have completely transformed this room. All for just a couple hundred bucks and a lot of sweat equity. Now I am getting really excited to get the room done and start decorating: 
Today I'm finishing up the caulk and paint on the baseboards in the rest of the room -- this is the tedious stuff that is not much fun. Although sometimes if I have the time and a good show on TV it is kind of relaxing. 

I've made a deal with myself that I MUST finish up this small stuff before I can move on to the last few bigger projects in here. I'm so excited to start the one that will go above the cabinets: 
large shiplap walls

I also plan to at least prime those cabinets and doors this week. The final painting may need to hold off till the weekend. 

After the cabinets are done I can move on to the desk and one more small storage spot I'm incorporating into that. I had a goal to finish this before school started but that didn't happen. I do think I can get it all done by the end of the month though. Then I can focus on other smaller projects and FALL! Heart eyes. :) 

For now I keep standing back and enjoying the pretty white walls I've finished up. Here's a reminder of how this spot looked with just the new door trim: 
farmhouse door trim

And here's how it looks today: 
shiplap walls and farmhouse door trim

Love it! Hopefully I'll have another loft update for you next week! 

I'm off to wrap my right arm with a heating pad and then get back at it. I think a massage may be needed as my reward. :)

SaveSave

Thursday, April 6, 2017

DIY stacked stone fireplace (where there was none!)

Well hello! I have a BIG reveal for you today! I worked so hard on this basement fireplace and I'm so so SO thrilled it's done. I'm excited to share it with you today! I took a ridiculous amount of photos so bear with me. :) 

I'll show you where we started first! We have this little bump out in our basement and from day one we knew what we wanted to do with it. When we finished the basement years ago we went ahead and bought an electric fireplace for that spot. It sat on a bench for four years. 😁
bay window basement

A few months ago we decided to have the fireplace built in since the whole space was torn up for the new floors anyway: 
built in electric fireplace

Then I was craving a little more traditional look so we had the hearth added along with a mantel: 
built in electric fireplace with hearth

Then it was time for me to do the rest! I knew I needed to stain the mantel and hearth before I tiled -- it would have gotten all over the tile otherwise. I sanded both down and then cleaned them really well. A wet paper towel does fine: 
prepping for stain

I ALWAYS use a preconditioner for staining projects because it gives you an even finish when you stain: 
Minwax pre stain conditioner

It takes just a quick swipe (I use foam brushes) and then you can stain immediately! 

I did two coats of Minwax dark walnut stain -- one of my favorites! I wanted to match the top of the wall of cubbies we have in the room: 
Minwax dark walnut on pine

I know I say it a lot but staining is one of my favorite DIY projects. It's instant gratification! I always love seeing the details of the wood coming through. I like to remind you to make sure you have plenty of time to tackle your staining project -- you'll want to finish it all up at once and keep a "wet edge" while working. Otherwise you may see where you stopped and started. 

I usually let my stain dry for about five minutes but you can wait longer for a deeper stain. After that I wipe it down with a clean, lint-free cloth. Wearing latex gloves helps to keep the stain off of your hands! 

Here's the stain I used: 
Minwax dark walnut stain

Dark walnut is a deep brown that doesn't have any red tones -- I love it! It will vary a bit depending on the wood you use, but I always love how it looks. 

After the stain has dried, it's time to add the polyurethane on top to protect it and give it a beautiful sheen. Because I was working with vertical surfaces I used the Minwax wipe on poly
Minwax wipe on polyurethane

I applied it with a clean cloth and it goes on really easily: 
wipe on poly

This stuff is perfect for spaces like this one where the poly would drip if you used a brush. I sanded down with a scrap paper bag piece in between coats: 
sanding between coats of poly

I shared more about that process here -- it's my new favorite way to knock down small bumps in between poly and after! Who would've thought brown paper bags worked so well? :) 

After it all dried I started the tiling process and I shared how to tile using stacked stone here. The large pieces were pretty easy, it was the smaller sections that I had to cut just right that took the most time. By the time I was done I may have cried tears of joy, ha! Seriously, I was ready to be done. 

But it's beautiful and exactly what we envisioned for this room for years!! We are obsessed with it! I added some Christmas touches to it of course: 
stone fireplace with wood mantel

I took a ton of pictures in different light so you'll see a mix here today. I also ended up taking down the stockings and kind of like it with them down so you can really see the stone!: 
wood mantel on stone fireplace

stacked stone fireplace

I'm head over heels for the dark wood combo with the stone -- it's exactly what I wanted! It's rustic but still feels modern: 
stone fireplace in bay window

I had so much fun decorating this spot! It has completely transformed the basement -- literally it looks like a brand new space. When we finished the basement years ago and did our lighting, we made sure to add lights over this spot, knowing we were planning to do the fireplace wall. 

But this time of year I think I like it better with the lights off: 
stone fireplace in basement

stacked stone fireplace at Christmas
The last thing I need to do here is put a dimmer on those lights -- we have them throughout the rest of the basement and I want that softer light here too: 
stacked stone electric fireplace

I'm just going to keep putting up pictures and saying things cause I worked my butt off on this project. 😂
stone fireplace with wood hearth and mantel
The frames used to sit on the cubby built ins and I think they'll stay up here. Love how homey this spot feels!

We always put our flocked tree down here and it's usually decorating with green and blue ornaments. I went much more natural and neutral this year with white, silver and bronze ornaments instead. I'm obsessed with those colors on this flocked tree:
stacked stone from Lowe's

The hearth isn't super deep but it's the perfect size for accessories. You can sit on it too, but it's not deep enough to sit back really far: 
neutral stacked stone tile

Stuffed reindeer butts fit perfectly.

Here's another look at the before of this spot: 
bay window bump out basement

And here's how it looks today!: 
stacked stone fireplace in bay window bump out

stacked stone fireplace in bump out

Here's another shot from a couple months ago: 
built in toy cubbies

And that same angle, just closer: 
stacked stone at Christmas

I have to clean up all of the tools and Nerf bullets and then I'll get a full shot of the room! :) 

Whoohoo, I'm so thrilled to be done with this massive project! We've spent every evening down here with the fireplace on -- we're definitely enjoying this space! 

If you have any questions about this project, please let me know! I'm off to finish up our Christmas decor to share with you later this week. I'm seriously just going to sleep all day long on Friday when I'm done! :)


I work with Minwax to share how I use their products in our home and they sponsored this post. I only work with brands I know and love!