Learn how to create a stylish vintage-modern DIY fluted file cabinet!
Call me old school, but I still keep paper files and use a file cabinet.
I've definitely cut back on the amount of paper I keep in the house, but having a file cabinet was still a must for my office.
I didn't want a cheap basic file cabinet and I didn't want to spend a lot on something that better fit my style. The best budget-friendly solution was to give my current (free!) file cabinet a stylish vintage-modern fluted makeover!
I literally rescued my old file cabinet from a dumpster over eight years ago.
At the time, I was working as a licensed insurance agent. My old boss was remolding the building and the file cabinet had already been hauled to the dumpster before I could claim it.
Spoiler. I got the file cabinet.
It's been through a few makeovers over the past eight years, including being turned into a vintage-inspired faux specimen cabinet. I loved the look of the faux specimen cabinet makeover, but since I have a few authentic card catalogs, I decided it was time to give it a completely different look.
HOW TO MAKE A DIY FLUTED FILE CABINET
Supplies:
- Old File Cabinet
- 3/8" x 11/16" x 8' Unfinished Pine Half Round Molding (I used 8 pieces)
- Mitre Saw
- Paint (I used Fusion Cobblestone)
- Drill
- Small Drill Bit
- 150 Grit Sandpaper
- Simple Green
- Vintage Hardware (or hardware of your choice)
- Scrap 2x4 or similar wood for clamping
- Paper Towels
- Hammer, Crowbar, Screwdriver (not necessary if you aren't removing old wood)
In order to start with a clean slate, I used a hammer and crowbar to remove the prior hardware and wood slats. There were a few stubborn pieces of wood left, which I easily removed and smoothed out with an orbital sander.
STEPS TO MAKE A DIY FLUTED FILE CABINET
STEP ONE: MEASURE FILE CABINET DRAWERS
Use a tape measure to determine the length of your file cabinet drawers.
My file drawers were 12 1/8" inches in length and I used 8 pieces of half-round wood trim.
STEP TWO: MEASURE, MARK AND CUT WOOD TRIM
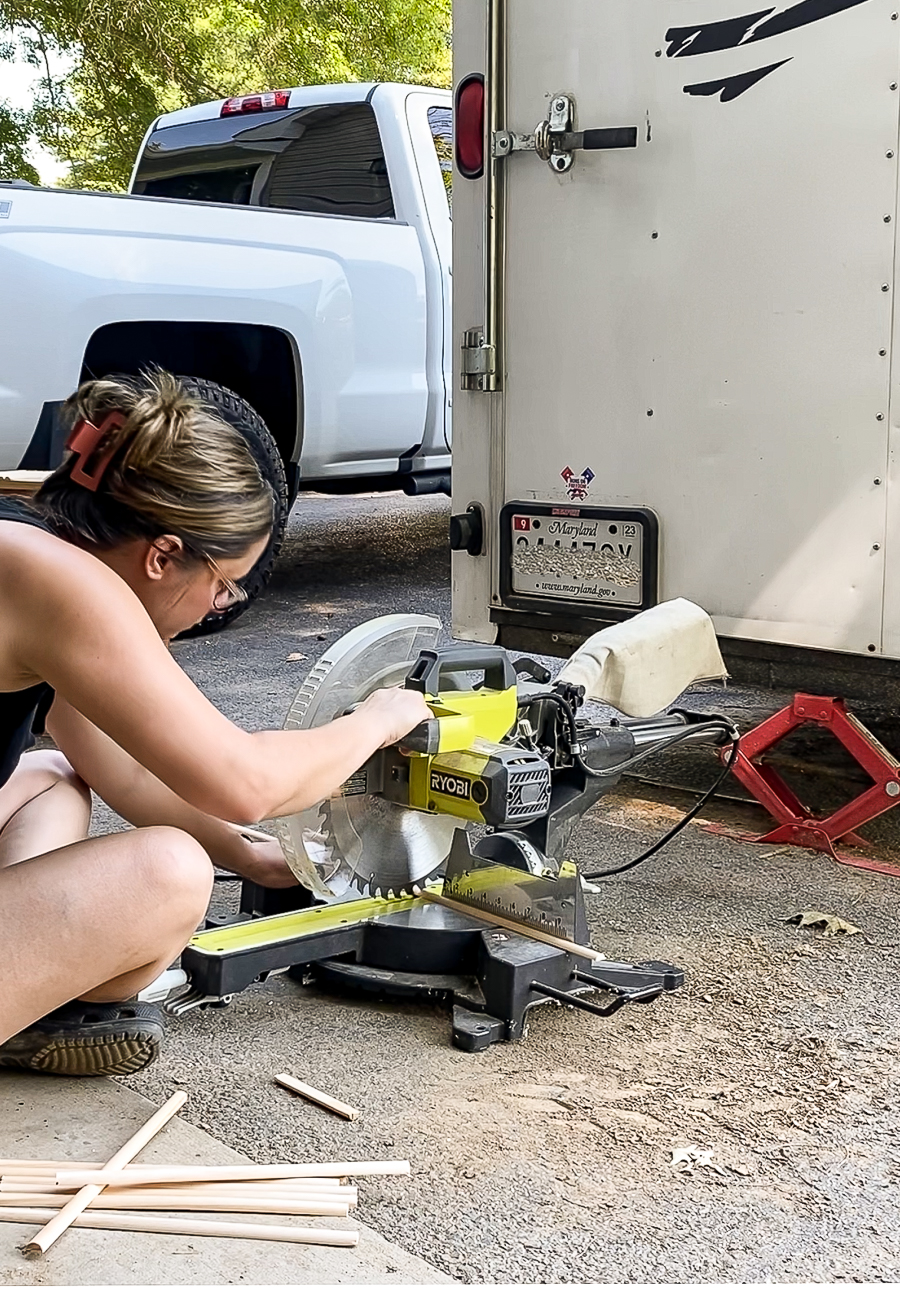
Measure and mark the half-round wood trim then slowly cut the first piece of wood.
TIP: If you are having trouble with the wood trim splintering, place a piece of frog or painter's tape over the area you intend to cut.
After the first piece of wood trim is cut, repeat the process until you have enough trim pieces to cover your file drawers.
I ended up needing 26 pieces of wood for each drawer.
STEP THREE: DRY FIT AND RIP TRIM (IF NEEDED)
Once all the trim pieces are cut, lay them on top of your file drawers to determine if the end pieces need to be ripped.
Luckily, my cabinet was a perfect size and I did not need to rip any trim pieces.
STEP FOUR: GLUE AND CLAMP TRIM
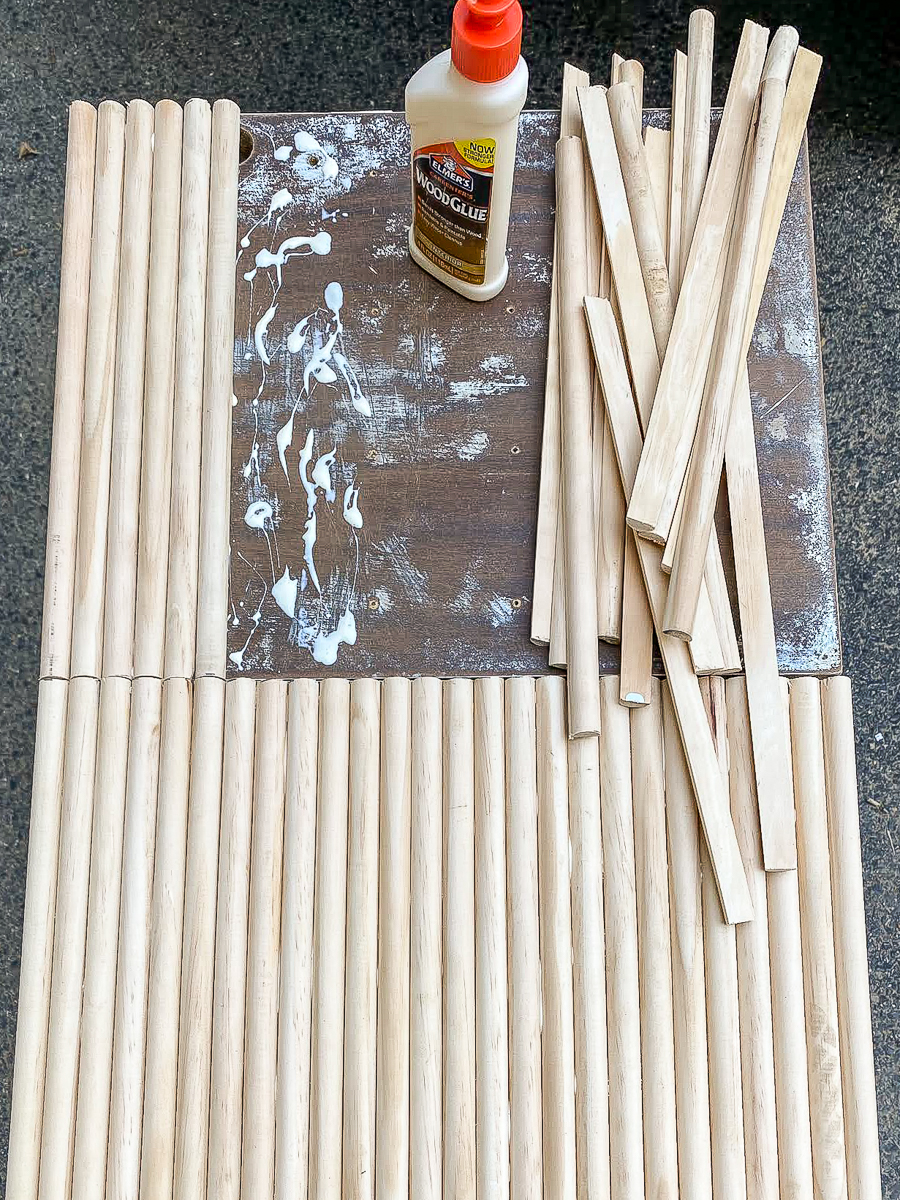
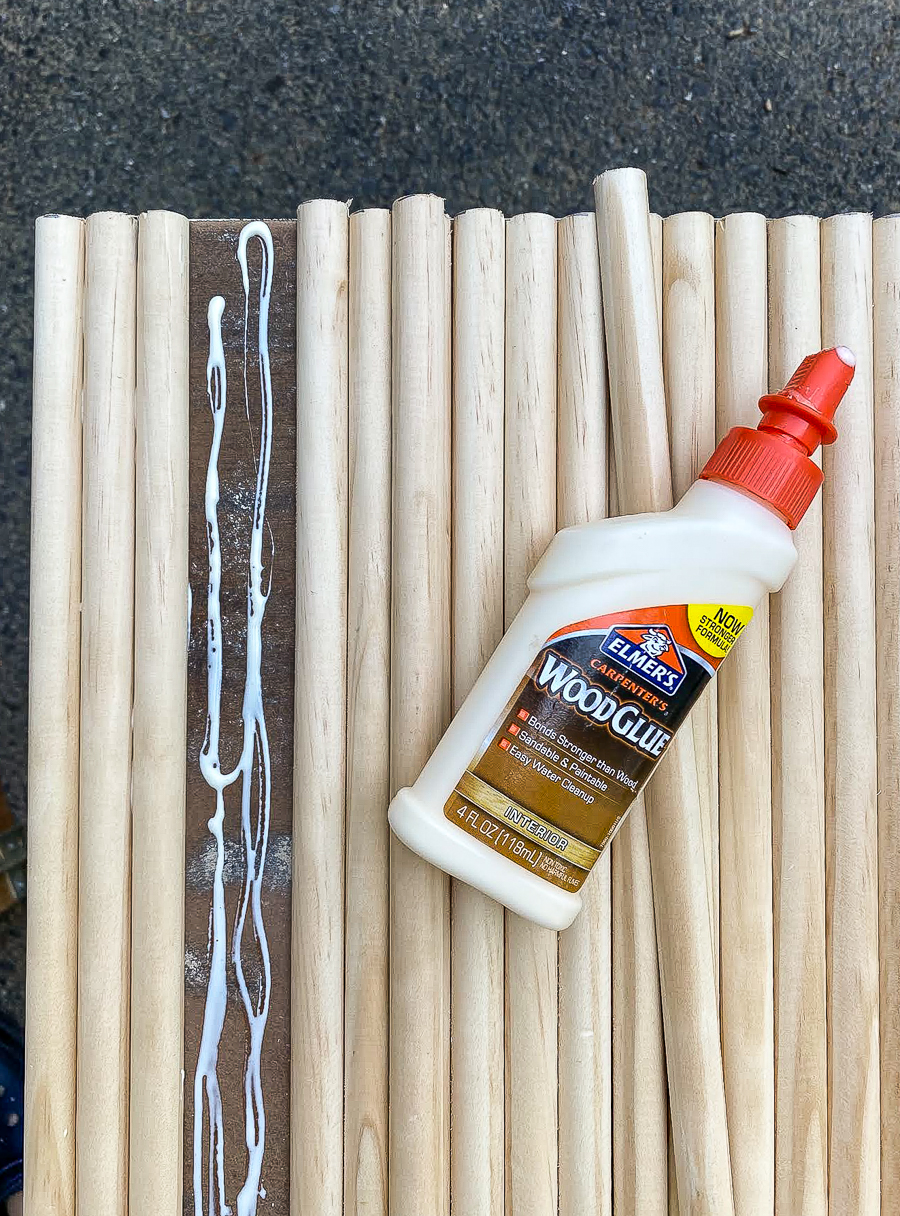
Working in small sections, apply a generous amount of wood glue to your file drawer then carefully place trim, one at a time on top. Be sure to pay careful attention and keep trim aligned and even.
Place a scrap piece of wood across the half-round trim and clamp in place until the glue is dry.
STEP FIVE: SAND AND PAINT
Give the entire file cabinet a good sanding using an orbital sander and/or sanding block.
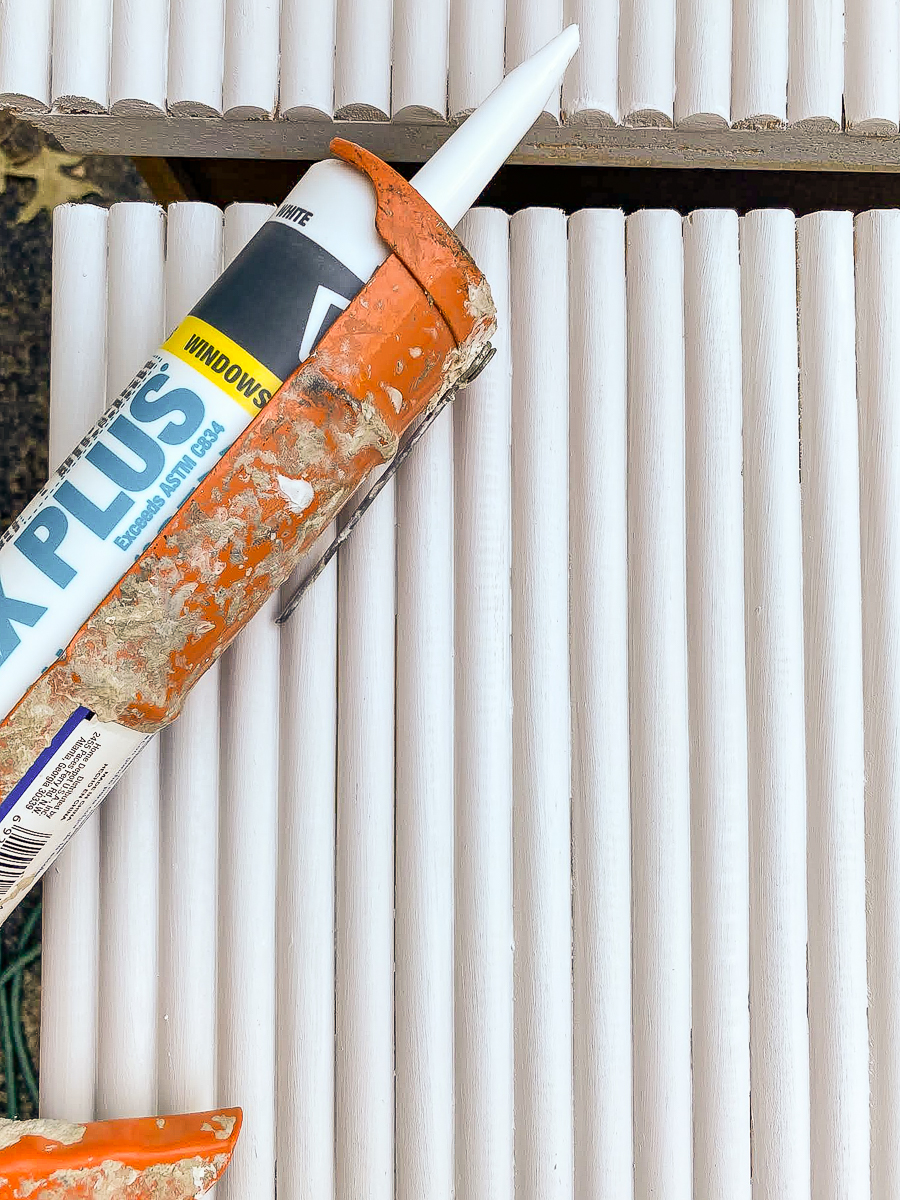
Wipe the entire cabinet down with Simple Green then apply one coat of paint. I normally caulk before I paint, but for this project, I found it easier to see where I needed to caulk after I painted.
STEP SIX: CAULK AND PAINT
Fill any visible gaps between the wood trim with caulk. Allow the caulk to dry then apply one or two final coats of paint. Seal paint with your favorite sealer if required. (I prefer to use Minwax Water-based Poly)
STEP SEVEN: ATTACH NEW HARDWARE
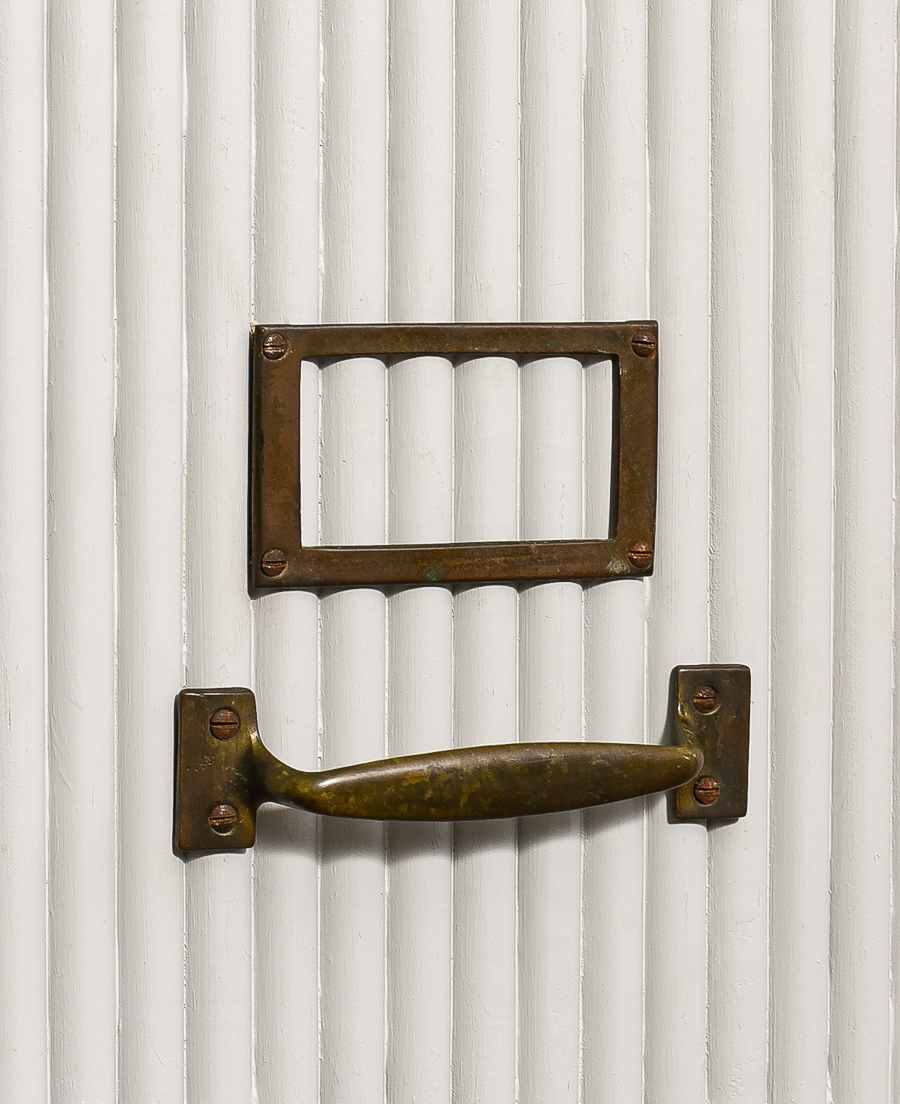
Measure where you would like to place the new hardware, drill pilot holes using a drill and small drill bit then attach hardware.
I have a very large stash of new and old hardware and was able to reuse hardware from a vintage cabinet.
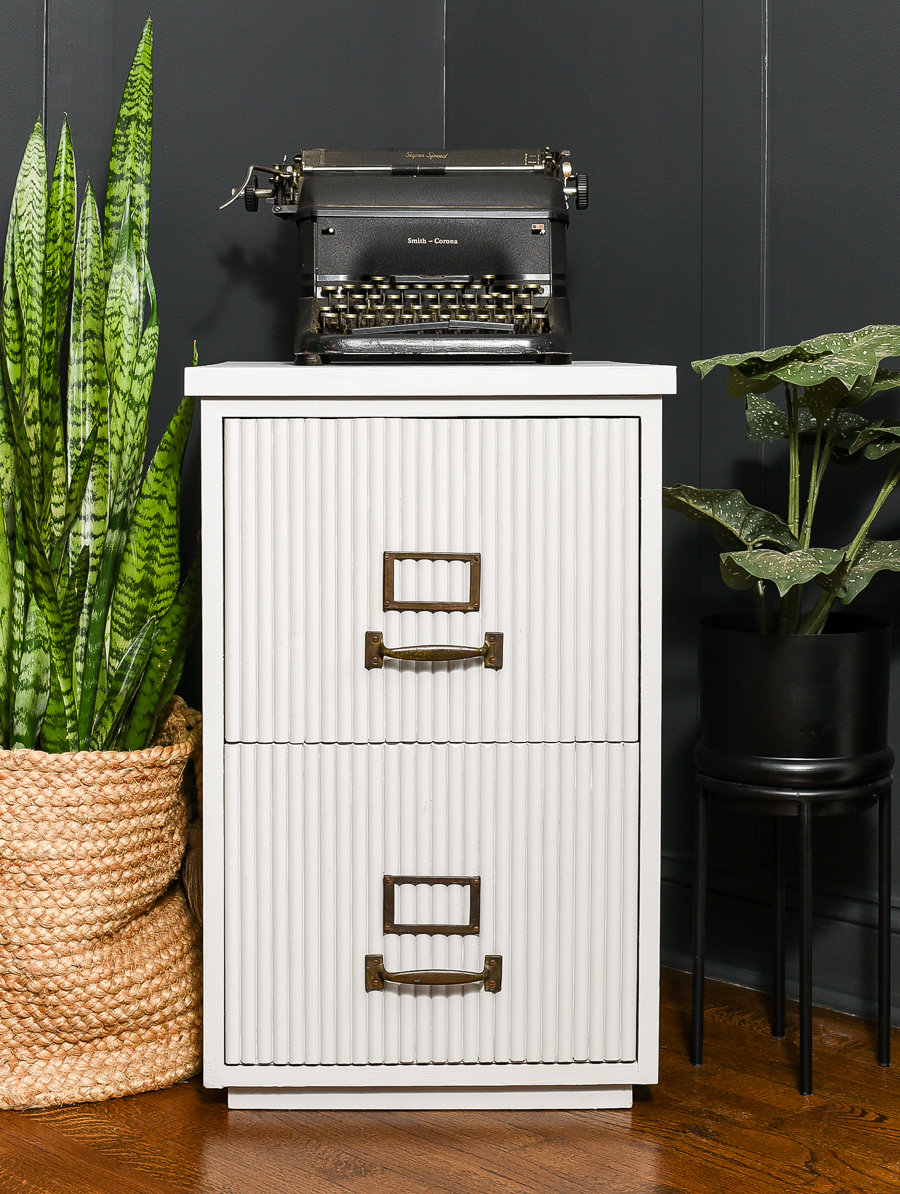
I was so excited to see how the finished fluted file cabinet looked that I hauled it into my office as soon as I screwed in the last screw.
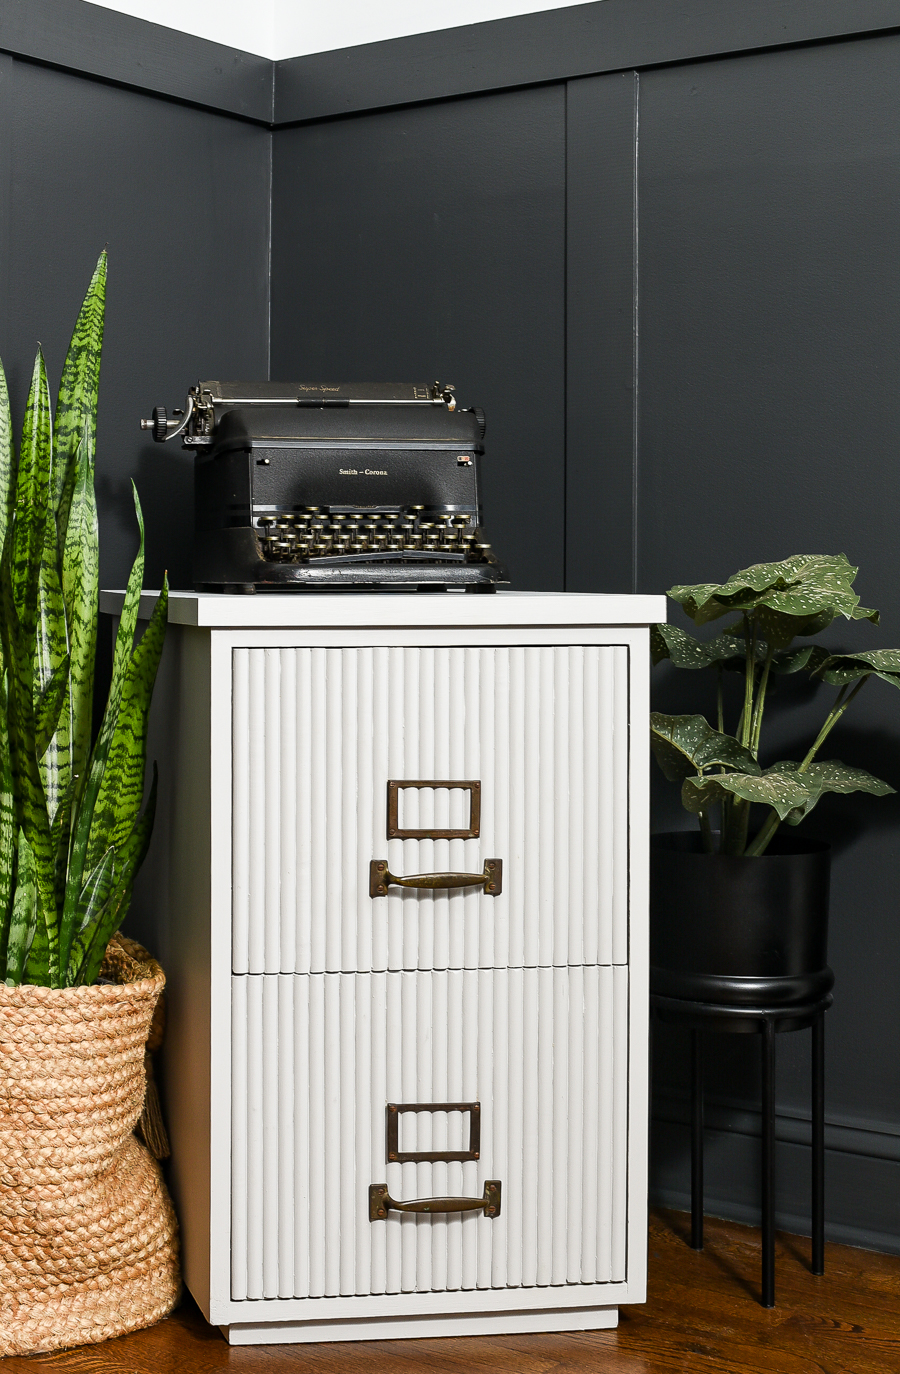
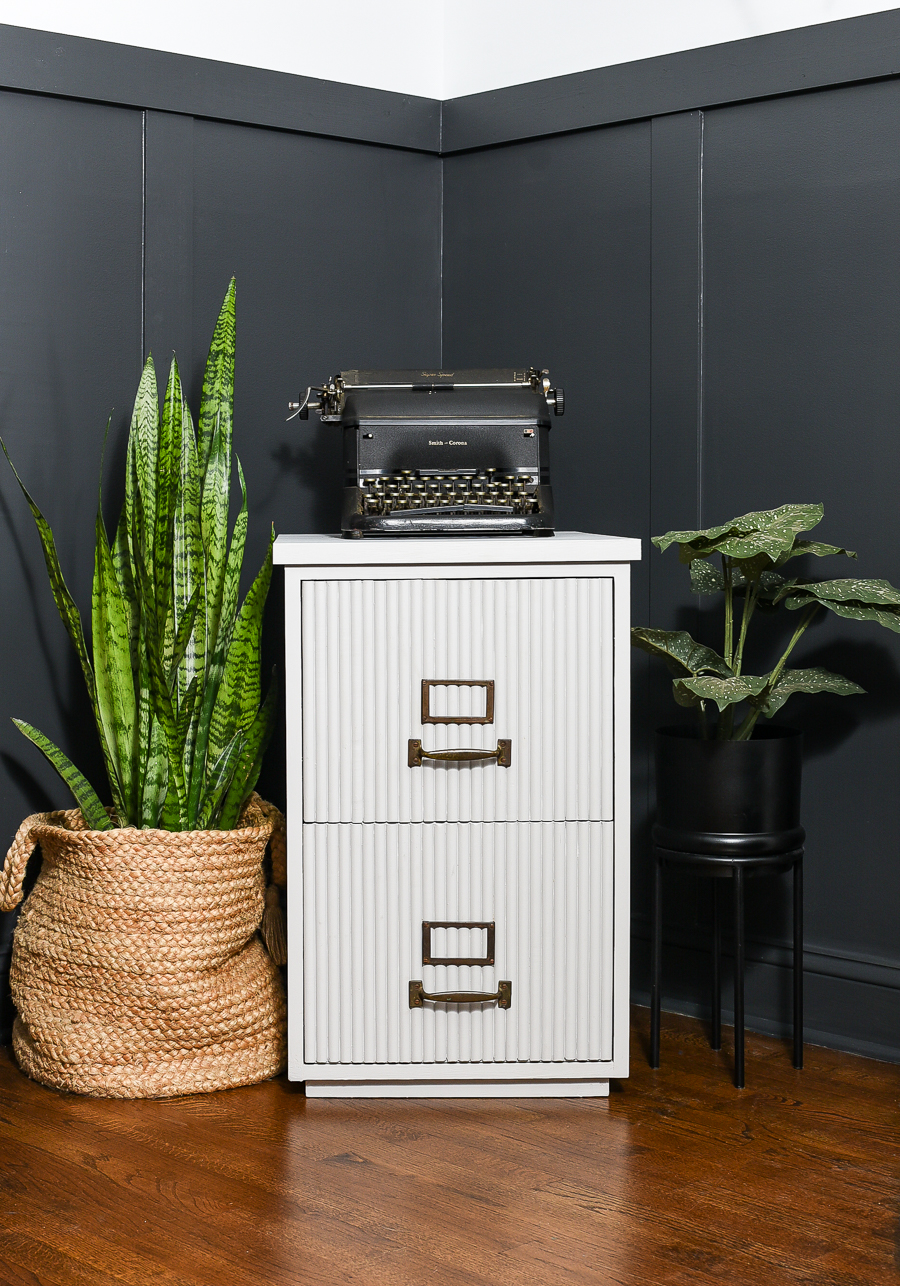
The light gray paint and fluted detail added much needed contrast and texture against the Iron Ore walls.
And the file cabinet hardware that I saved from an old file cabinet was the perfect vintage addition to this modernized DIY fluted file cabinet.
Out of all the makeovers this free file cabinet has been through, this fluted makeover is my favorite!
It looks custom, is the perfect mix of vintage and modern and only cost me about $45.









0 comments: