Thursday, August 24, 2023

Furniture Makeover: Antique Multi-Drawer Storage Cabinet


A painted antique multi-drawer storage cabinet gets a fresh new raw wood finish! 


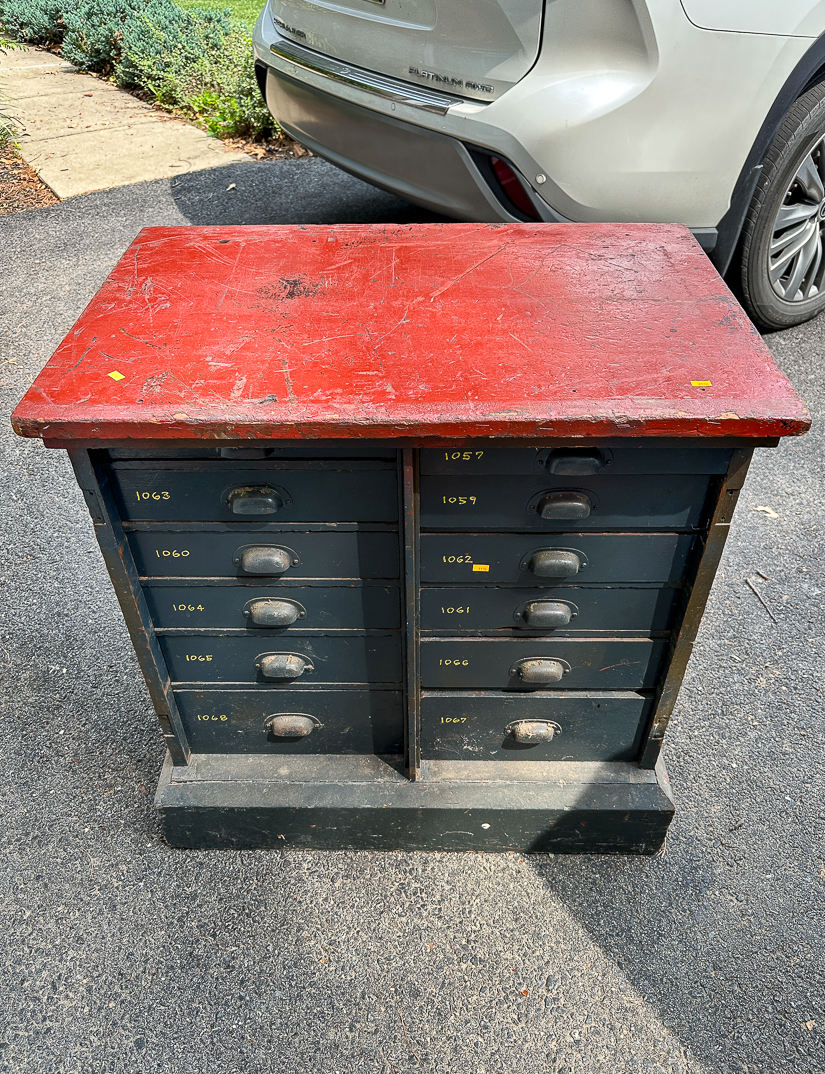
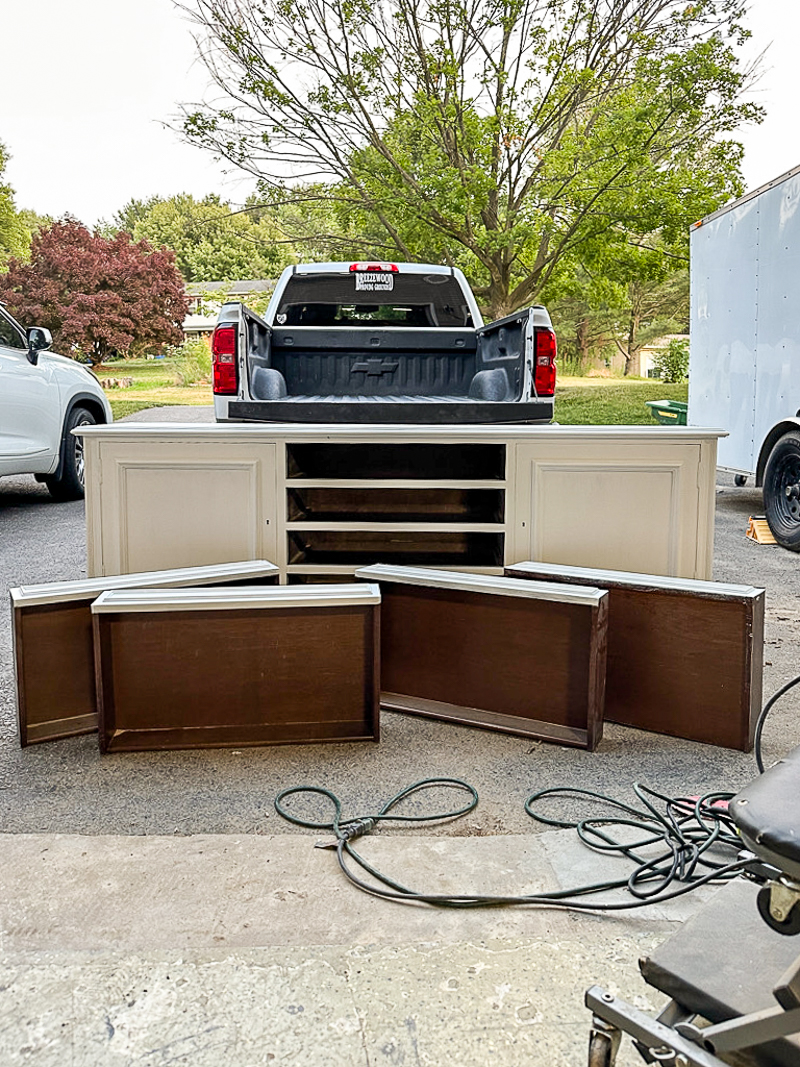
Last week, I picked up an antique multi-drawer cabinet from a local auction.  

It was damaged, poorly painted, and covered in dirt and dust.  I love anything with drawers, so I took a chance, bid without seeing it in person, and bought it based on the online pictures. 

The cabinet was solid wood, so I knew I could give it a raw wood finish or a fresh coat of paint.  Either way, it was bound to look better than it did before!

raw wood antique multi-drawer storage cabinet


I don't know who made the executive decision to paint the top of the multi-drawer cabinet fire engine red, the body deep blue, and the drawer numbers bright yellow.  

The colors were not doing the cabinet any favors and needed to go ASAP. 

painted antique multi-drawer storage cabinet before

painted antique storage cabinet before

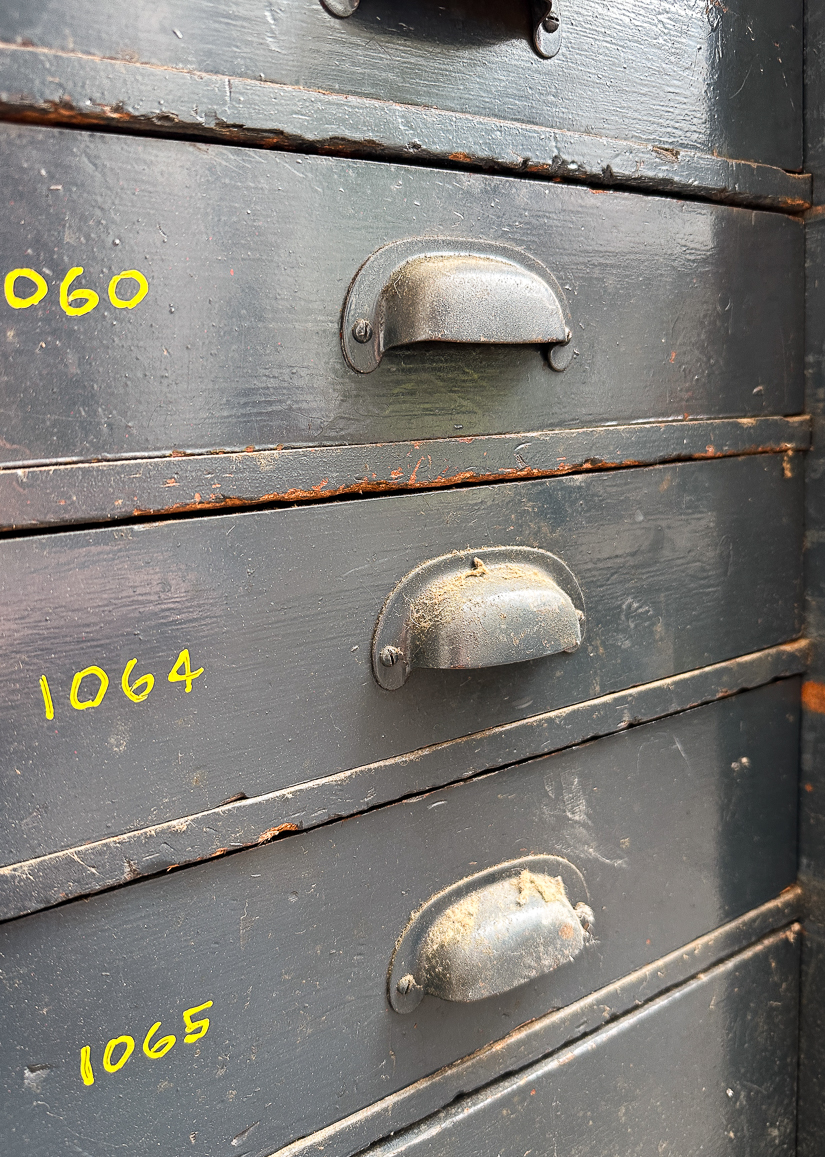
original antique hardware


SUPPLIES NEEDED TO STRIP A MULTI-DRAWER STORAGE CABINET

- 80/150/320 sanding pads
- 400 grit sandpaper
- 14-in-1 painter's tool (or large chisel) 
- Screwdriver
- Disposable Gloves
- Plastic wrap


HOW TO EASILY SAND AND STRIP AN ANTIQUE MULTI-DRAWER STORAGE CABINET


I had to split this project into two days, so I started with the drawers and stripping the blue paint from the original metal hardware.

Months ago, I removed unwanted spray paint from antique brass and used the same technique to restore the drawer hardware. 

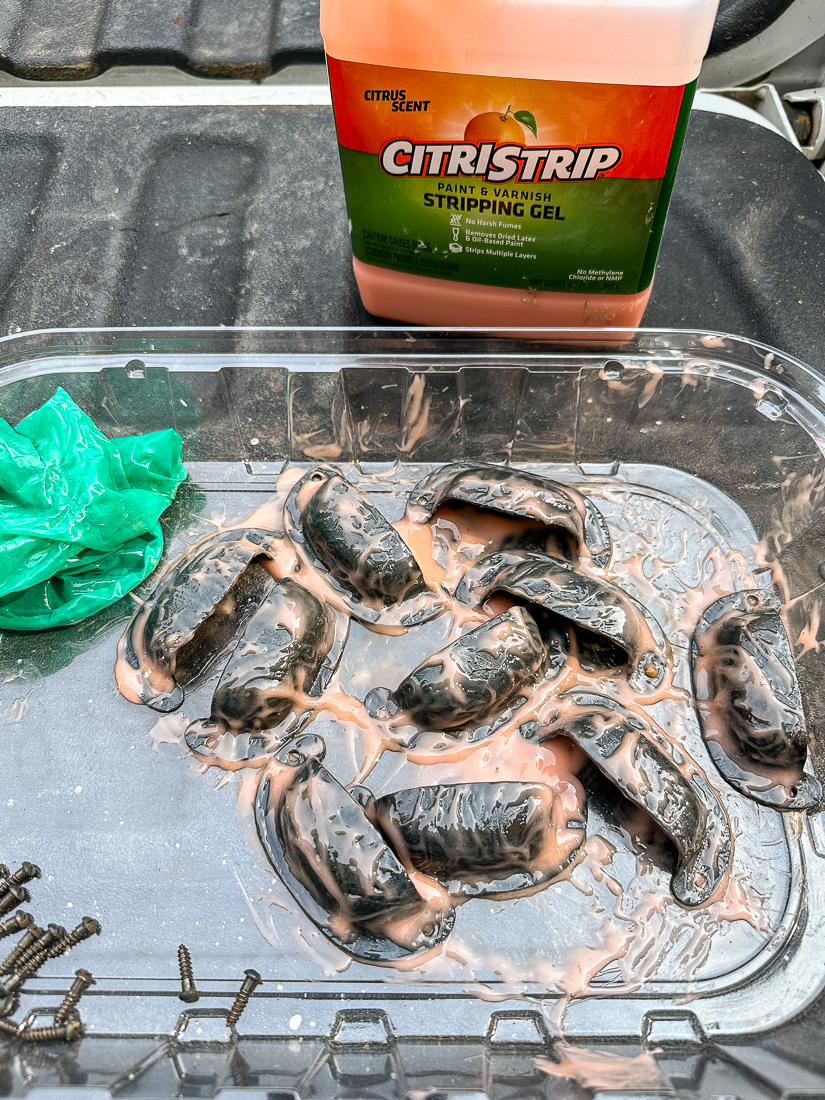
stripping hardware with Citristrip

While wearing gloves, I coated the metal hardware in a generous amount of Citristrip.  I let it sit for about 20 minutes (away from direct sunlight) until I noticed the paint starting to peel away.  I wiped off as much of the Citristrip and old paint as I could then washed the hardware in hot soapy water.  

Any leftover stuck-on paint or stripping gel was cleaned off with Mineral Spirits

Antique hardware coated in Citristrip

hardware covered in Citristrip

The hardware is worn, rusty, and far from perfect, but it's original, full of character, and better than being painted blue.  

stripped original hardware

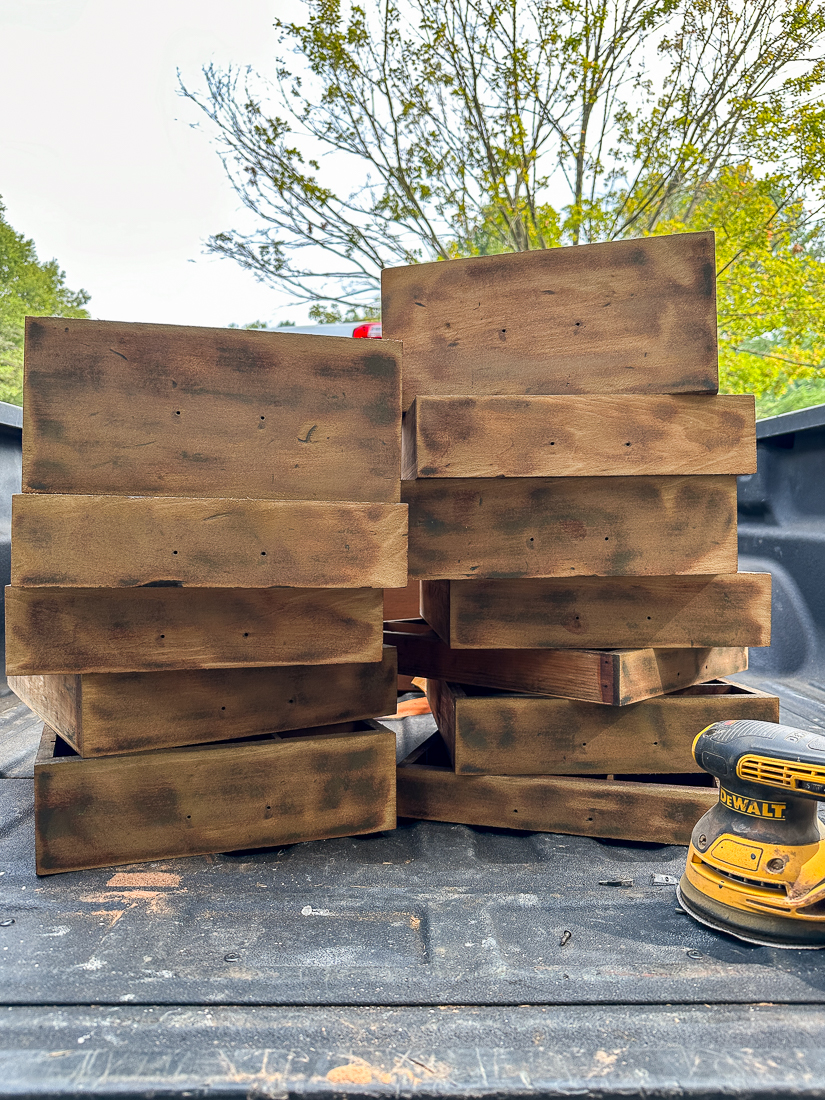
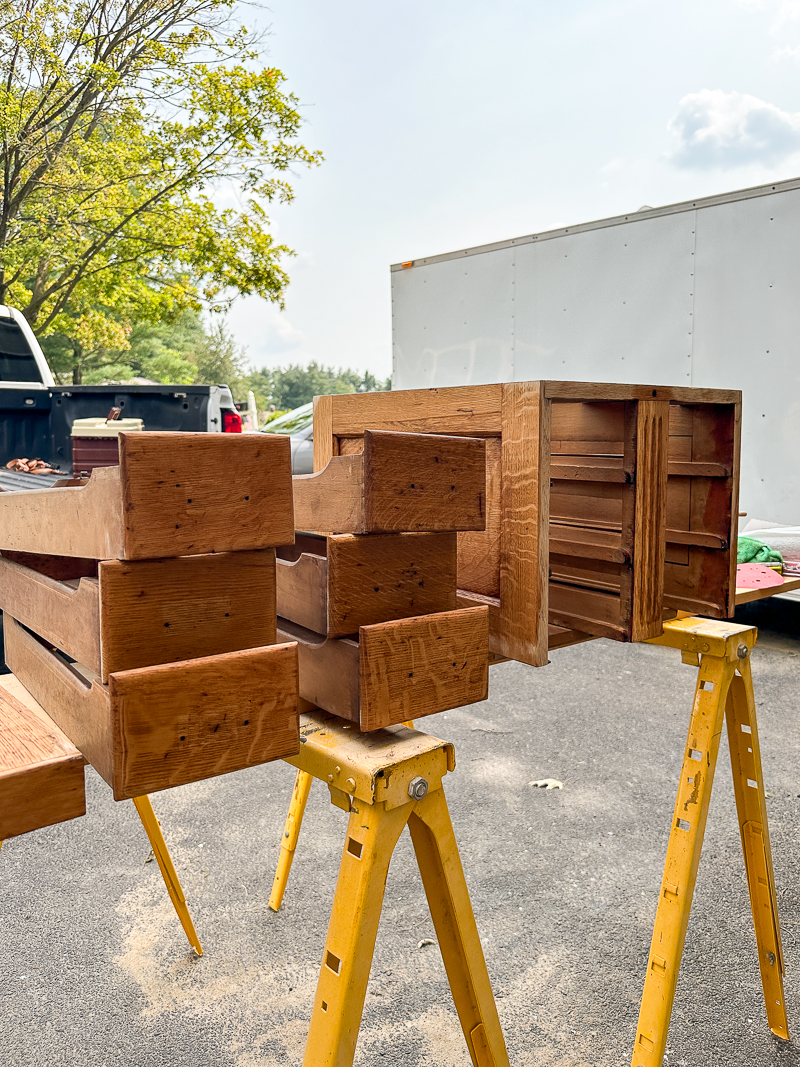
For the drawers, I started with 80-grit sandpaper to remove most of the paint and stain and then finished sanding the drawers with 150-grit and 320-grit sandpaper.  


sanding antique storage drawers

The next day, I got working on the base of the cabinet.  

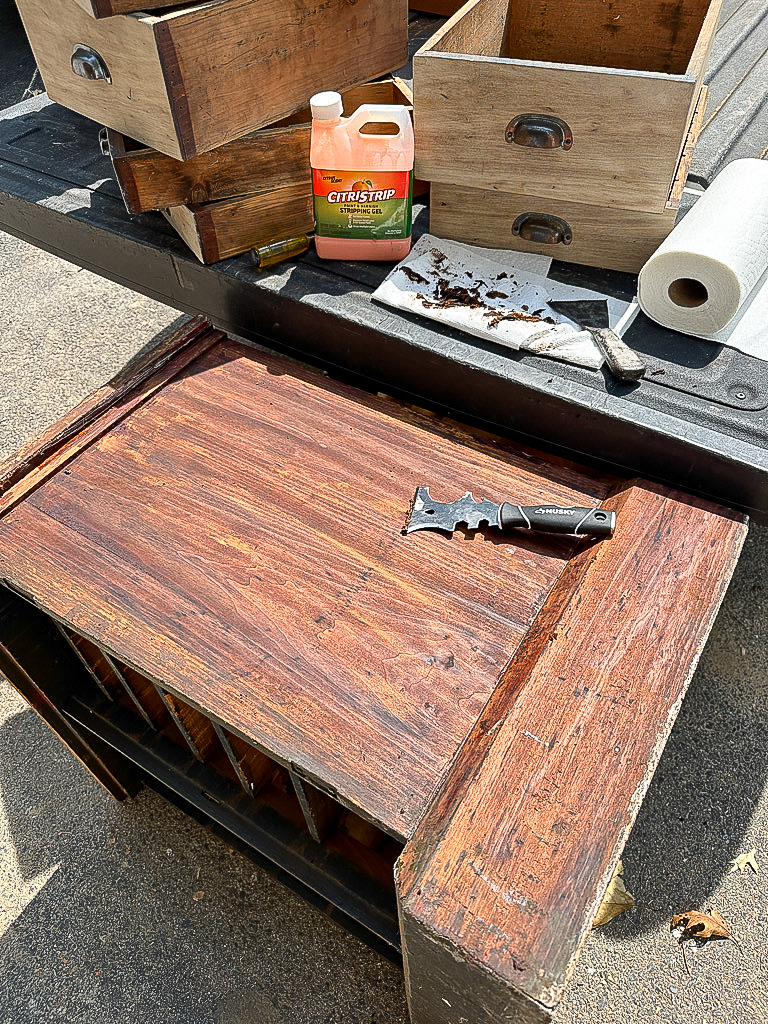
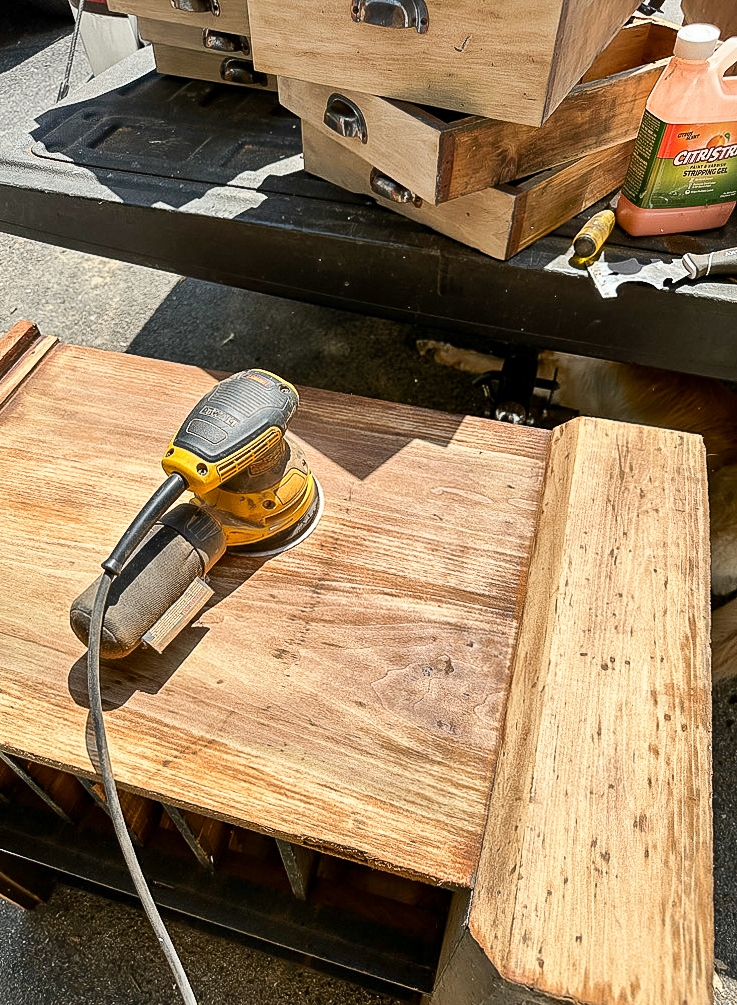
I started with Citristrip to remove the first couple of paint layers.  The old paint scraped off effortlessly using a 14-in-1 painter's tool and then I sanded off the last layer of stain to the raw wood. 

stripping furniture with Citristrip

stripping furniture with Citristrip

Sanding wood after using Citristrip

I sealed the entire cabinet with Briwax Liming Wax using a lint-free rag.  After waxing, I gave the cabinet one final sanding with 400-grit sandpaper for an ultra-smooth raw wood finish.

There's still a bit of red paint in the dings and gashes, but look how well the cabinet and drawers cleaned up!

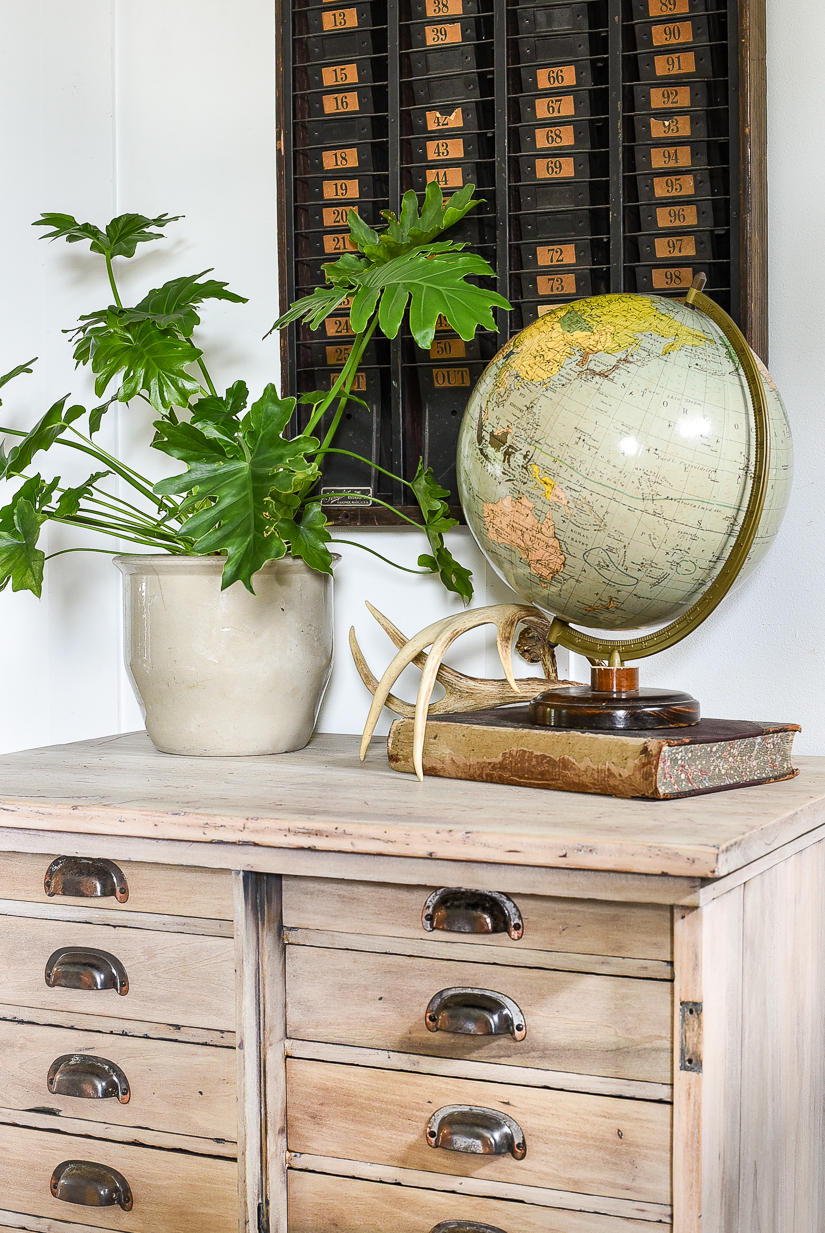
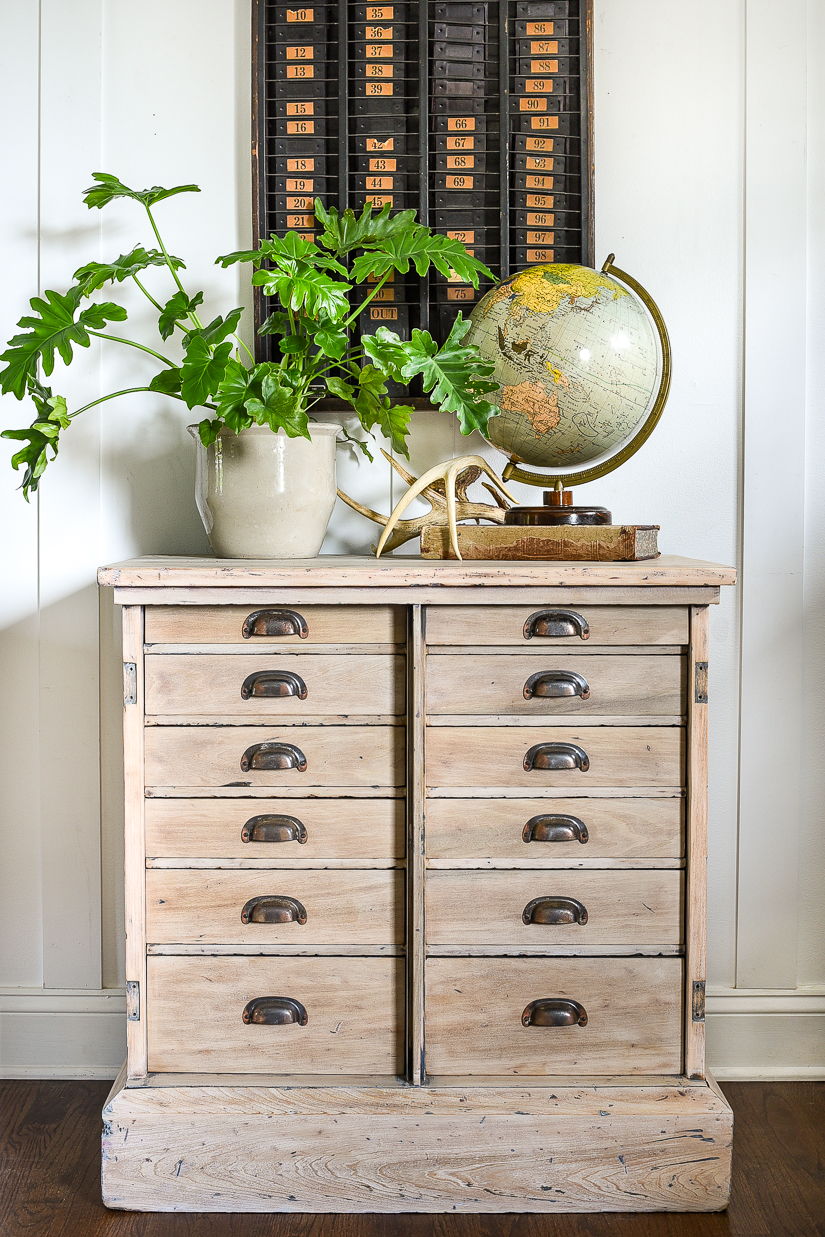
Antique raw wood multi-drawer stroage cabinet

raw wood look with liming wax

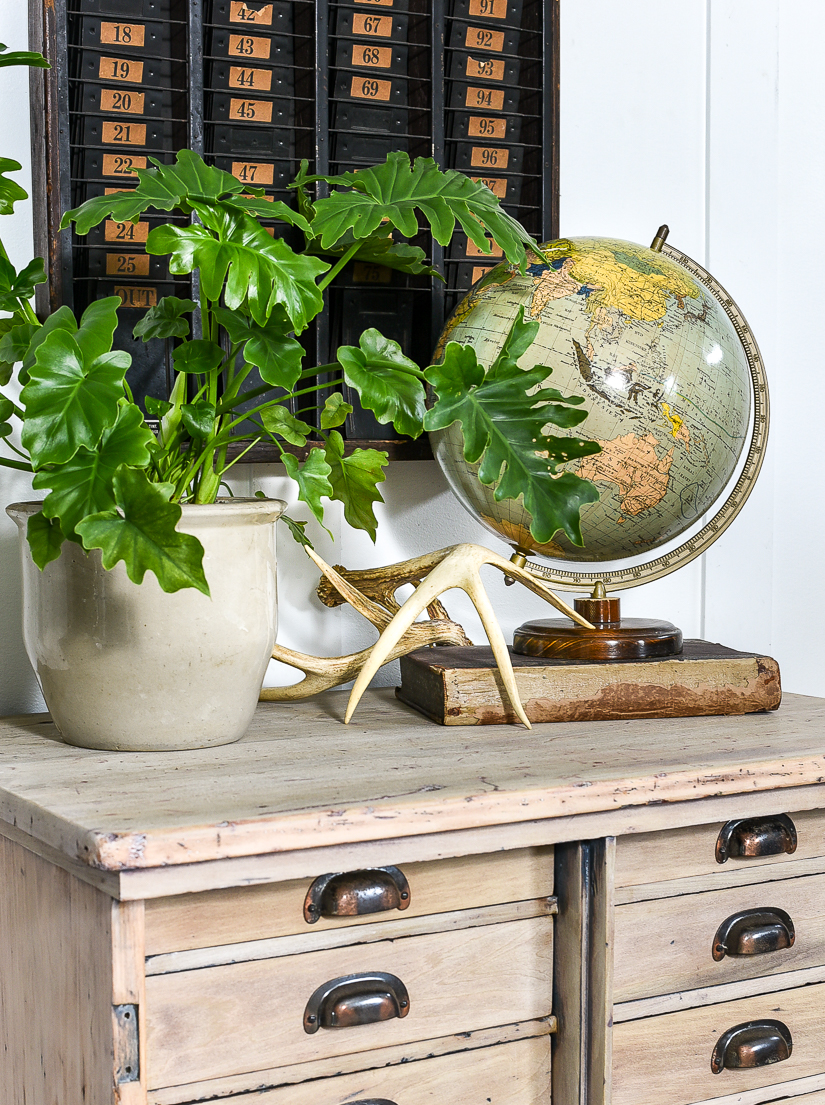
raw wood antique multi-drawer storage cabinet

I love antique pieces with loads of texture and character.  This one definitely has both!  

raw wood antique storage drawers

raw wood antique multi-drawer storage cabinet

raw wood multi-drawer storage cabinet

This antique multi-drawer storage cabinet came a long way from layers of paint and stain to a beautiful raw wood finish.  I can't wait to see how someone uses and styles it in their own home! 

What do you think?


     Pin it for later


before and after antique multi-drawer cabinet


shop our home


Click here to subscribe


Monday, August 7, 2023

Before and After: Refinished Six Drawer Oak Card Catalog


A damaged antique oak card catalog gets restored and refinished to its original beauty! 


One of my favorite aspects of antique furniture and decor is its undeniable character and history.

The dings, dents, and worn finish add depth, charm, and interest to any space. 

Sometimes, all they need is a good cleaning and wood conditioner to bring them back to life.  Other times,  a little more work and a complete refinish and restoration are required to maintain their charm and beauty. 

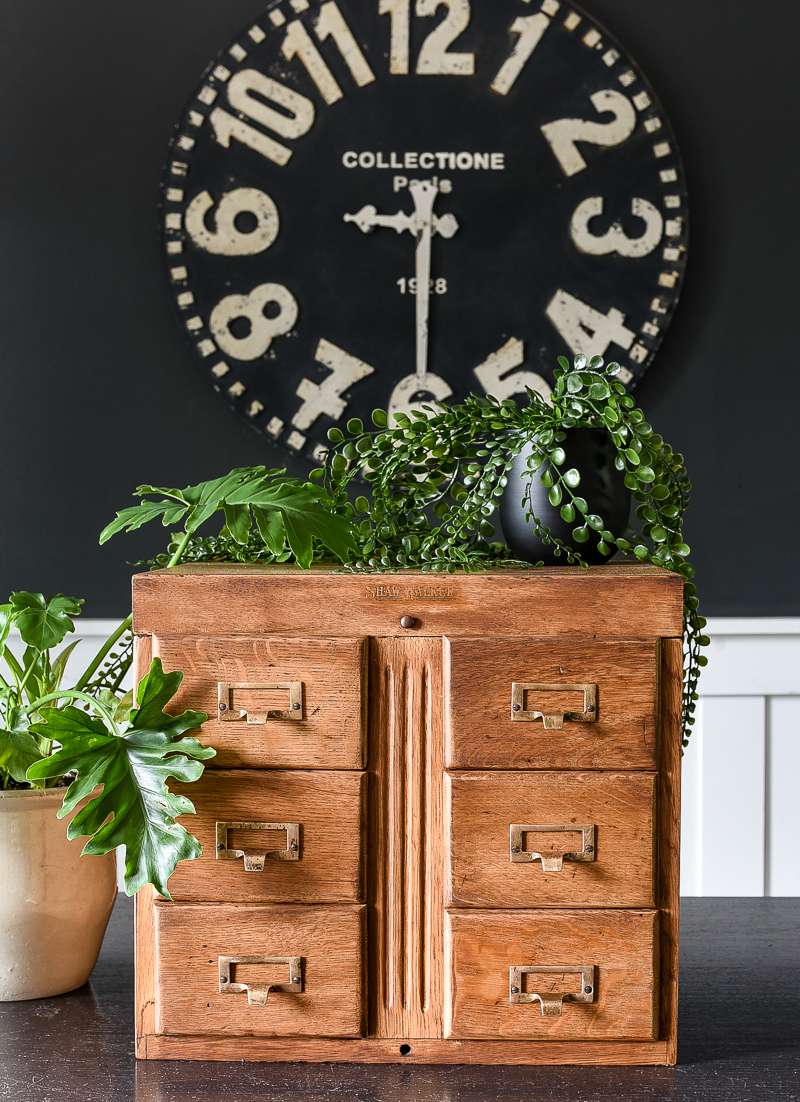
Refinished antique oak card catalog

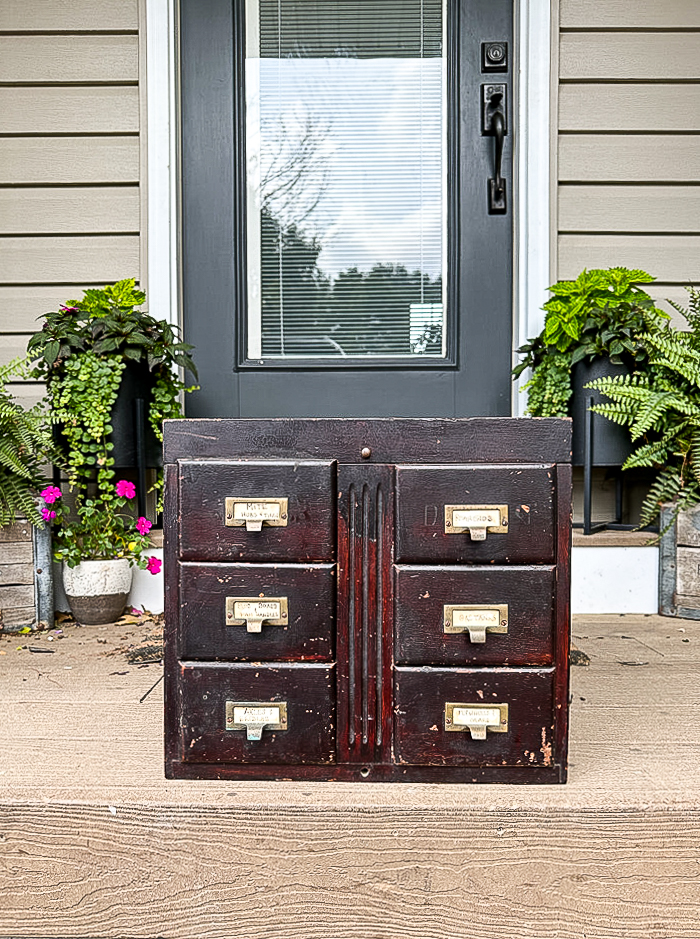
Just the other week, I came across a small six-drawer antique card catalog while checking out local online auctions. 

It was a little worse for wear with a cracked, uneven, and damaged finish.  I could tell right away though that it was an authentic oak antique card catalog that had potential.  

Antique card catalog before

Antique Shaw Walker oak card catalog

SUPPLIES NEEDED TO REFINISH AN ANTIQUE CARD CATALOG


- Sanding pads (80/150/320 Grit)
- Wallpaper scraper
- Disposable gloves
- Screwdriver
- Paintbrush
- Paper towels


HOW TO REFINISH AN ANTIQUE CARD CATALOG


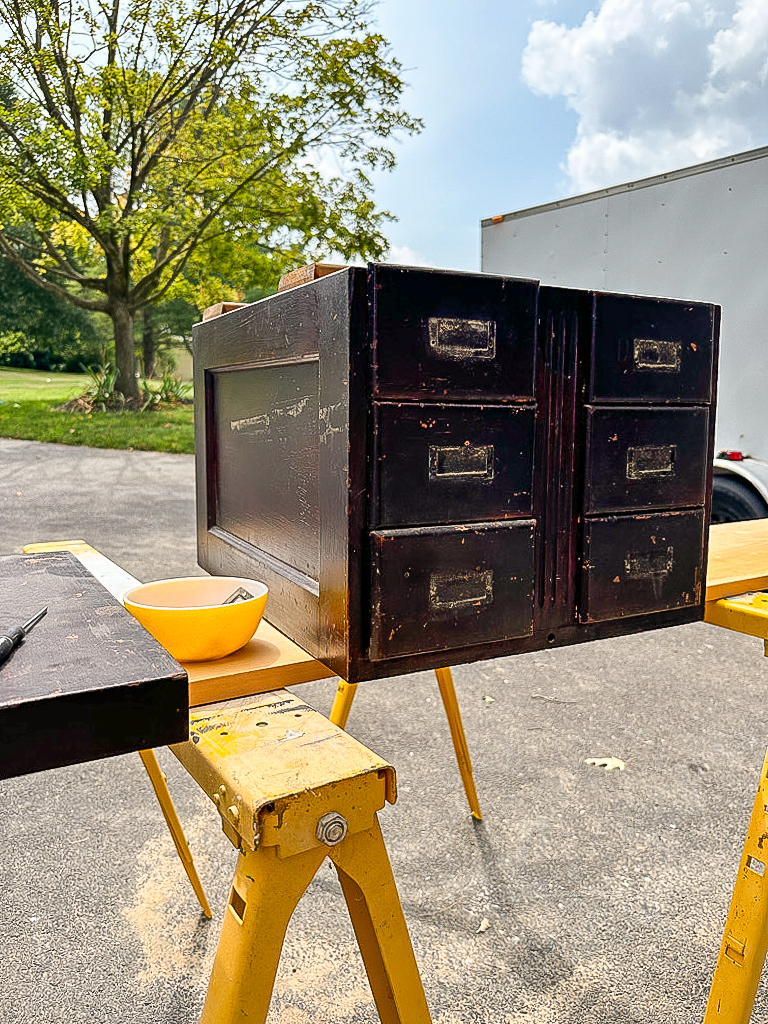
I was excited to get started on refinishing the card catalog and cranked it out in one incredibly hot afternoon.  I started by removing all the old hardware and setting it aside to clean and reattach later. 

Removing hardware from oak card catalog

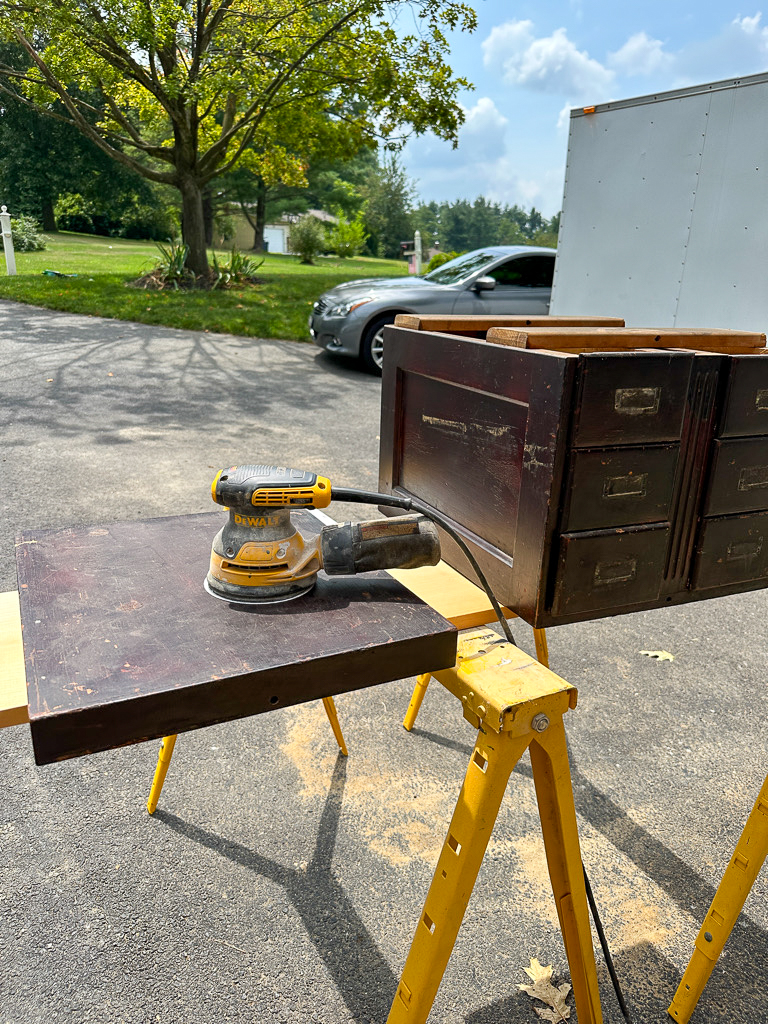
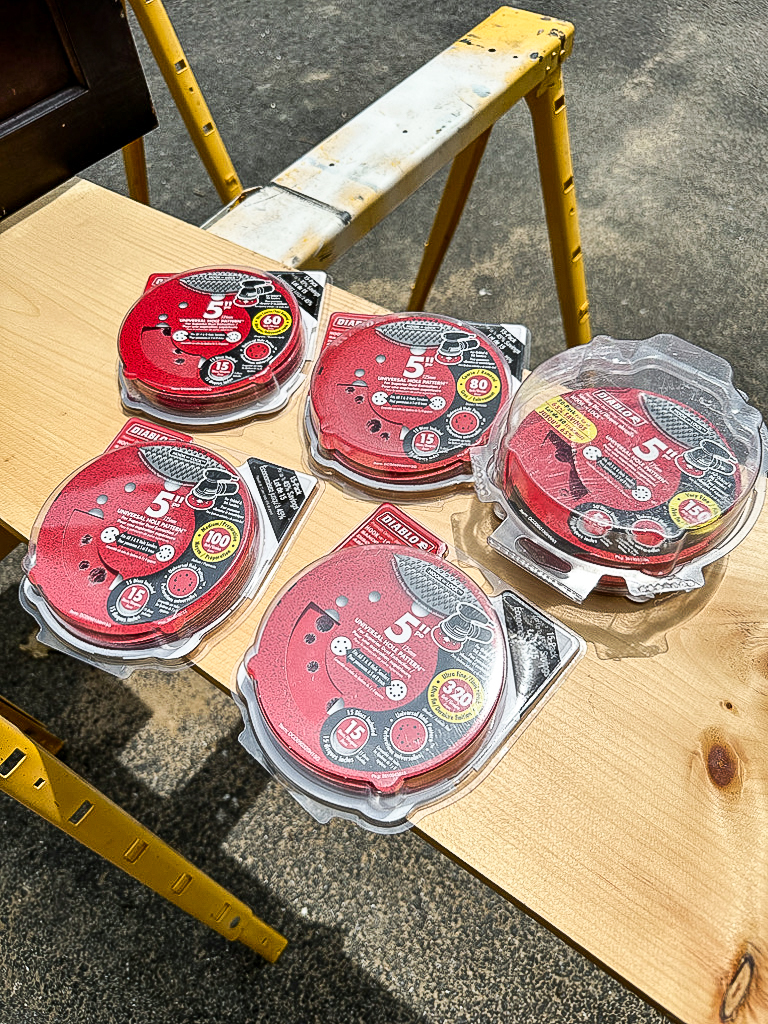
I prefer to sand off the majority of old stain rather than use a furniture stripper.  To remove the very dark finish from the card catalog I started sanding with 80-grit sandpaper then worked my way up to 320-grit. 


Sanding oak card catalog

Various sandpaper discs

Sanded oak card catalog

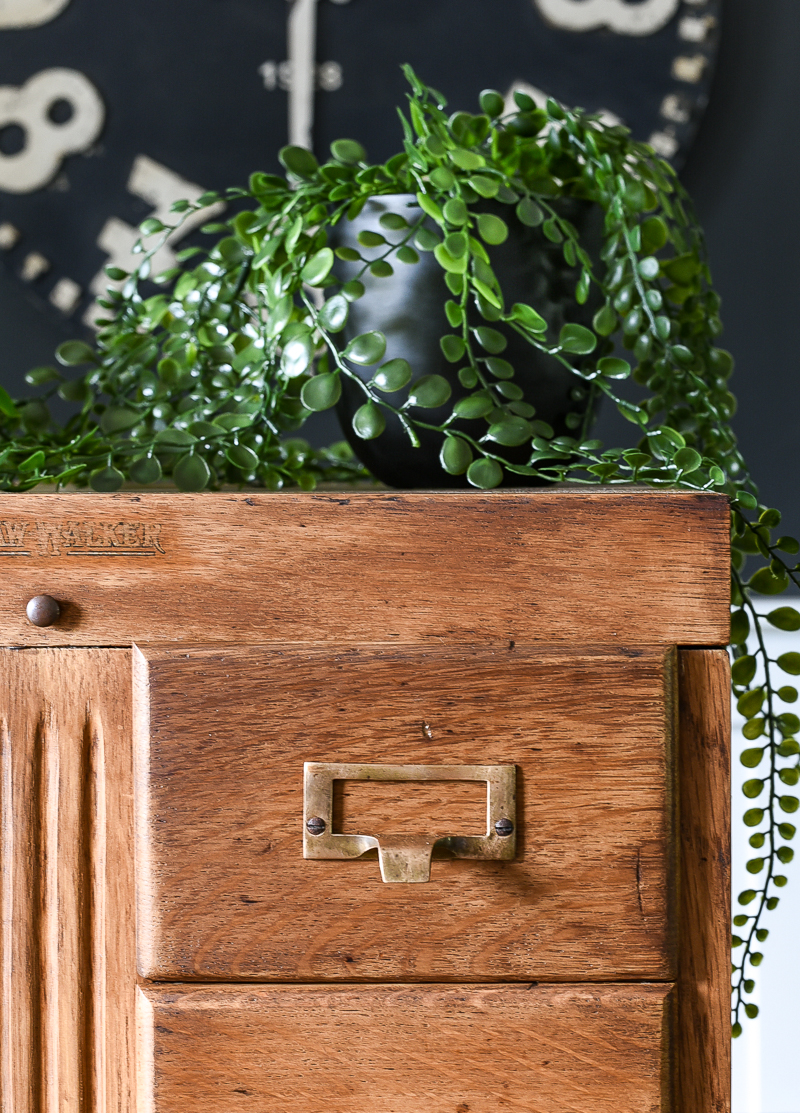
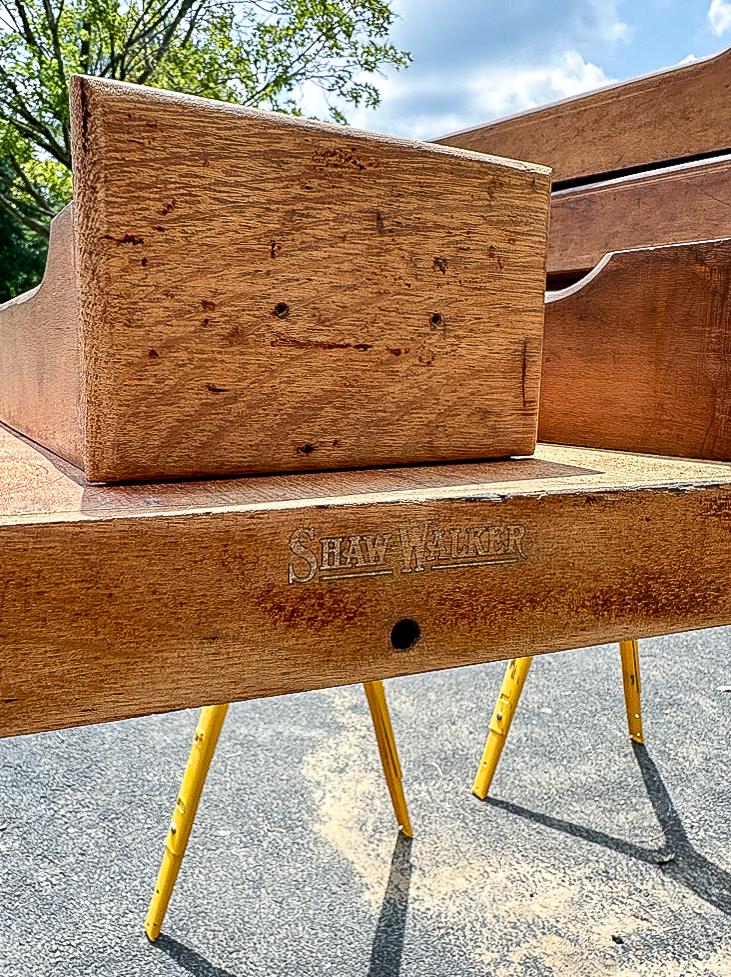
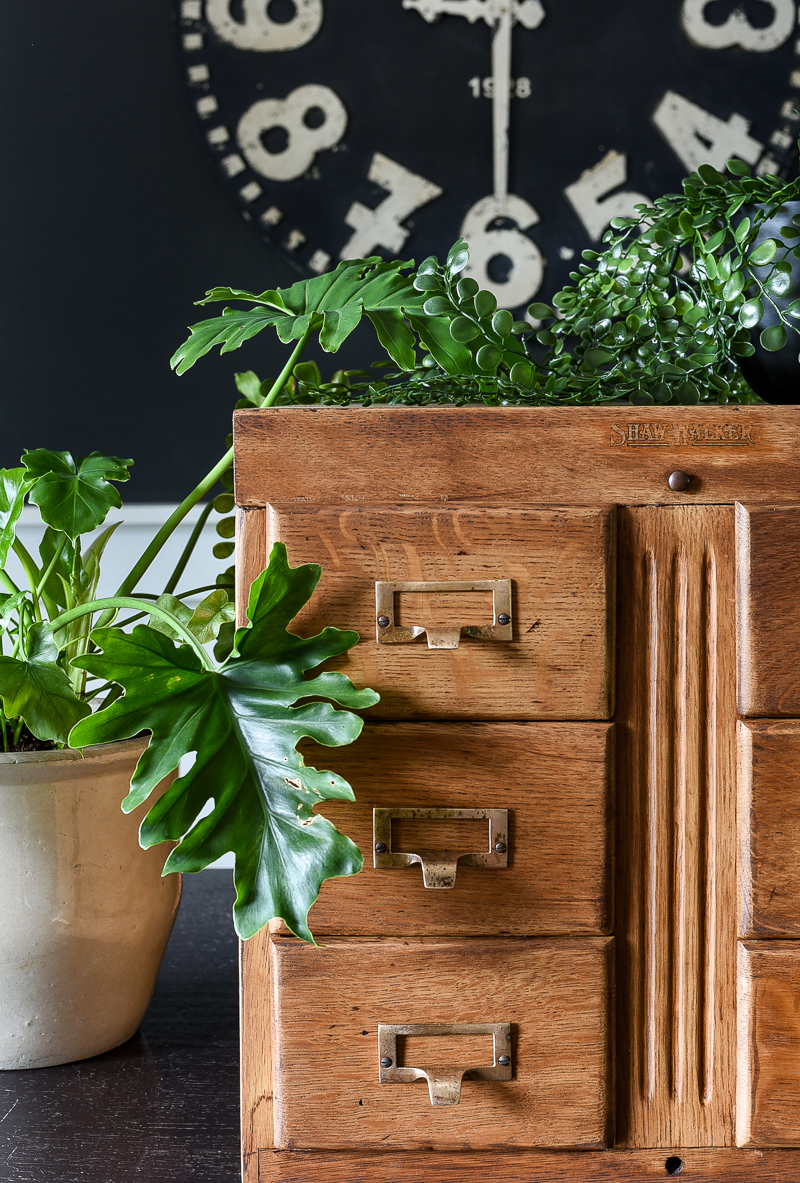
How cool is it that while sanding, I unexpectedly uncovered the original Shaw Walker maker mark?

I knew it needed to be salvaged, so I carefully sanded around the mark making sure not to sand it off.

Shaw Walker oak card catalog

To remove the stain from the corners and detailed trim, I switched to using Citristrip Stripping Gel.  I  don't like dealing with messy strippers, but it can come in handy when removing stain from hard-to-reach places.

Citristrip furniture stripper

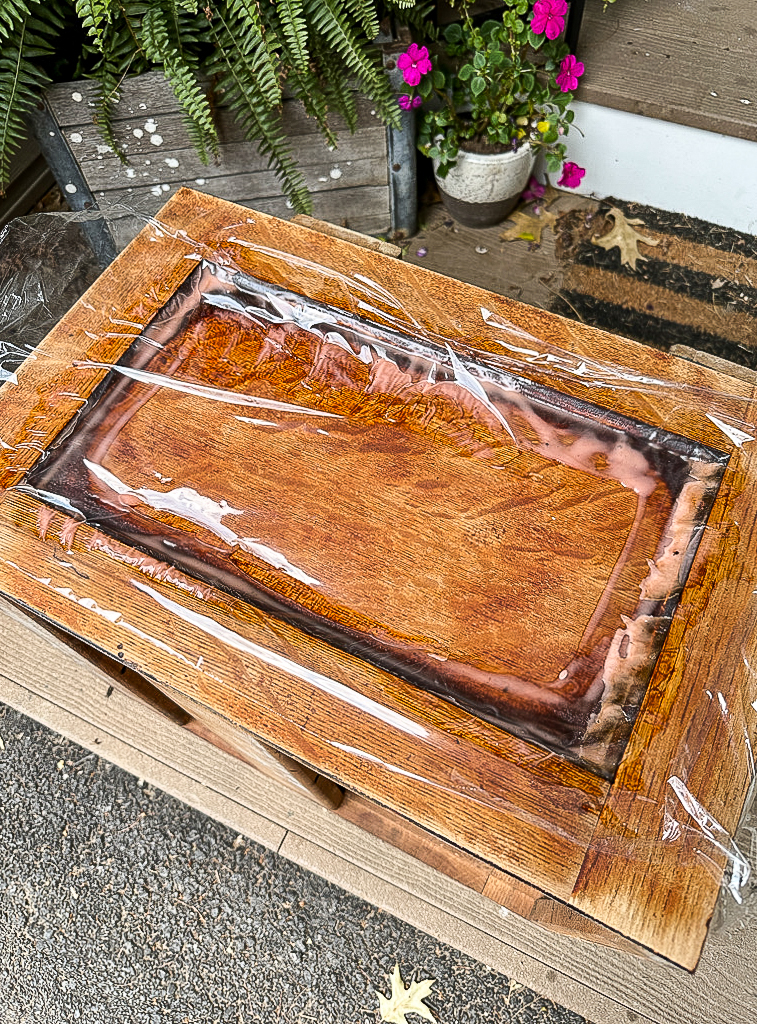
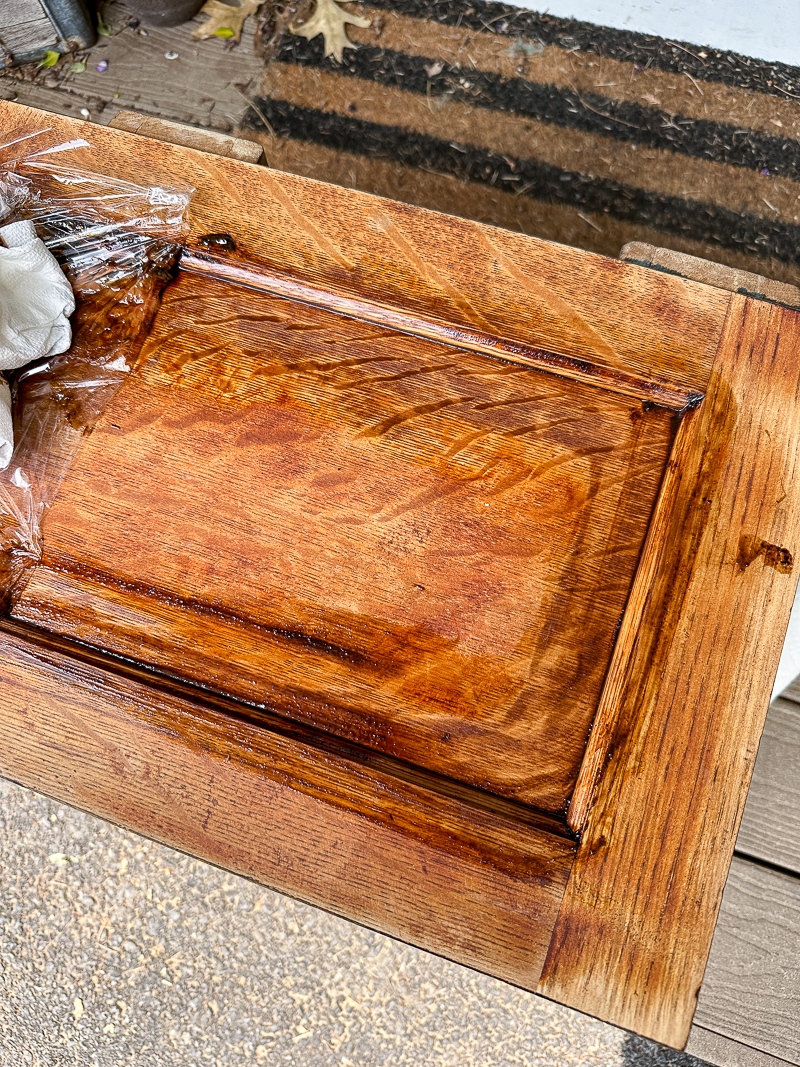
I poured Citristrip around the edge and along the curved trim, covered the area with plastic wrap, and let it sit for about 30 mins.  Covering the Citrisrip keeps it from drying out and extends the time it can be left on a surface. 


Stripping card catalog with citristrip

stripping card catalog with citristrip

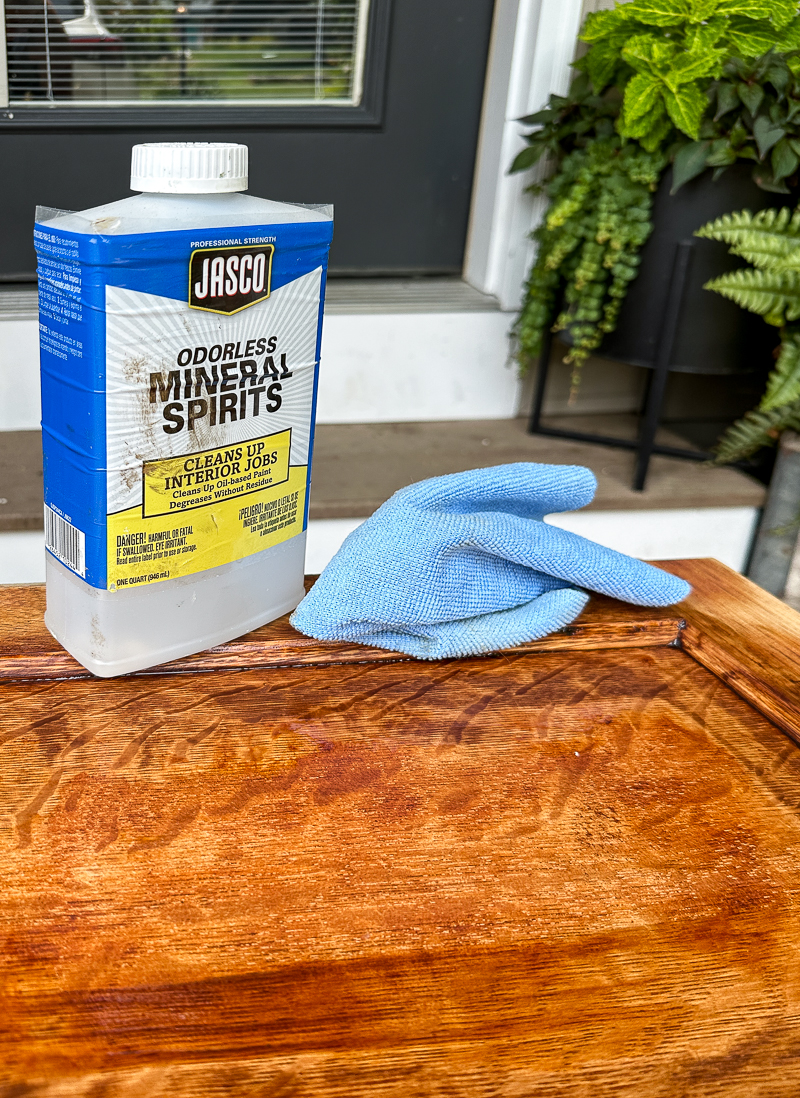
I repeated the process on the other side of the card catalog and the fluted front detail.  I wiped off as much Citristrip and old stain as I could then cleaned up the rest with Mineral Spirits.  

Cleaning card catalog with mineral spirits

Once the majority of the stain was removed,  I gave the entire card catalog another good sanding then wiped it down again with Mineral Spirits. 

Sanded and cleaned oak card catalog

After the wood was dry, I applied one coat of Special Walnut wood stain and two coats of water-based matte poly. 

Clear waterbased matte poly

I prefer the look of age and patina and hadn't planned on cleaning the original hardware, but it really was pretty cruddy.  A good soak in hot soapy water and a little scrubbing with Bar Keeper's Friend was all it needed to remove the majority of build-up. 

Refinished antique oak card catalog

Refinished antique oak Shaw Walker card catalog

Refinished oak card catalog

Refinished oak card catalog

The refinished antique oak Shaw Walker card catalog still isn't perfect, but it sure does look a lot better with its new brighter finish.  

It's fresh and clean, yet still has some of its original dings, character, and charm!


     Pin it for later


before and after antique oak card catalog


shop our home


Click here to subscribe


Monday, June 19, 2023

Furniture Makeover: Sleek White Painted Credenza


A dated wood credenza gets a sleek makeover with white paint, black metal feet, and new cup pulls!


In January, after five years of being at the same location, I decided to leave my brick-and-mortar vintage booth.  At the time, it was causing unnecessary stress and wasn't the best fit anymore.

Fast forward a few months...

I was approached with the opportunity to return to my old booth under a new owner and name!  For the past month, I've been working alongside a great group of talented vintage and home decor lovers to clean, paint and renovate the old dairy barn into a beautiful, fun, and hip monthly market.  

Getting back to a vintage booth of course meant getting back to painting and updating more furniture!

Today, I'm sharing a quick before and after of a recent credenza makeover and my favorite displays from our Grand Opening last weekend. 

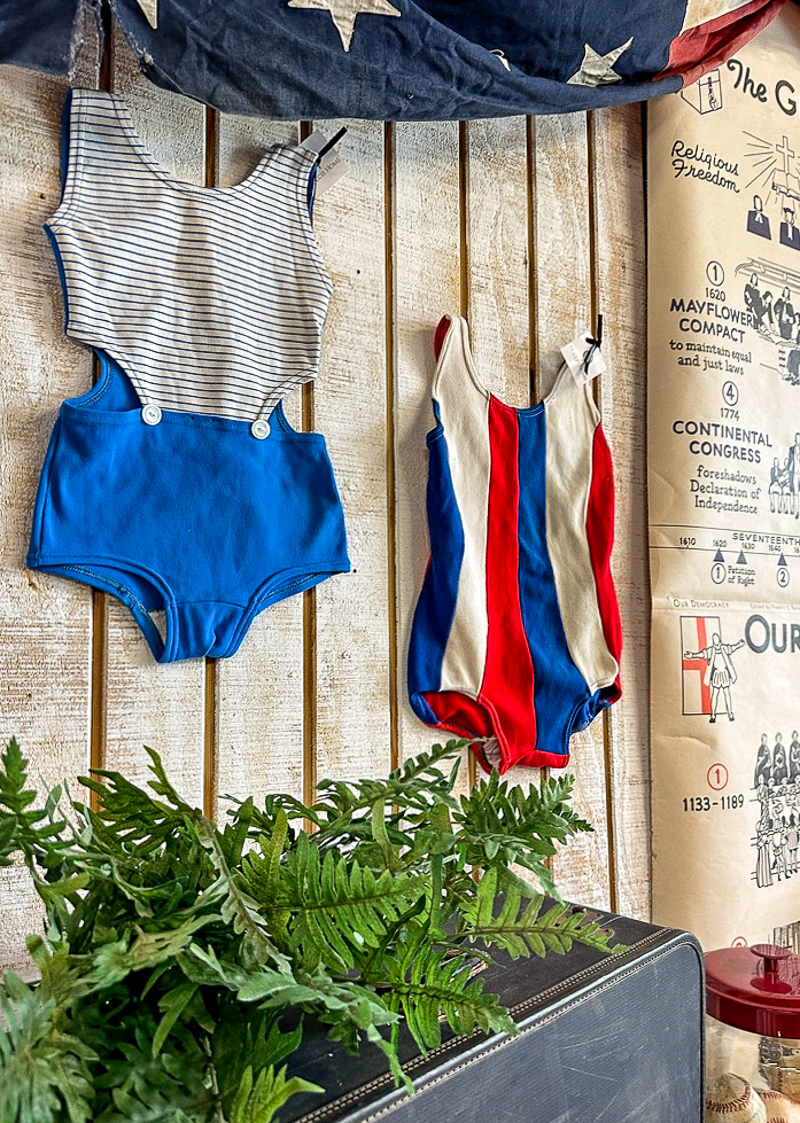
Vintage americana bathing suits


SUPPLIES NEEDED TO PAINT A DATED PIECE OF FURNITURE


- Old piece of furniture (great secondhand furniture sources
Fusion Mineral Paint (I used Casement) 
- 80, 150, and 320 Sanding Pads
Dewalt Drill with Drill Bits
- Inexpensive paint brush (to use with primer)
- Screwdriver
- Hardware
LA's Totally Awesome (Dollar Tree sells this cleaner too!)
- Paper Towels


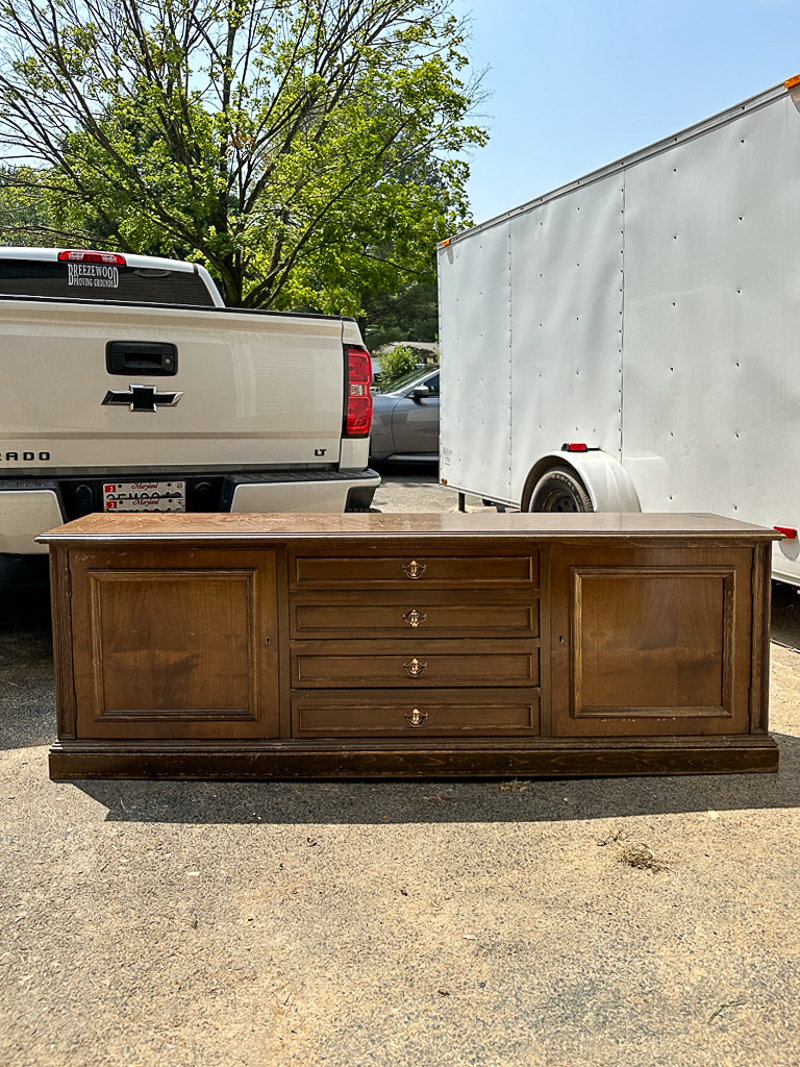
I found the credenza on Facebook Marketplace for $40.  It had some damage and was a little short, but it was solid, had dovetail joints, and was an ideal project piece. 


Dated wood credenza before

First, I fixed the height issue with the addition of four black metal triangle cabinet feet.  They're the same ones I added to the antique card catalog in my home office.  I knew they would be the perfect stylish fix to lift the credenza to a better height. 

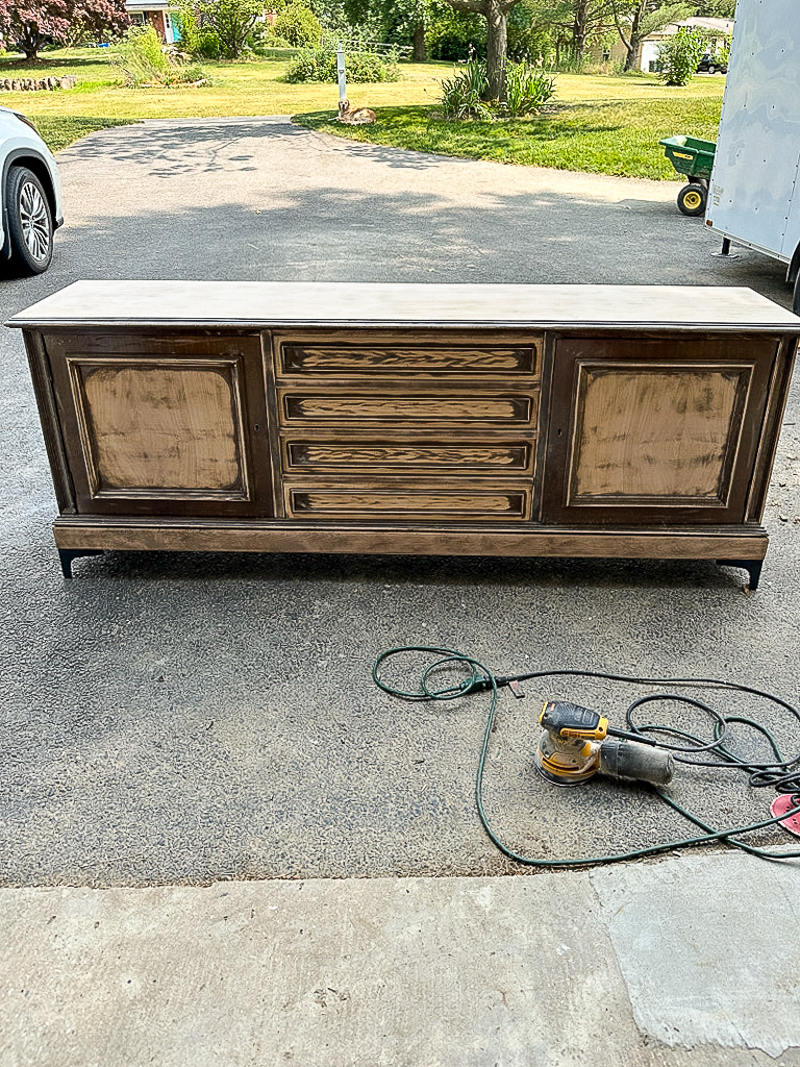
After I added the feet, I started sanding the entire piece with 80-grit sandpaper.  Originally, I wanted to do a raw wood finish, however, I quickly realized the drawer fronts weren't solid wood.  I ended up sanding the top raw and then the body just enough to remove the chippy and uneven clear coat.

I started with 80-grit sandpaper then worked my way up to 320-grit for a nice smooth finish.

sanded wood credenza

I thoroughly cleaned the entire piece, and applied three coats of my favorite shellac primer and two coats of Fusion Mineral Paint in Casement, sanding well between coats.  

I finished the piece with General Finishes Satin Finishing Wax and new black metal cup pulls

Primed credenza
I didn't have time to stage and take pictures at home, so pictures from our collaborative space at Lily & Birch will have to do. 

We created a vintage Americana display and the white credenza was the perfect addition.

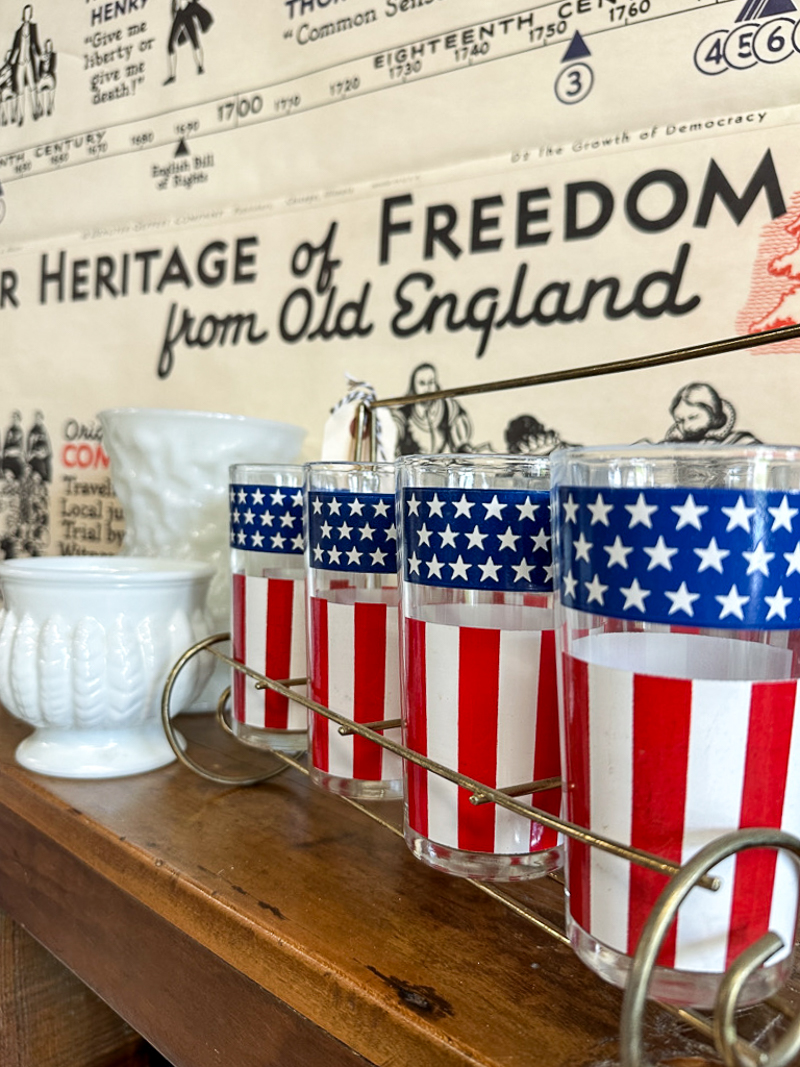
Vintage American flag glasses

vintage red,white,blue display

Updated painted white credenza


Aren't these vintage bathing suits from Dulcis Home absolutely adorable and perfect for Independence Day decorating? 

Vintage Americana display

painted white credenza with American staging

The entire barn looked incredible for opening weekend!  Here are a few photos from some of my favorite displays and vignettes. 


Black painted mcm dresser


Vintage yardlong display, vintage display


vintage neutral display


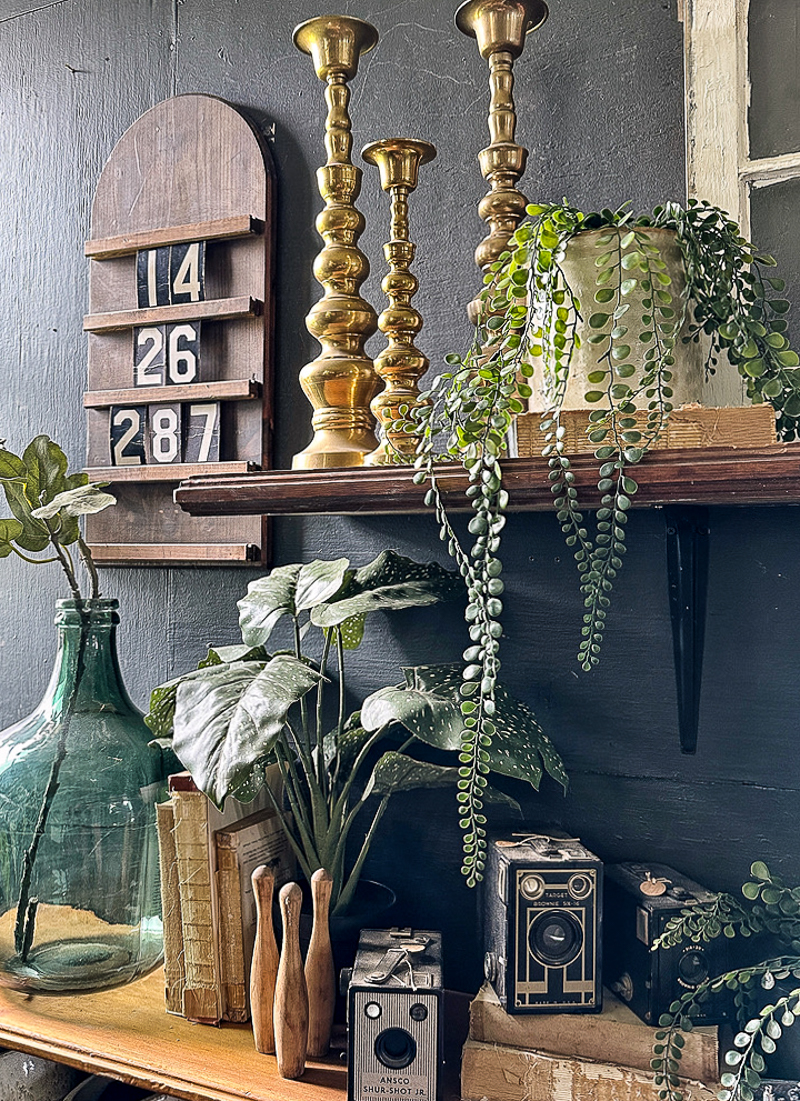
vintage camera display


neutral vintage display

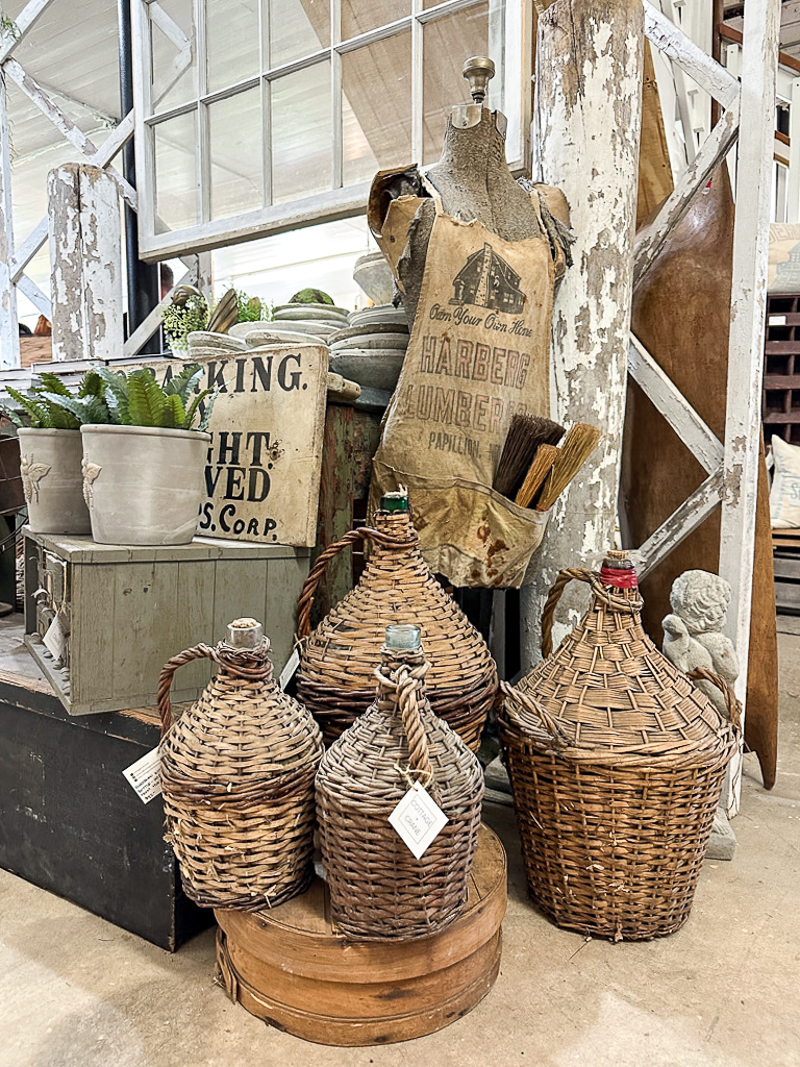
vintage wicker wrapped demijohn

vintage wicker wrapped demijohns

Lily and Birch Market


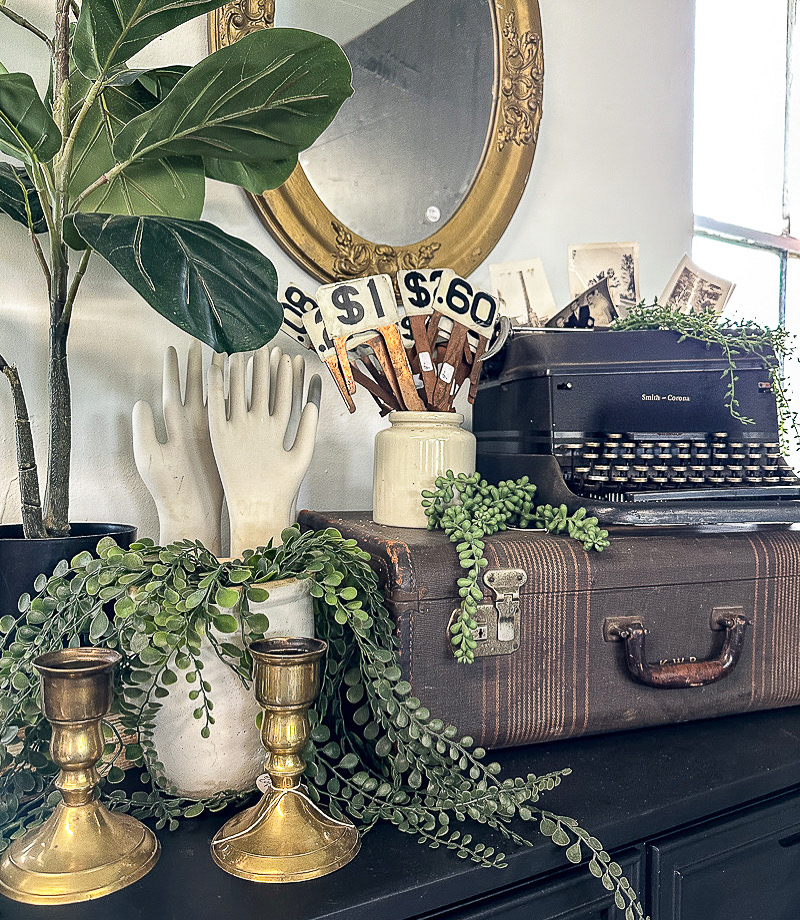
Vintage brass canlde holder display


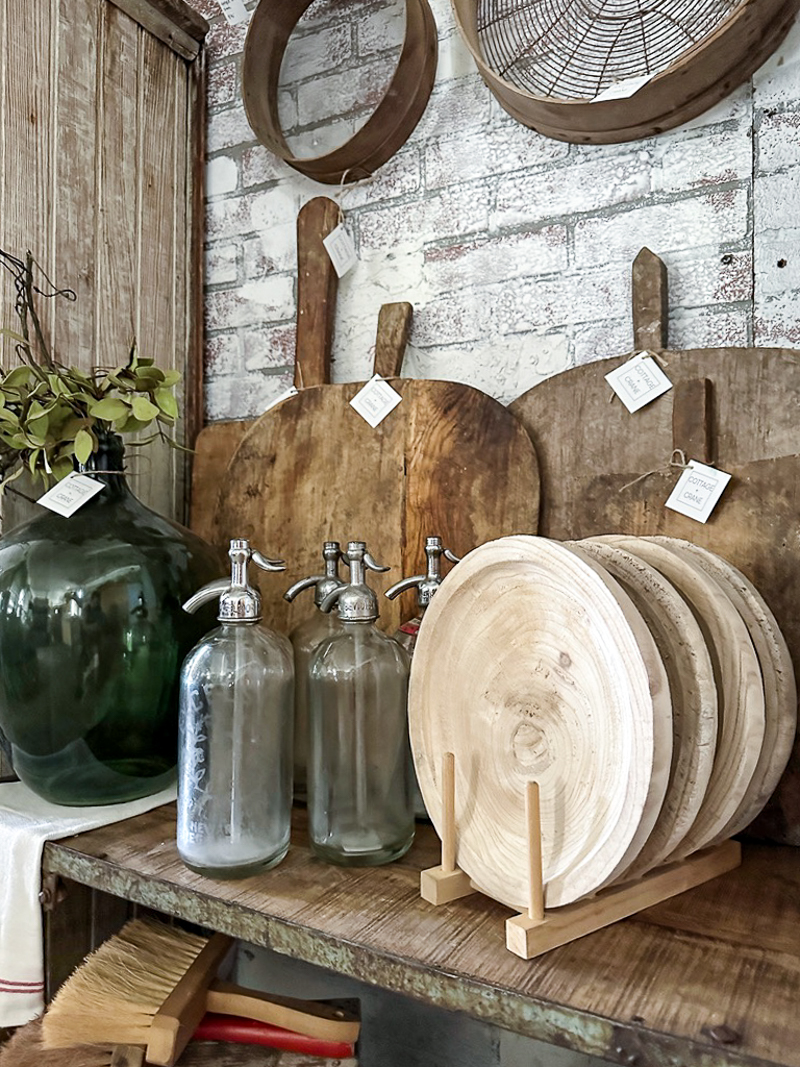
antique european breadboards

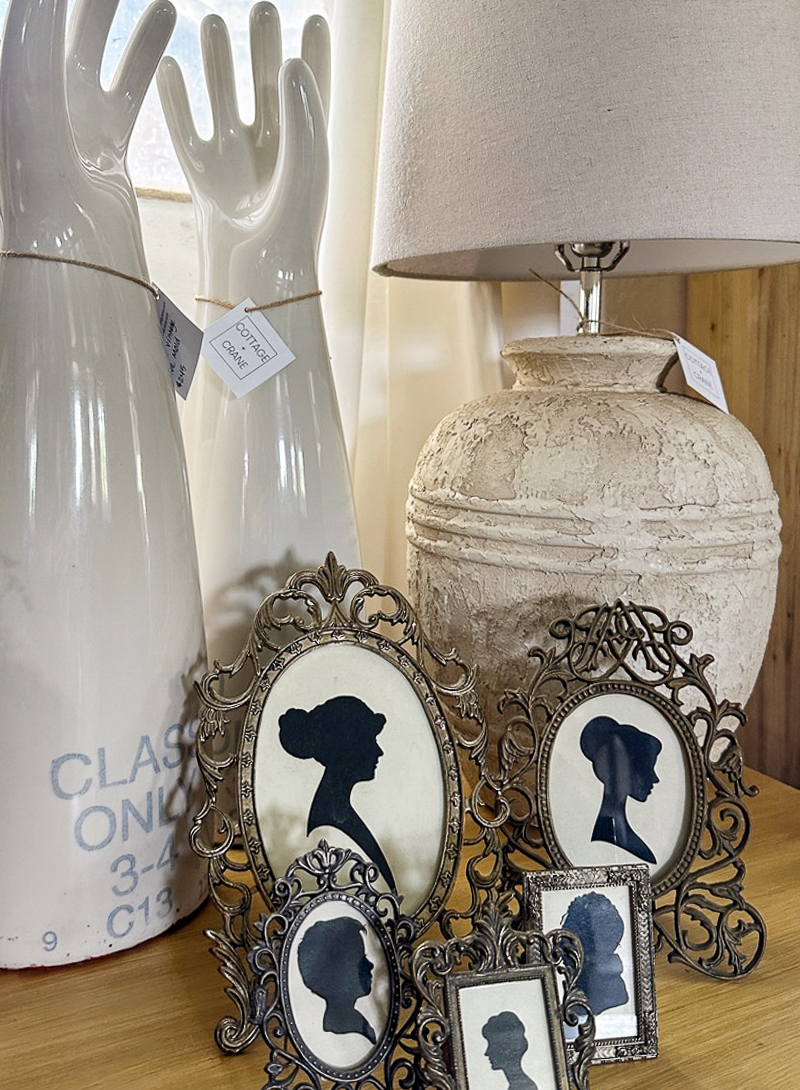
antique silhouettes pictures, vintage glove molds

vintage wood sign, vintage european cupboard

vintage display

Vintag barware, vintage ice buckets

Vintage flag, antique wood furniture


vintage booth display
Source: Dulcis Home

vintage jeans display


vintage shirts


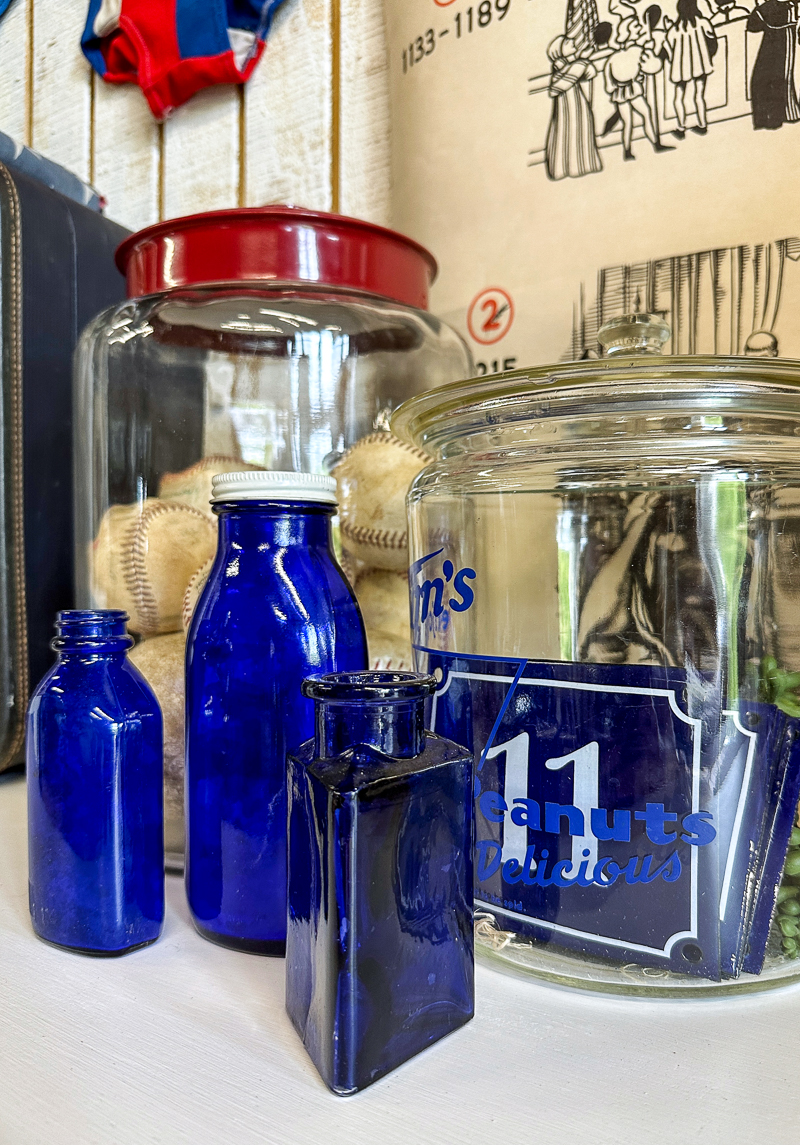
antique bottles

Our grand opening last weekend was amazing!  Mimosas, cookies, shopping, music, food, and lots of laughs, fun, and good vibes.  I could not ask for a better team to be a part of. 

Come check out Lily & Birch Market if you live near or around Frederick, MD.

Lily and birch market sales dates


pin it for later

Vintage Americana display


shop our home


Click here to subscribe