Learn how to beautifully age, distress and transform new wood drawers into perfectly distressed vintage-inspired storage.
Happy Monday, Friends!
I hope you all had a lovely weekend. I just got back from a week in Myrtle Beach and it was just what this girl needed. Lots of sunshine, amazing food, relaxation and much needed time away from work and social media.
As much as I enjoyed the break, I was definitely ready to get home and back to work. As soon as the car was unpacked, I started on a dresser makeover then gave new storage drawers a cool vintage-inspired makeover.
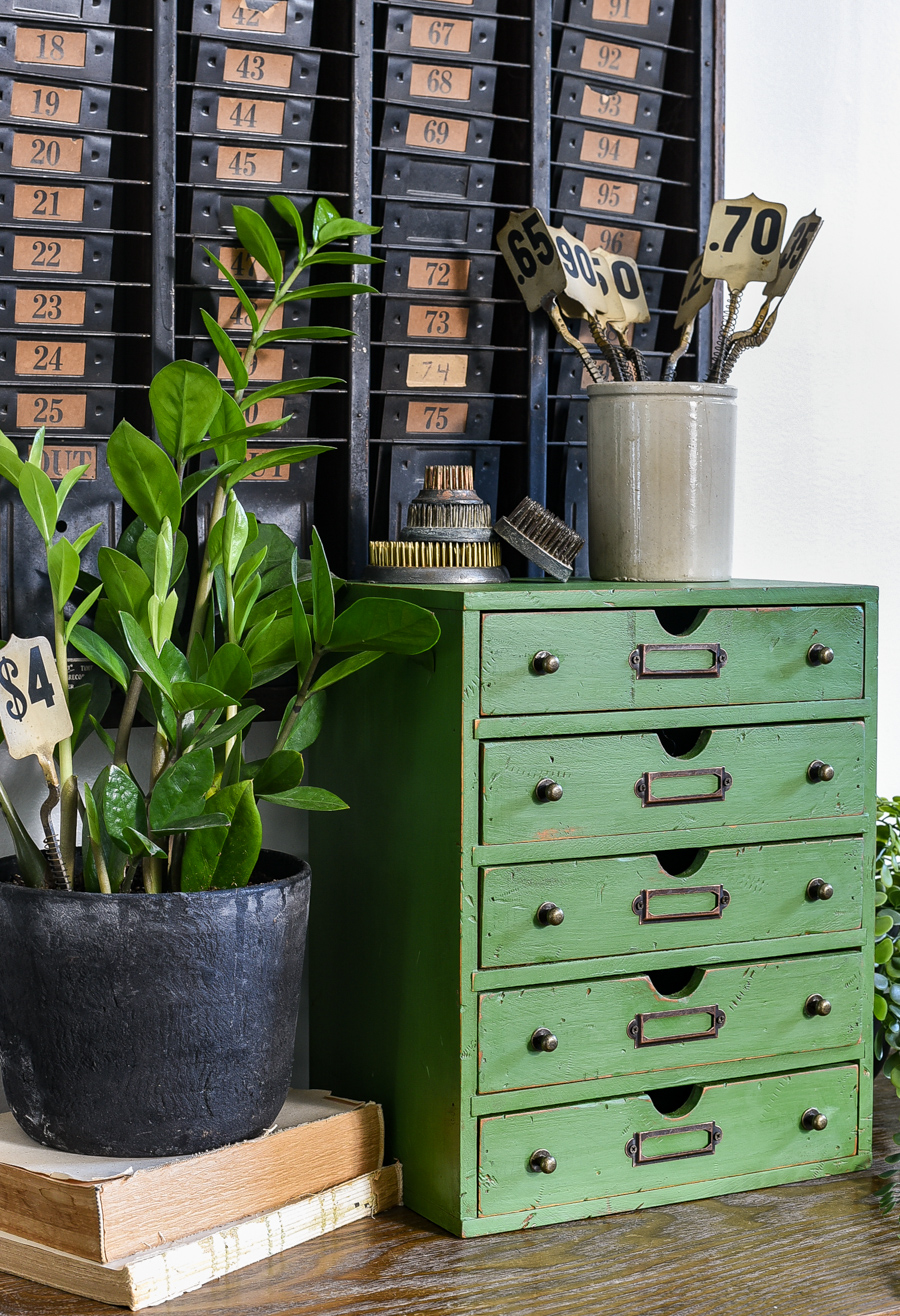
I love green and I love vintage, so I combined the two to turn new wood drawers into beautifully aged vintage-inspired storage.
SUPPLIES NEEDED TO AGE NEW WOOD
- Small storage drawers (I got mine free from a friend, but yard sales, thrift stores and flea markets are great secondhand sources)
- Paint (I used Shackteau Interiors Milk Paint in Village Green)
- Old English (for dark woods) or Dark Antique Wax
- Multi-Purpose Cleaner- Medium Grit Sandpaper
- Screwdriver
- Hardware (mini antique knobs, bronze label holders)
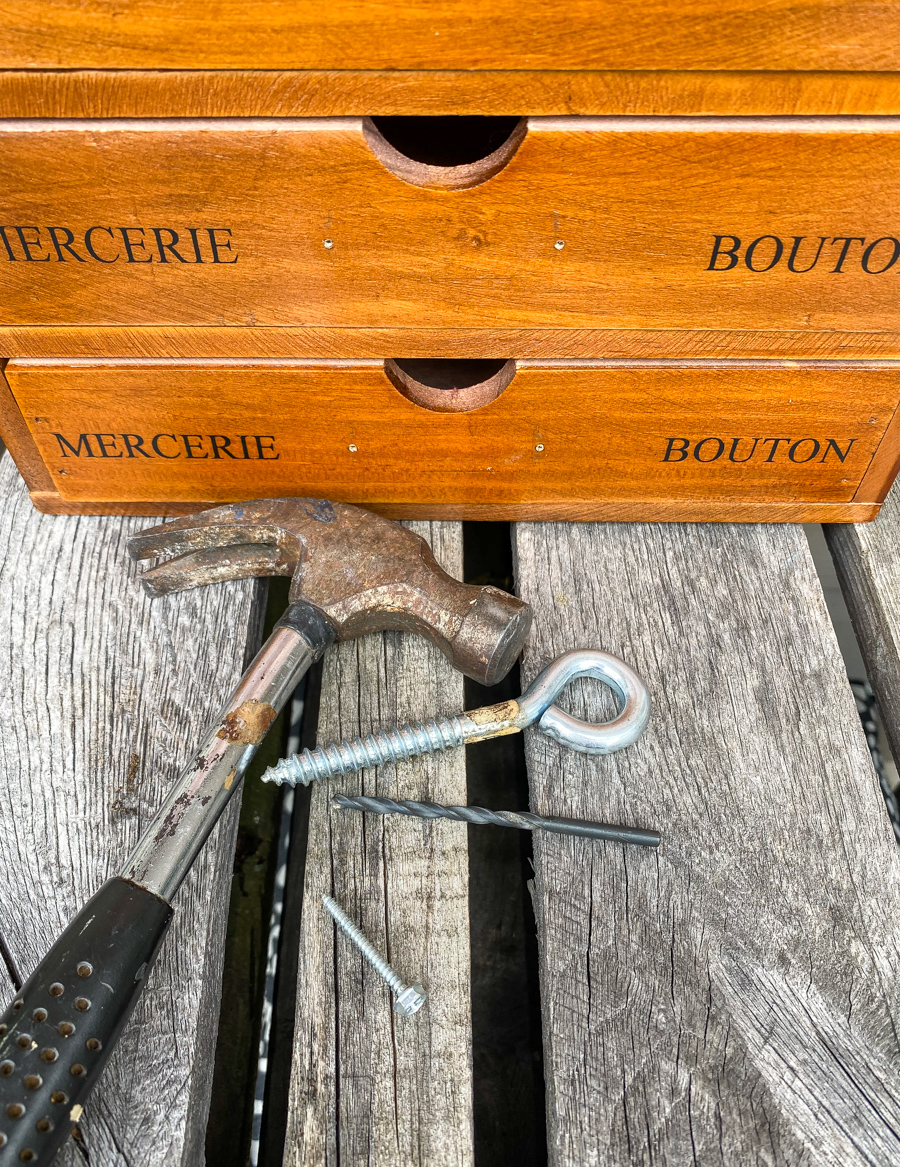
- Tools For Distressing (hammer, multiple size screws, drill bit, etc.)
- Paper Towels
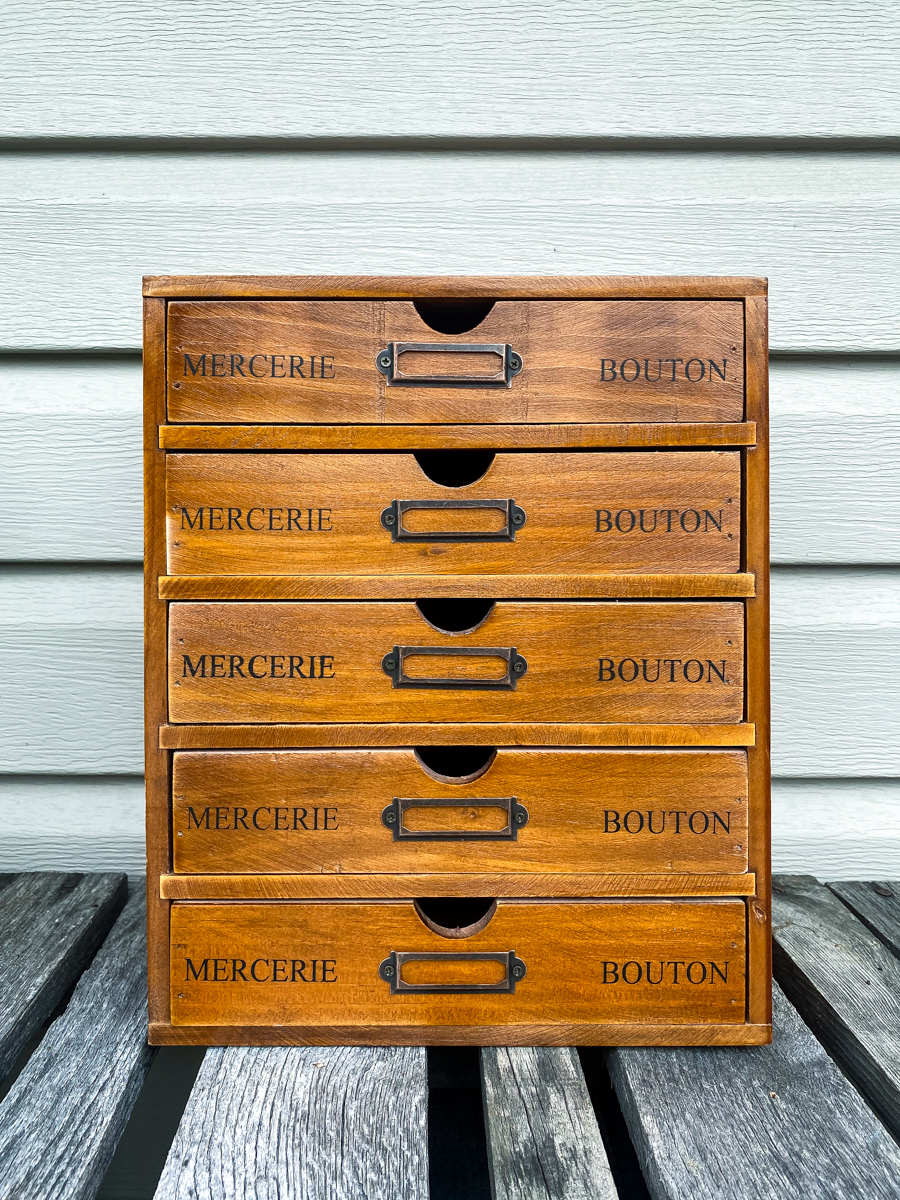
I got these little storage drawers from a friend who was moving. She offered them to me and as soon as I saw them I knew they would be perfect for an aged wood, vintage-inspired makeover.
I started by removing the hardware but kept it aside to use later.
Once I had a clean slate it was time to make these new wood drawers look old, aged and worn.
How to make new wood look old
STEP ONE: Clean
Prepare the wood for painting by cleaning with a good cleaner.
STEP TWO: Mix Paint
Milk paint is my favorite paint to use to achieve the perfect chippy look. Milk paint will adhere to unfinished wood, but will typically resist some finishes, resulting in a beautiful chippy finish.
True milk paint comes in a powdered form and needs to be mixed with water and then left to sit for about 10 minutes before using.
STEP THREE: beat up wood
Beating up and damaging new wood is my favorite part of creating the look of old, damaged and aged wood. Screws, drill bits, nail punches and hammers are great tools to use to create holes, knicks, dents and dings for the perfect aged look.
Simply lay the screws and drill bits down then hit them hard on top with a hammer to create nice long impressions. Use the same tools to poke into the wood to create different random holes. The hammer can then be used to make gashes, dings, dents and perfectly imperfect imperfections.
STEP FOUR: Paint
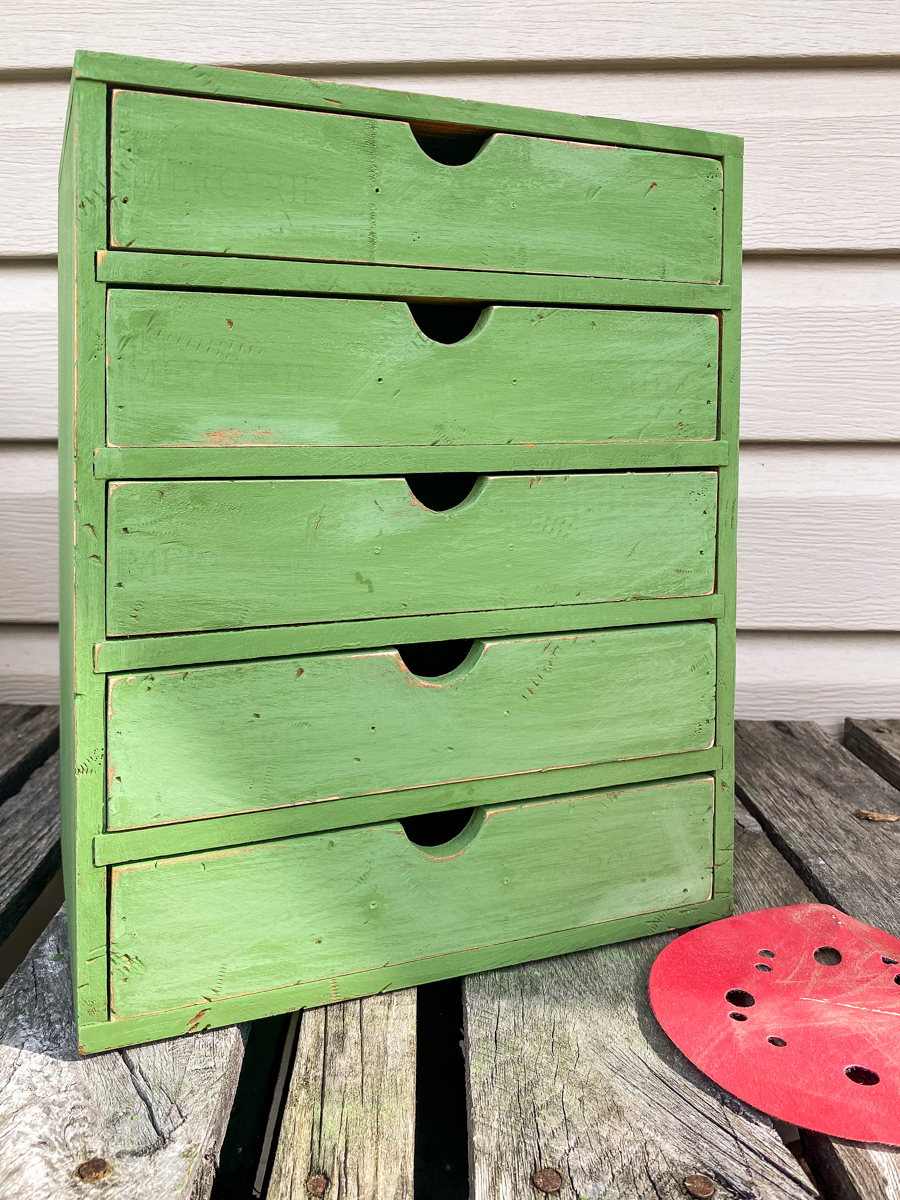
Apply two-three coats of milk paint to stained or unfinished wood. I purposely did not sand my wood drawers before painting in hopes that the paint would resist and chip. Milk paint can be very unpredictable though and in this case, the paint adhered to the wood and did not chip.
If you want to ensure chipping, apply clear wax to your wood in the areas you want it to chip and resist.
STEP FIVE: Sand
Once the paint is dry, lightly sand and distress with medium grit sandpaper.
STEP SIX: Wax and Age
Seal the milk paint with clear wax then apply a light coat of dark antique wax or Old English. The Old English will enhance the knicks and gashes and will give the paint a darker aged look.
In the picture below, the first 3 drawers were treated with Old English and you can see that it gives the green paint a darker and more worn look.
STEP SEVEN: Add hardware
Finish off your project by adding vintage or vintage-inspired hardware.
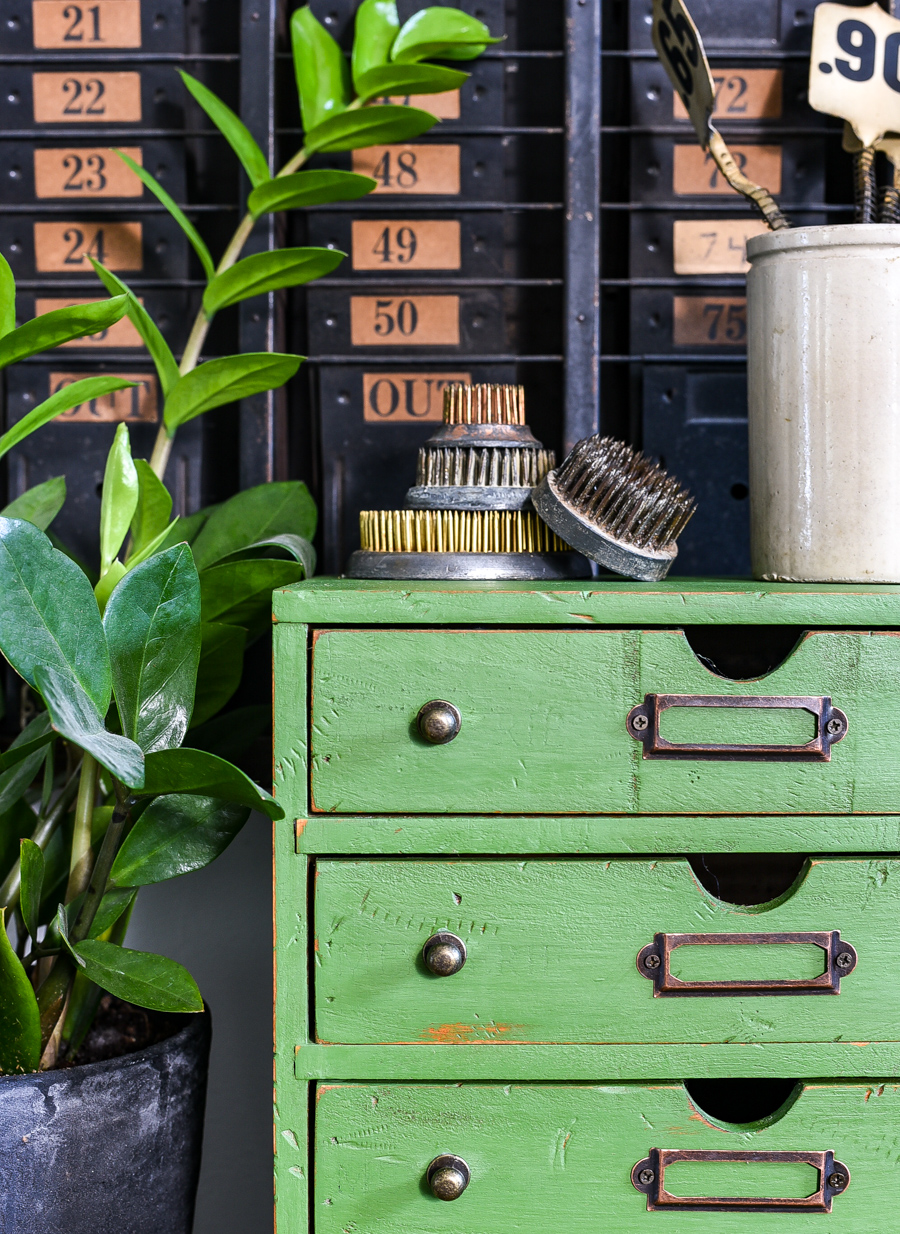
Fortunately, the storage drawers I was updating had great hardware, so I reused the original hardware and then added additional mini antique knobs.
Helpful Resource: The Best Places to Buy Metal Label Holders and Pulls.
I couldn't be happier with how these little vintage-inspired storage drawers turned out. From new and basic to perfectly worn and aged. They would make a unique vintage-inspired addition to any office or craft room.
For even more vintage-inspired storage inspiration, check out these fabulous faux apothecary cabinets and multi-drawer pieces!








0 comments: