Tuesday, September 19, 2023

Vintage Wall Art: DIY Poster Hanger


Turn ordinary posters into custom wall art with this easy DIY poster hanger tutorial!


Last year, I found an incredible complete set of vintage school charts.  

I planned on selling it at a vintage market, but at the last minute, I decided to bring it home, take it apart, and make individual posters. 

Before you gasp that I destroyed an antique, let me explain. 

The set of vintage school charts dates back to 1887.  The paper is brittle, making it challenging to flip through the charts without causing further damage. 

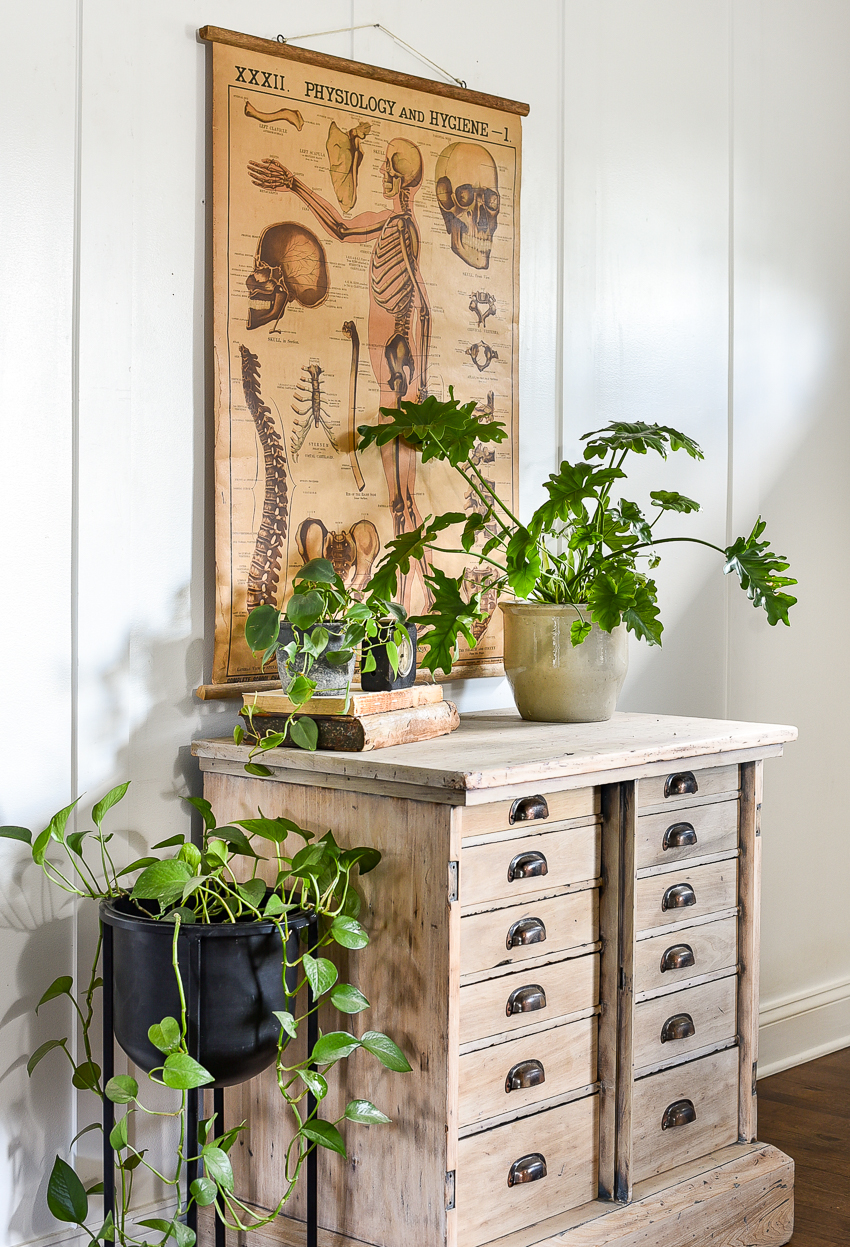
It was best to take them apart and create a way to preserve each page individually.    I achieved this by making wood hangers for each chart.  The charts can now hang separately or as a group. 


DIY wall art using vintage school charts

vintage loot shoot

how to make a DIY poster hanger

SUPPLIES TO MAKE DIY POSTER HANGERS 


- Aged trim wood (I found mine at Habitat for Humanity.  You can also buy new wood and stain it the color of your choice) 
- Saw (jig or miter saw)
- Tape measure
- Medium grit sandpaper
- Drill
- Drill bits
- Scissors 


HOW TO MAKE DIY POSTER HANGERS


I wanted to use old or aged wood for my poster hangers to keep with the authentic vintage vibe of the old charts.   I headed to my local Habitat for Humanity to see what I could find. 

wood at Habitat for Humanity

Thankfully, they had a large pile of trim wood to choose from. 

Amongst all the natural wood I found a bundle of old corner round that had seen better days.  It was worn, and weathered, and at only $2.00 a piece, it was perfect for the poster hangers. 

aged wod from Habitat for Humanity

STEP ONE: MEASURE AND CUT WOOD

Once I had all my supplies, I measured the size of the vintage school charts and then measured and cut the trim wood to size.  I used a jigsaw, but a miter or a handsaw would work just as well.  

I lightly sanded the ends of each wood strip to knock off any rough edges.

cutting wood for poster hanger


antique school charts


vintage school charts from 1887

STEP TWO: ATTACH WOOD STRIPS

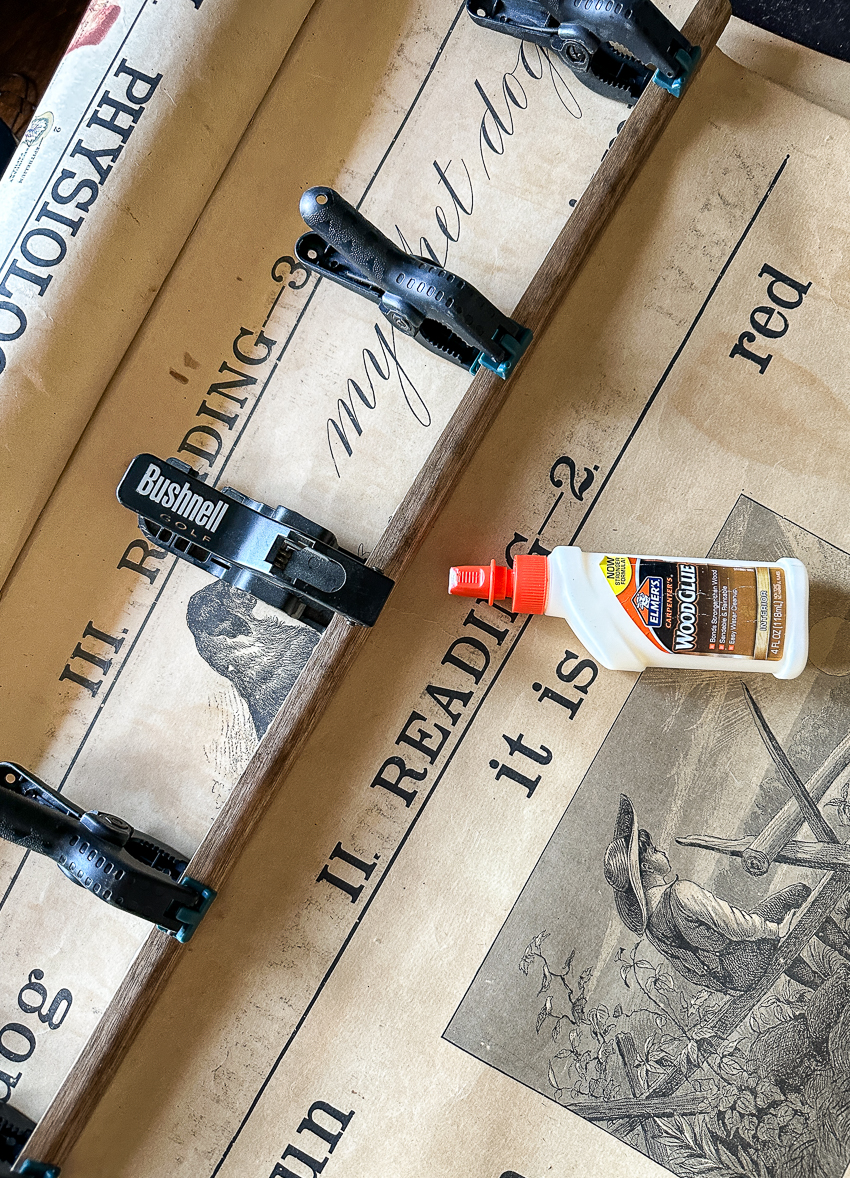
I carefully laid out one poster, applied wood glue to one strip of wood, placed the top edge of the poster overtop, and then gently pressed them together. 

Tip:  Staple the paper to the wood or use plastic clamps to hold the wood and paper in place until the glue is dry.

Attaching wood to charts

Attaching wood to vintage school charts

I applied glue to the other side of the top of the poster, placed another wood strip on top, and then clamped all three pieces together until the glue was dry. 

clamping wood and paper chart together


STEP THREE:  ATTACH HOOKS AND TWINE FOR HANGING

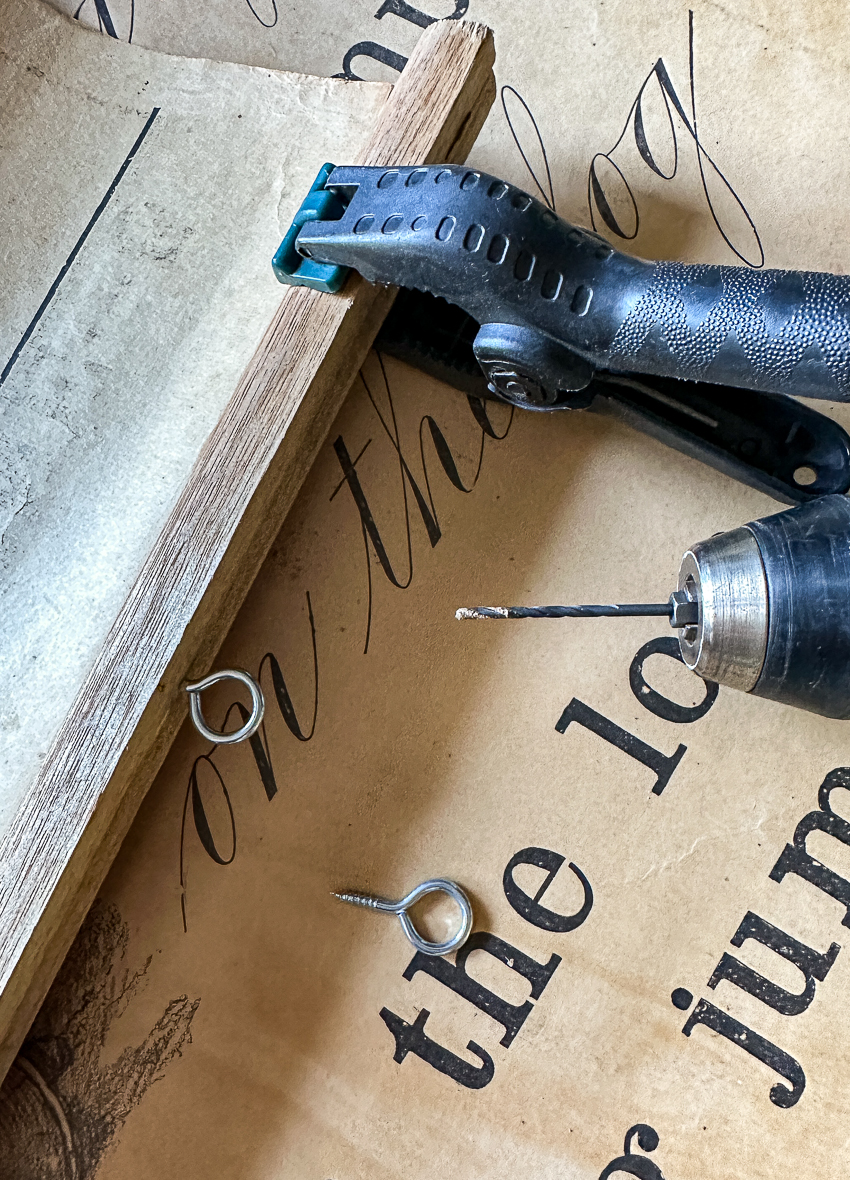
There are many options to choose from for how to hang the posters.  I added small metal eye hooks to the top of each chart and then twine for hanging. 

Adding eye hooks to poster hanger

At first, I just added the metal hooks, but I didn't like how "new" they looked.  I grabbed some black and metallic rich espresso paint and gave them more of an aged look

Paint for aging metal eye hooks

I bought white twine and dark brown leather cording to see which I liked better.  I went with the white twine simply because I preferred how it looked.  You could also use a metal chain, wire, or other medium-weight cording. 

twine and cording for hanging poster


DIY poster hanger

How to make a DIY poster hanger

How to make a DIY poster hanger

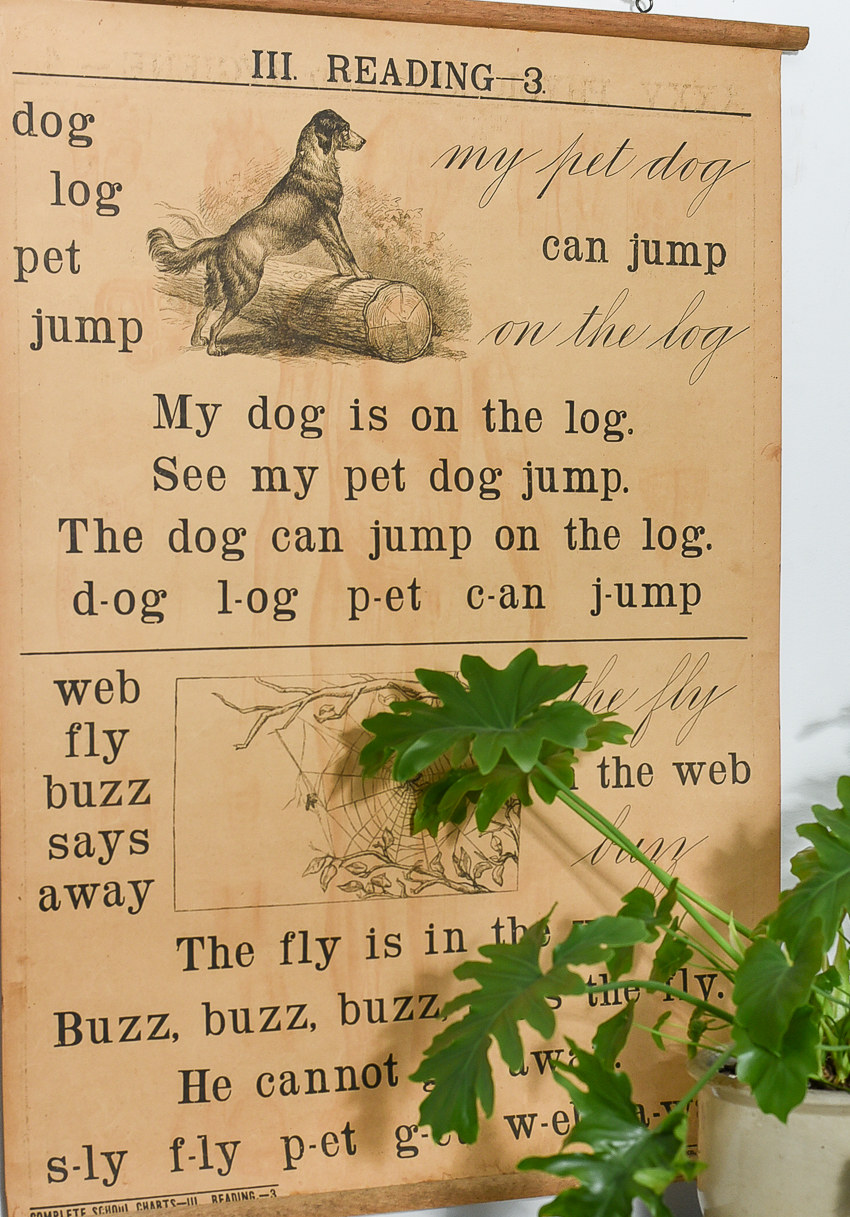
Antique poster dating back to 1887

Did you notice the date?  Each chart is dated 1887 and double-sided!  

Easy DIY poster hanger


How to make a DIY poster hanger

Vintage school charts

DIY poster hanger

How to make a DIY poster hanger


I was nervous about separating the charts, but I'm so happy I did.  The DIY poster hangers are perfectly weathered and tie in beautifully with the authentic vintage charts to create beautiful wall art!


     Pin it for later


Vintage wall art, DIY poster hanger tutorial


shop our home


Click here to subscribe


Thursday, August 24, 2023

Furniture Makeover: Antique Multi-Drawer Storage Cabinet


A painted antique multi-drawer storage cabinet gets a fresh new raw wood finish! 

Last week, I picked up an antique multi-drawer cabinet from a local auction.  

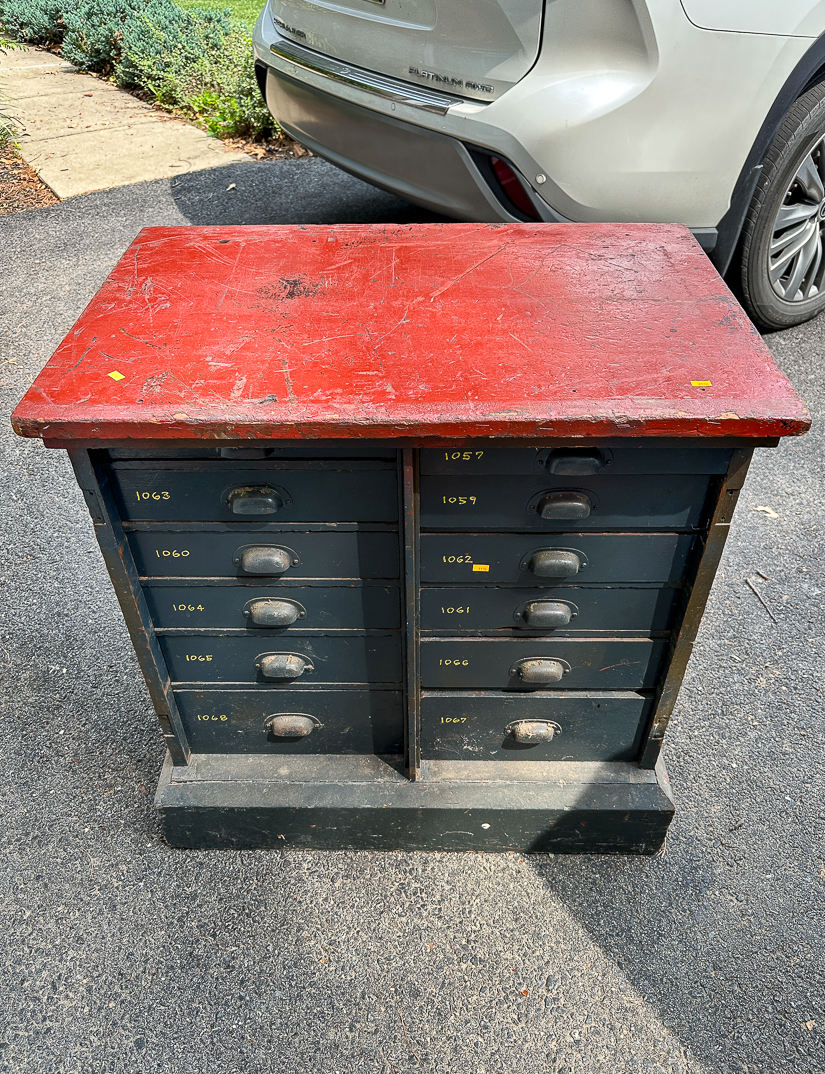
It was damaged, poorly painted, and covered in dirt and dust.  I love anything with drawers, so I took a chance, bid without seeing it in person, and bought it based on the online pictures. 

The cabinet was solid wood, so I knew I could give it a raw wood finish or a fresh coat of paint.  Either way, it was bound to look better than it did before!

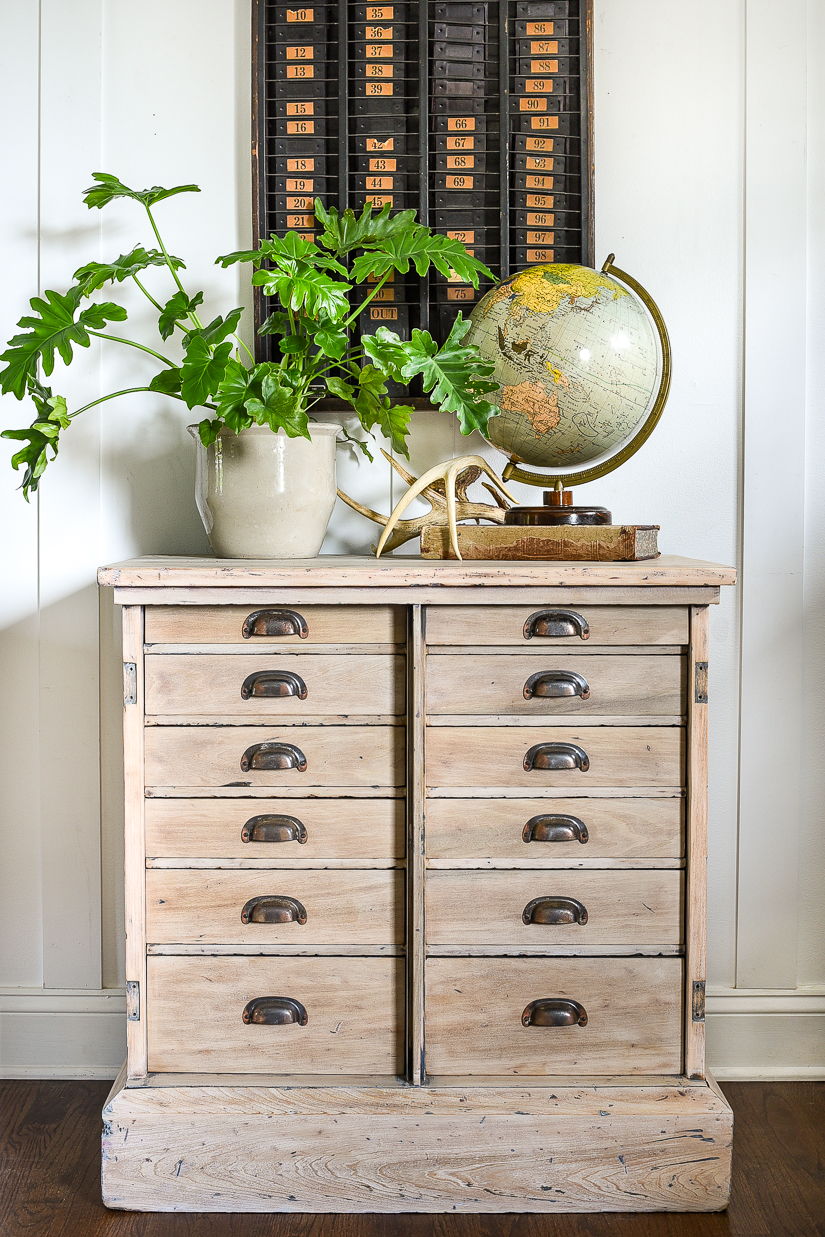
raw wood antique multi-drawer storage cabinet


I don't know who made the executive decision to paint the top of the multi-drawer cabinet fire engine red, the body deep blue, and the drawer numbers bright yellow.  

The colors were not doing the cabinet any favors and needed to go ASAP. 

painted antique multi-drawer storage cabinet before

painted antique storage cabinet before

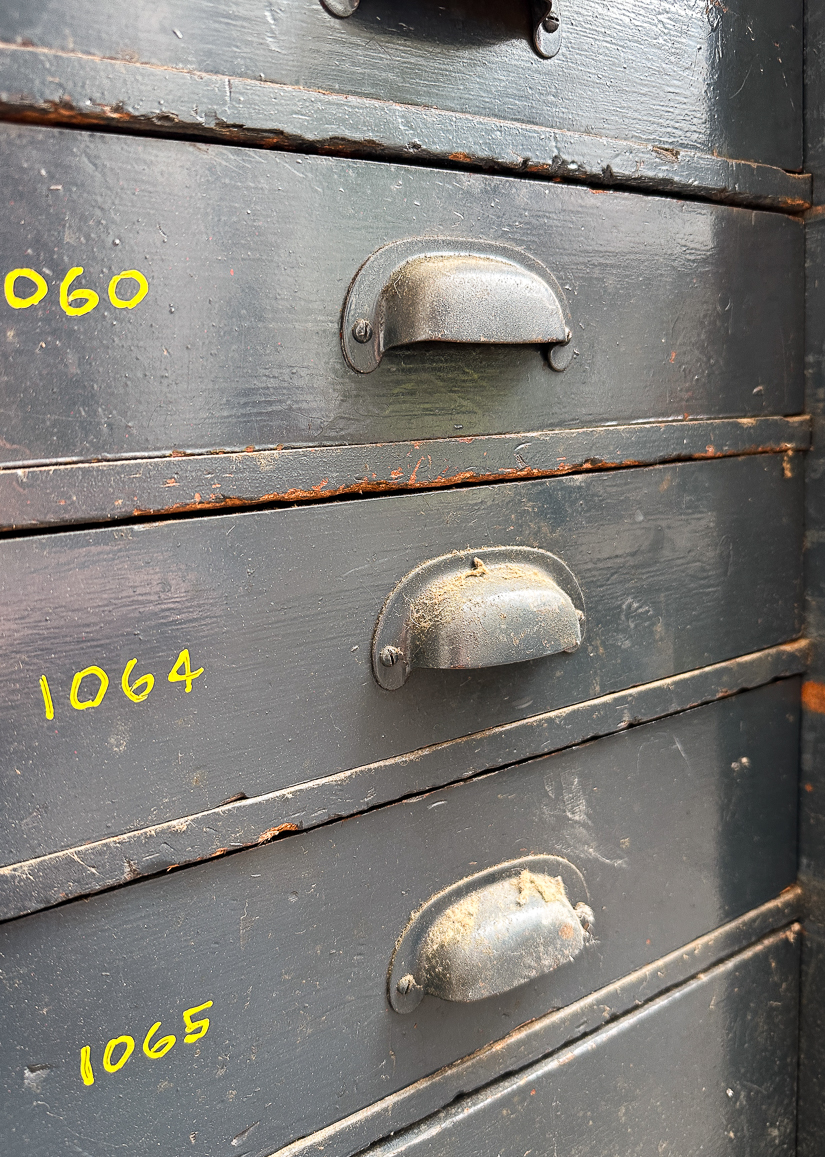
original antique hardware


SUPPLIES NEEDED TO STRIP A MULTI-DRAWER STORAGE CABINET

- 80/150/320 sanding pads
- 400 grit sandpaper
- 14-in-1 painter's tool (or large chisel) 
- Screwdriver
- Disposable Gloves
- Plastic wrap


HOW TO EASILY SAND AND STRIP AN ANTIQUE MULTI-DRAWER STORAGE CABINET


I had to split this project into two days, so I started with the drawers and stripping the blue paint from the original metal hardware.

Months ago, I removed unwanted spray paint from antique brass and used the same technique to restore the drawer hardware. 

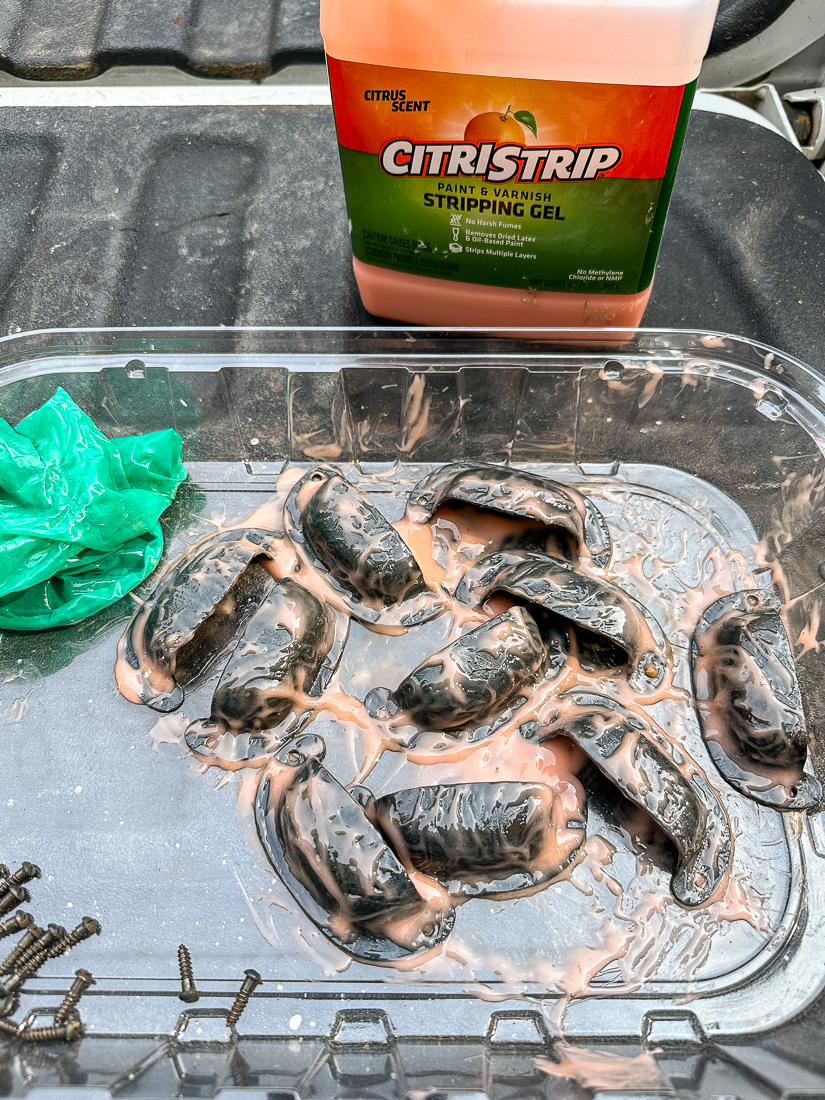
stripping hardware with Citristrip

While wearing gloves, I coated the metal hardware in a generous amount of Citristrip.  I let it sit for about 20 minutes (away from direct sunlight) until I noticed the paint starting to peel away.  I wiped off as much of the Citristrip and old paint as I could then washed the hardware in hot soapy water.  

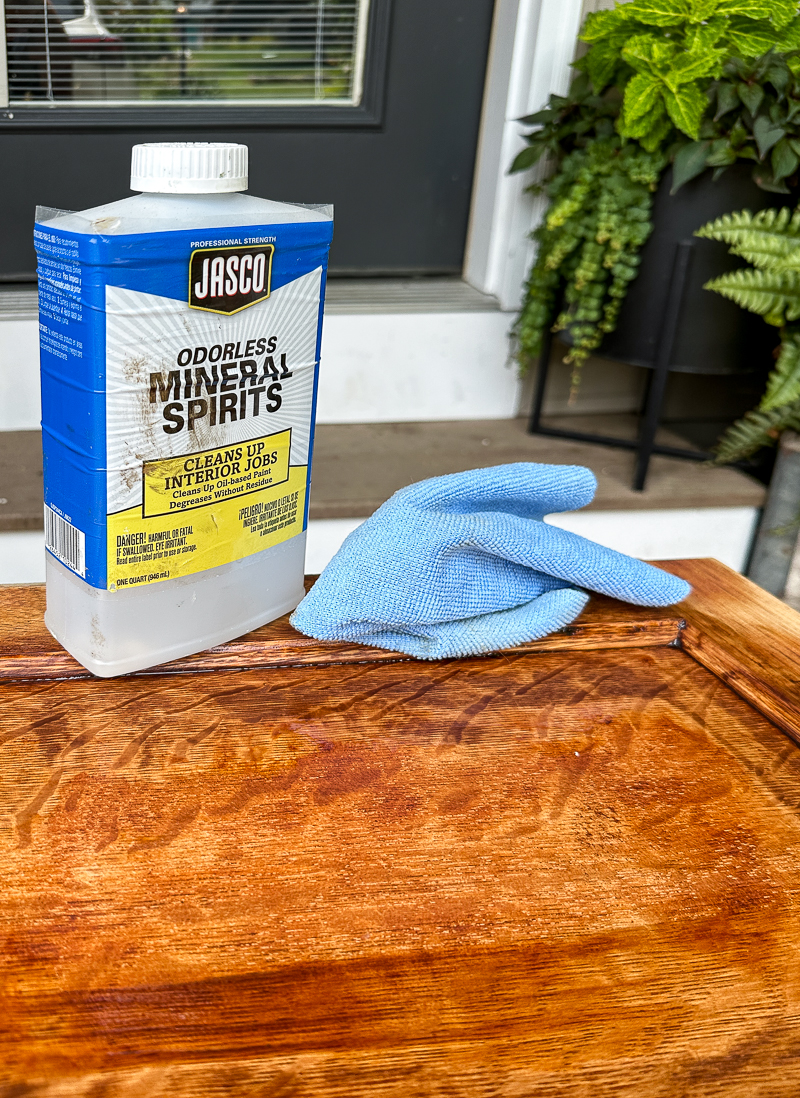
Any leftover stuck-on paint or stripping gel was cleaned off with Mineral Spirits

Antique hardware coated in Citristrip

hardware covered in Citristrip

The hardware is worn, rusty, and far from perfect, but it's original, full of character, and better than being painted blue.  

stripped original hardware

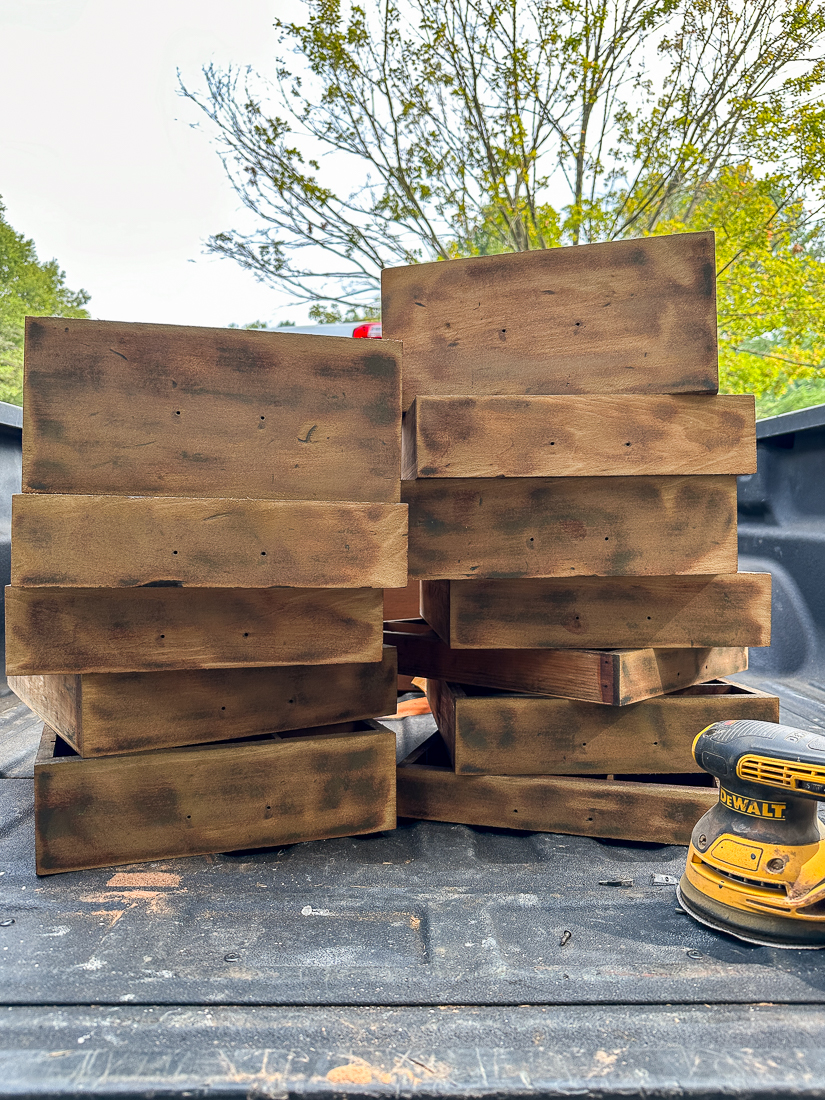
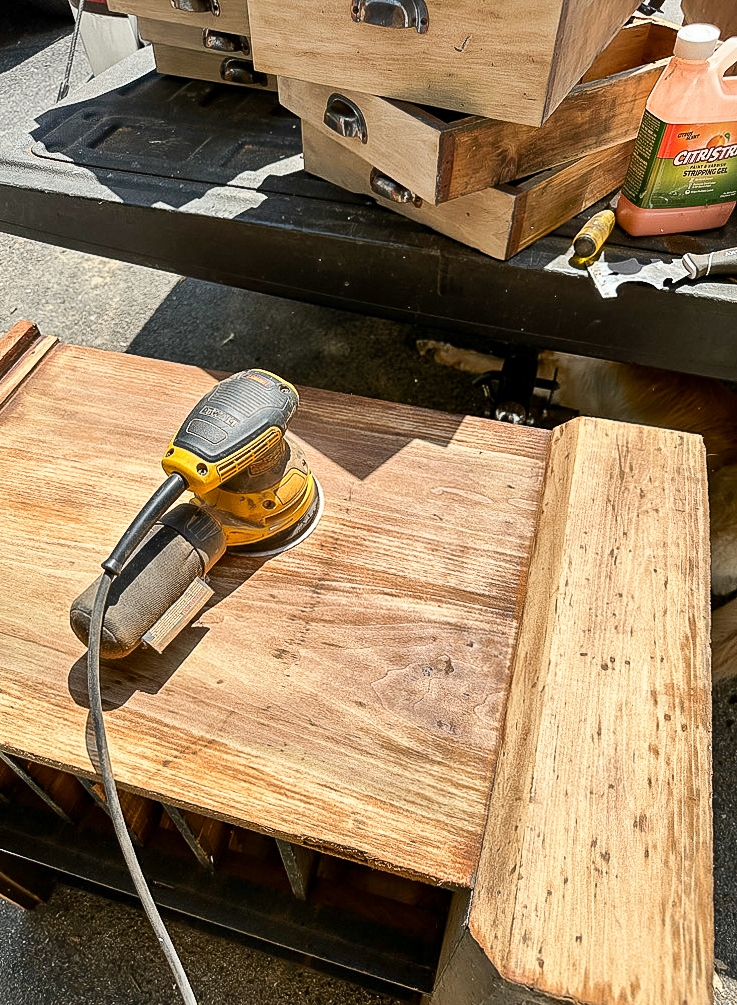
For the drawers, I started with 80-grit sandpaper to remove most of the paint and stain and then finished sanding the drawers with 150-grit and 320-grit sandpaper.  


sanding antique storage drawers

The next day, I got working on the base of the cabinet.  

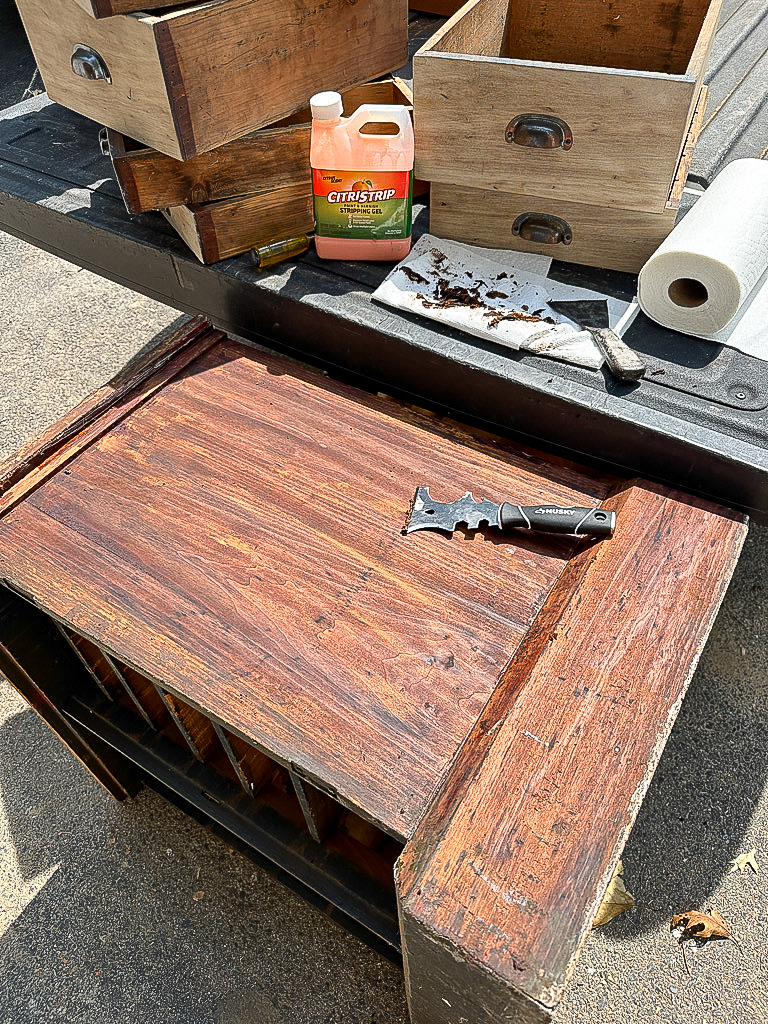
I started with Citristrip to remove the first couple of paint layers.  The old paint scraped off effortlessly using a 14-in-1 painter's tool and then I sanded off the last layer of stain to the raw wood. 

stripping furniture with Citristrip

stripping furniture with Citristrip

Sanding wood after using Citristrip

I sealed the entire cabinet with Briwax Liming Wax using a lint-free rag.  After waxing, I gave the cabinet one final sanding with 400-grit sandpaper for an ultra-smooth raw wood finish.

There's still a bit of red paint in the dings and gashes, but look how well the cabinet and drawers cleaned up!

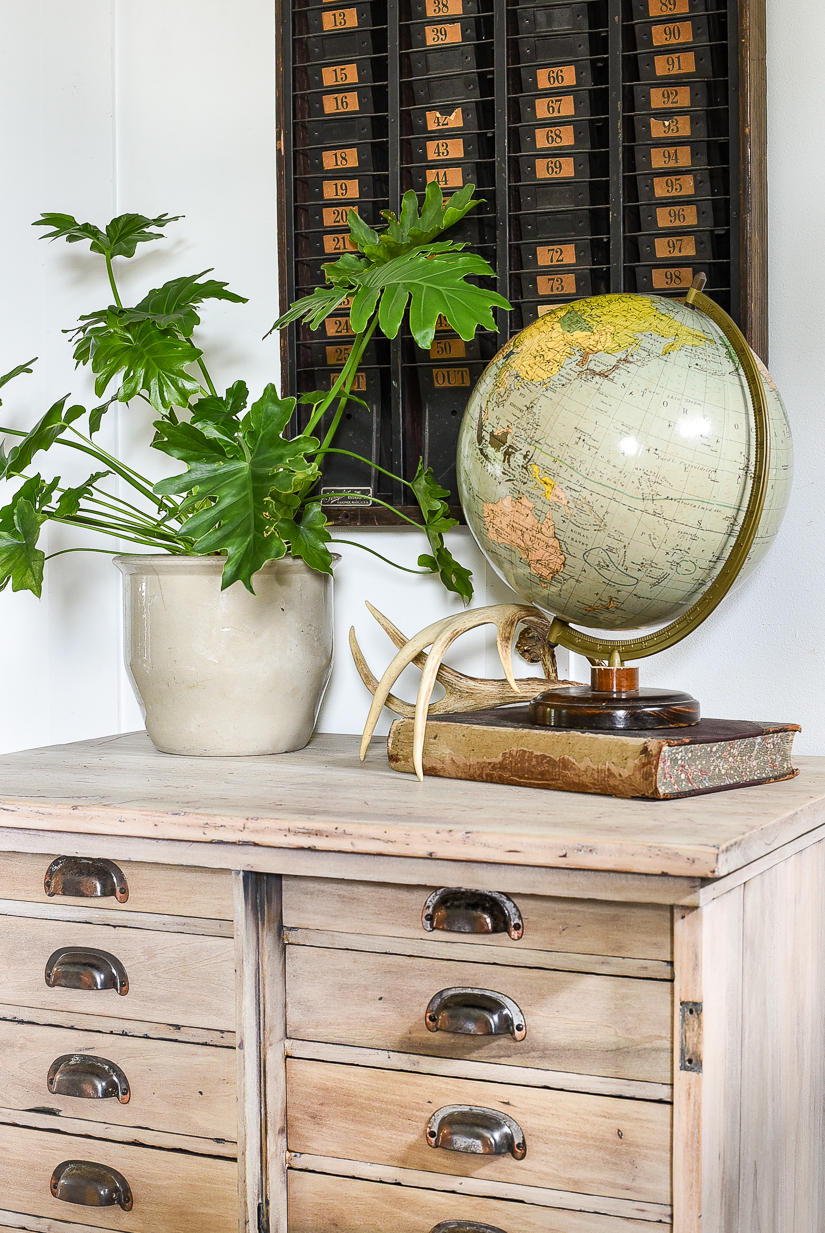
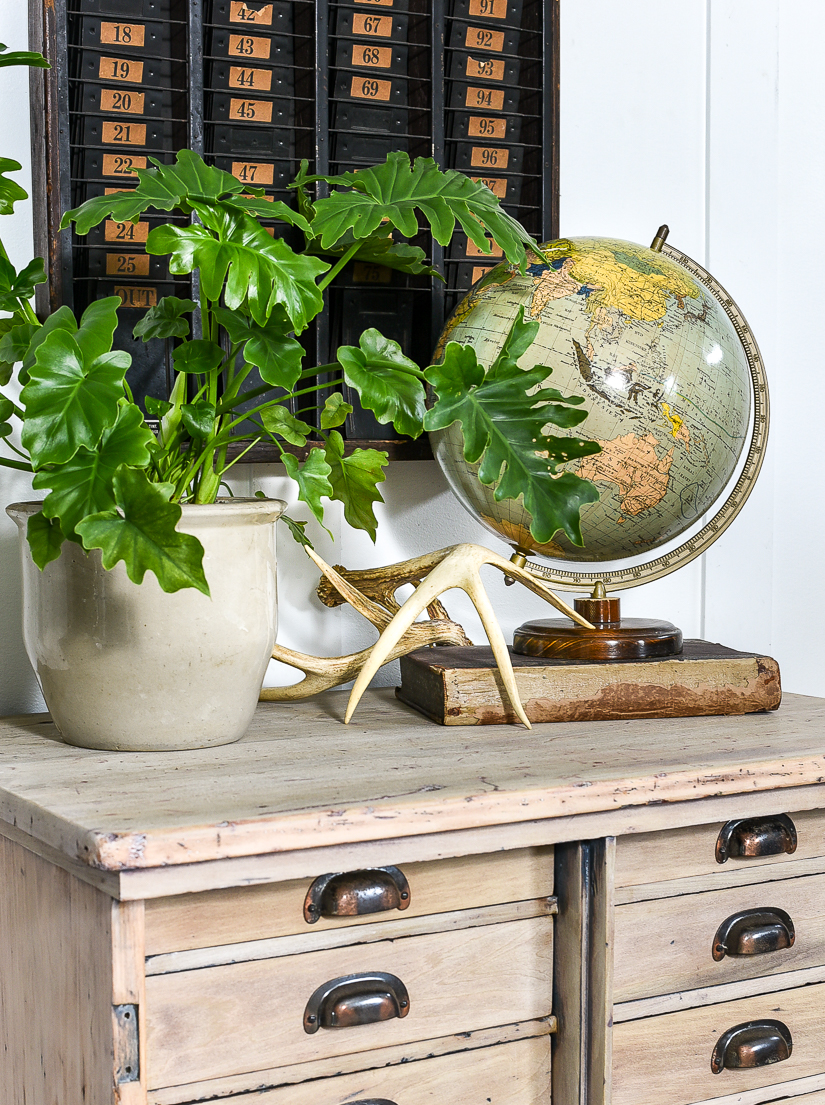
Antique raw wood multi-drawer stroage cabinet

raw wood look with liming wax

raw wood antique multi-drawer storage cabinet

I love antique pieces with loads of texture and character.  This one definitely has both!  

raw wood antique storage drawers

raw wood antique multi-drawer storage cabinet

raw wood multi-drawer storage cabinet

This antique multi-drawer storage cabinet came a long way from layers of paint and stain to a beautiful raw wood finish.  I can't wait to see how someone uses and styles it in their own home! 

What do you think?


     Pin it for later


before and after antique multi-drawer cabinet


shop our home


Click here to subscribe


Monday, August 7, 2023

Before and After: Refinished Six Drawer Oak Card Catalog


A damaged antique oak card catalog gets restored and refinished to its original beauty! 


One of my favorite aspects of antique furniture and decor is its undeniable character and history.

The dings, dents, and worn finish add depth, charm, and interest to any space. 

Sometimes, all they need is a good cleaning and wood conditioner to bring them back to life.  Other times,  a little more work and a complete refinish and restoration are required to maintain their charm and beauty. 

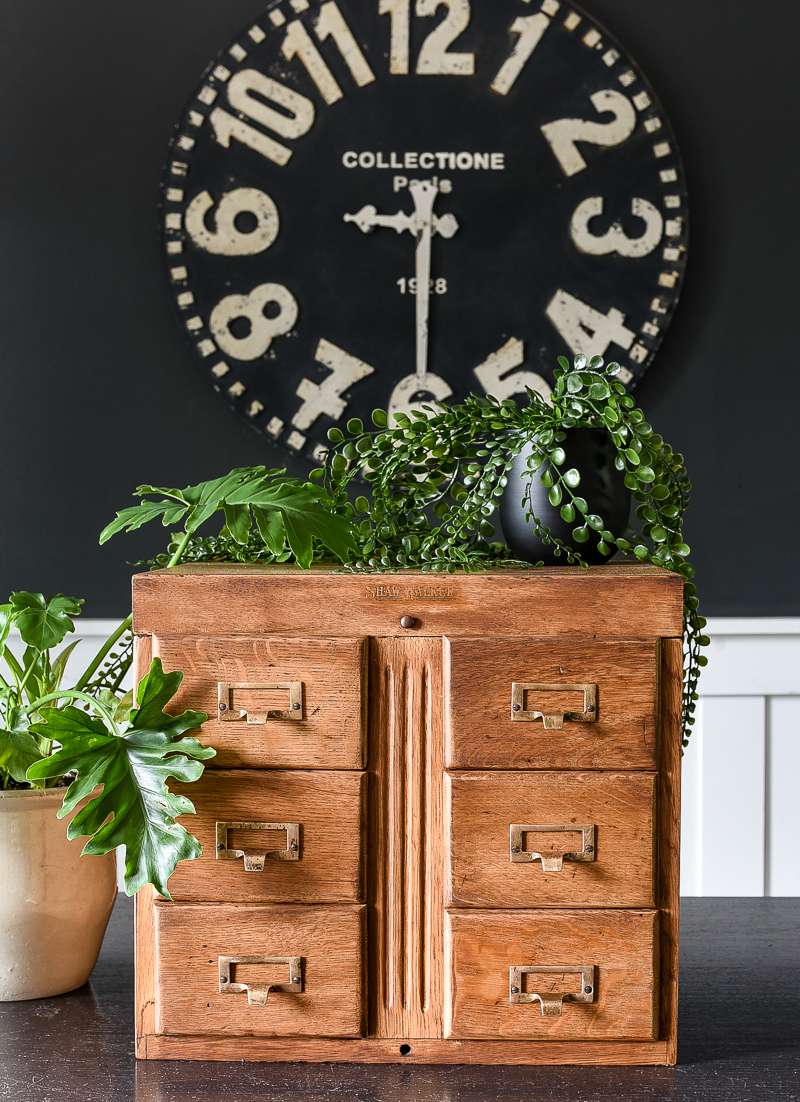
Refinished antique oak card catalog

Just the other week, I came across a small six-drawer antique card catalog while checking out local online auctions. 

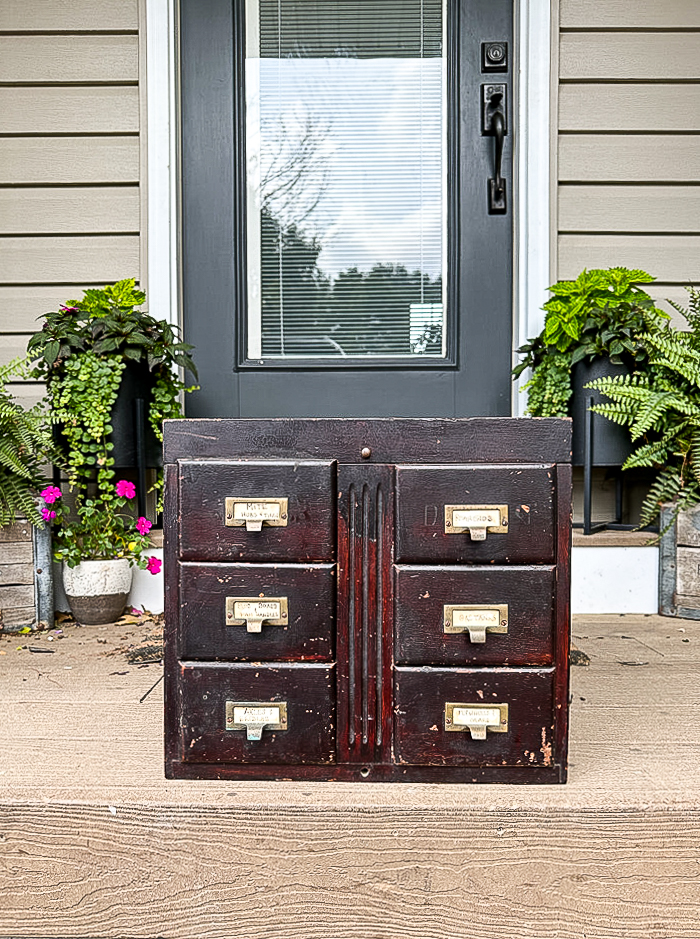
It was a little worse for wear with a cracked, uneven, and damaged finish.  I could tell right away though that it was an authentic oak antique card catalog that had potential.  

Antique card catalog before

Antique Shaw Walker oak card catalog

SUPPLIES NEEDED TO REFINISH AN ANTIQUE CARD CATALOG


- Sanding pads (80/150/320 Grit)
- Wallpaper scraper
- Disposable gloves
- Screwdriver
- Paintbrush
- Paper towels


HOW TO REFINISH AN ANTIQUE CARD CATALOG


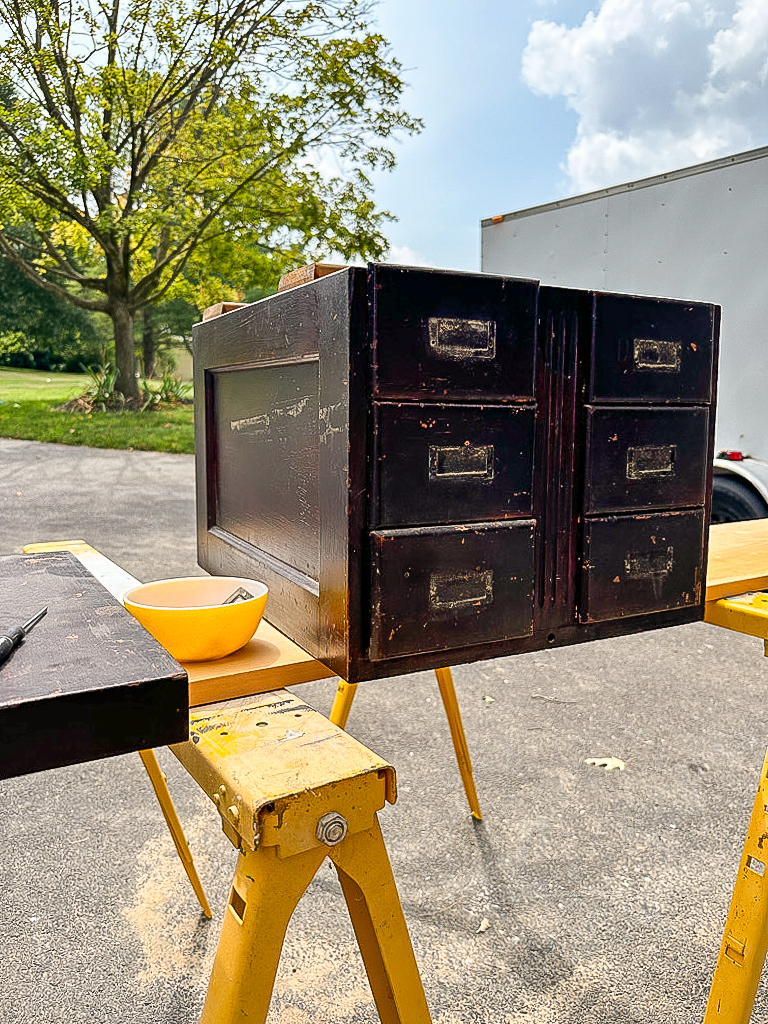
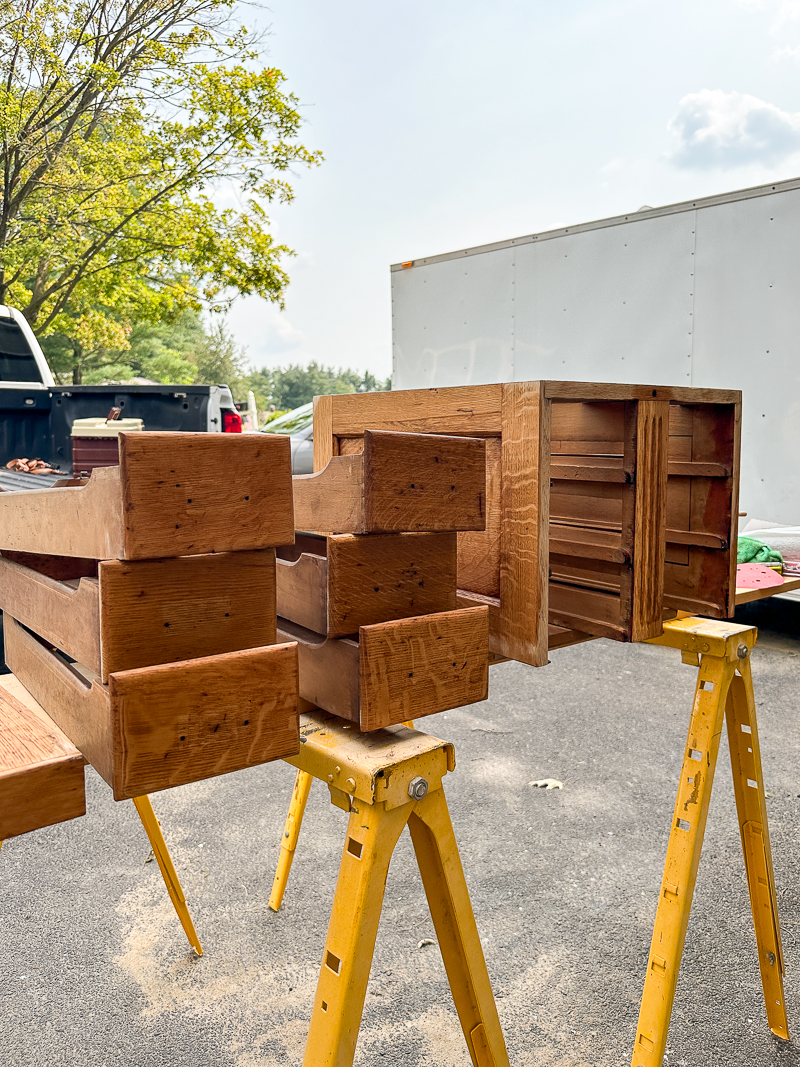
I was excited to get started on refinishing the card catalog and cranked it out in one incredibly hot afternoon.  I started by removing all the old hardware and setting it aside to clean and reattach later. 

Removing hardware from oak card catalog

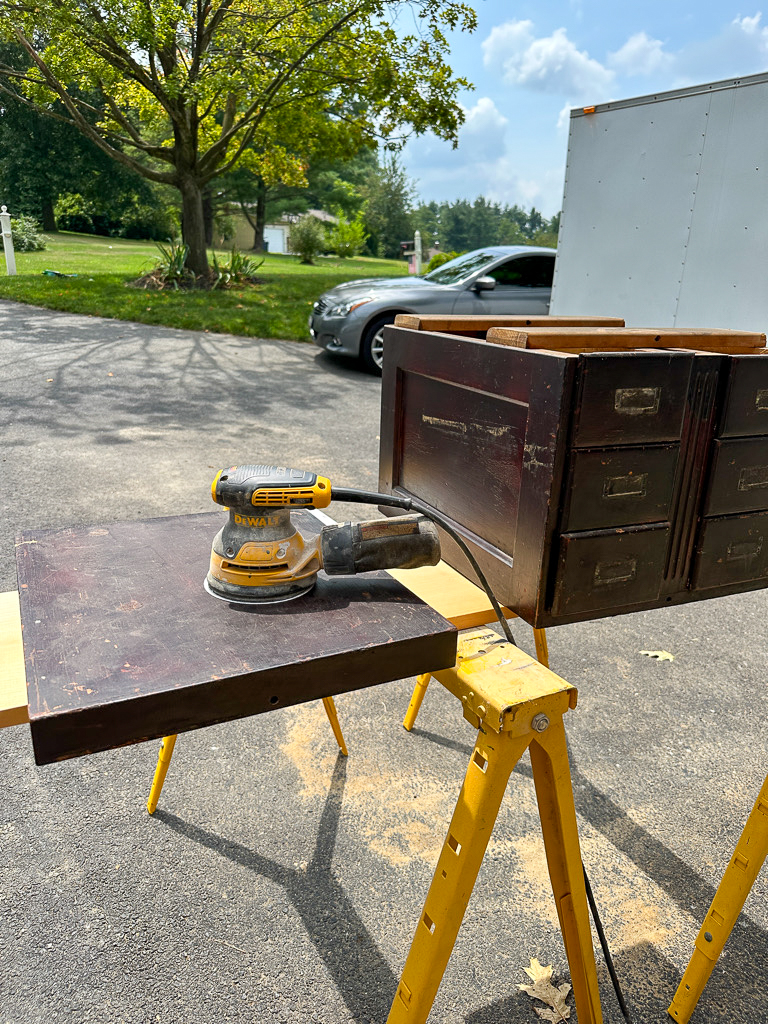
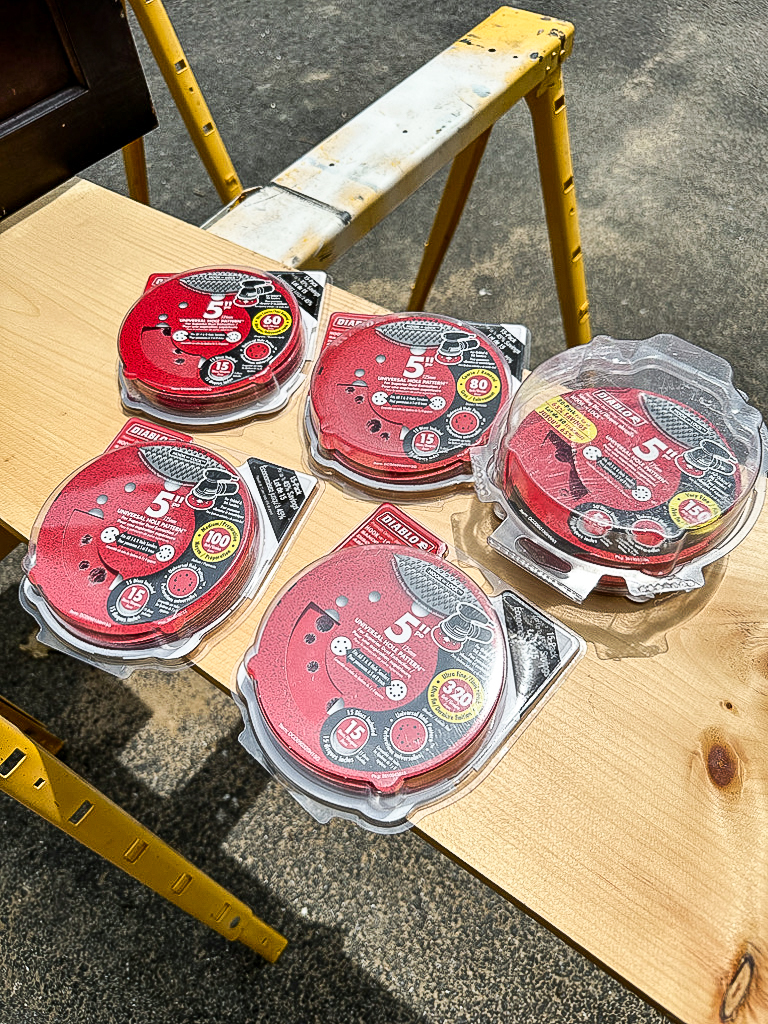
I prefer to sand off the majority of old stain rather than use a furniture stripper.  To remove the very dark finish from the card catalog I started sanding with 80-grit sandpaper then worked my way up to 320-grit. 


Sanding oak card catalog

Various sandpaper discs

Sanded oak card catalog

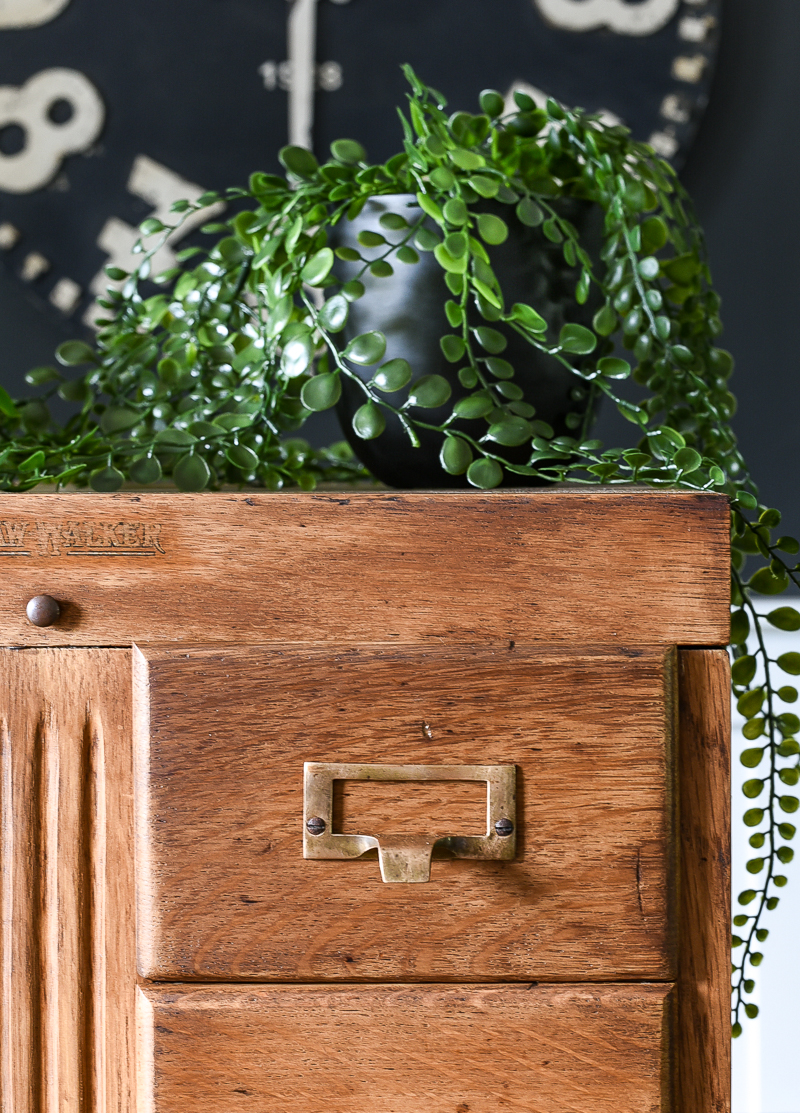
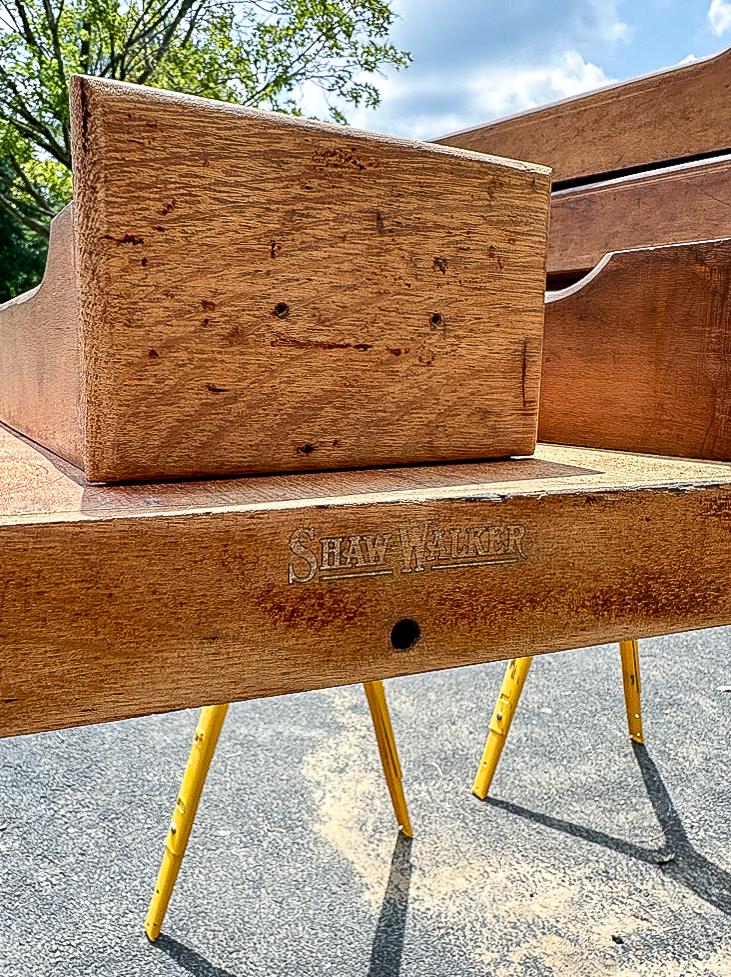
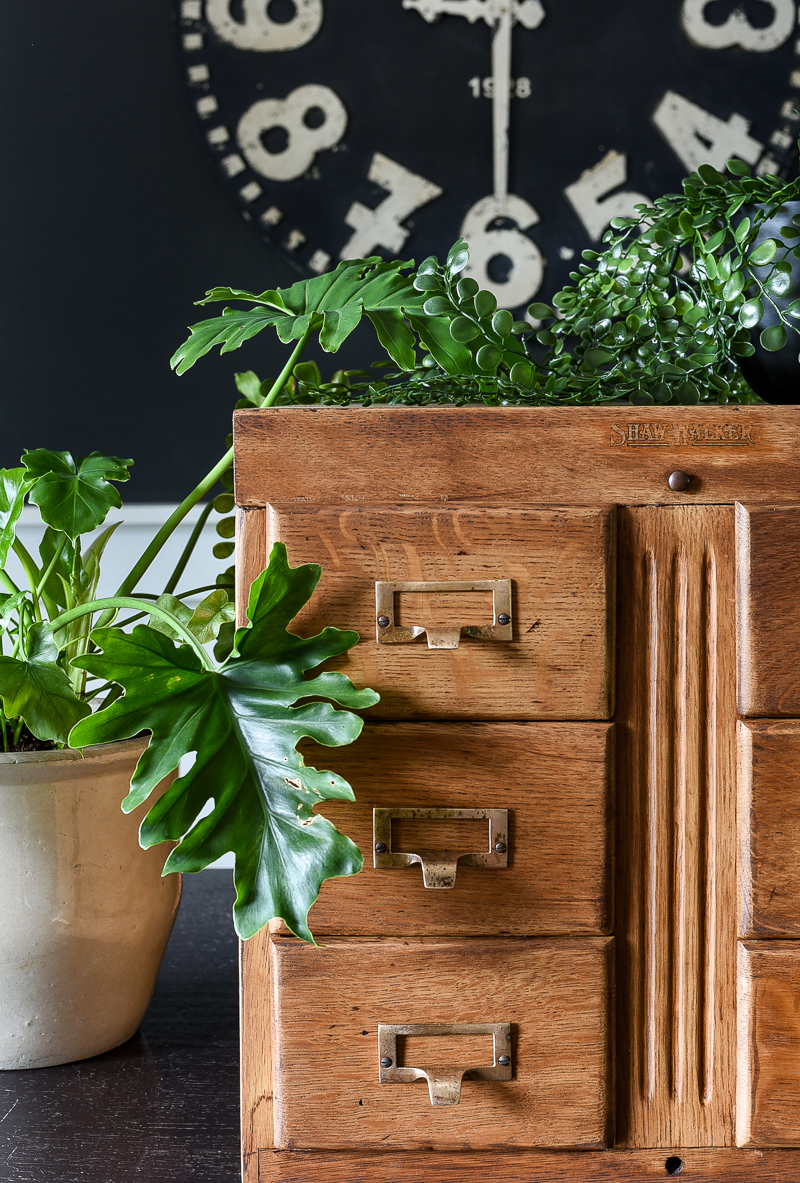
How cool is it that while sanding, I unexpectedly uncovered the original Shaw Walker maker mark?

I knew it needed to be salvaged, so I carefully sanded around the mark making sure not to sand it off.

Shaw Walker oak card catalog

To remove the stain from the corners and detailed trim, I switched to using Citristrip Stripping Gel.  I  don't like dealing with messy strippers, but it can come in handy when removing stain from hard-to-reach places.

Citristrip furniture stripper

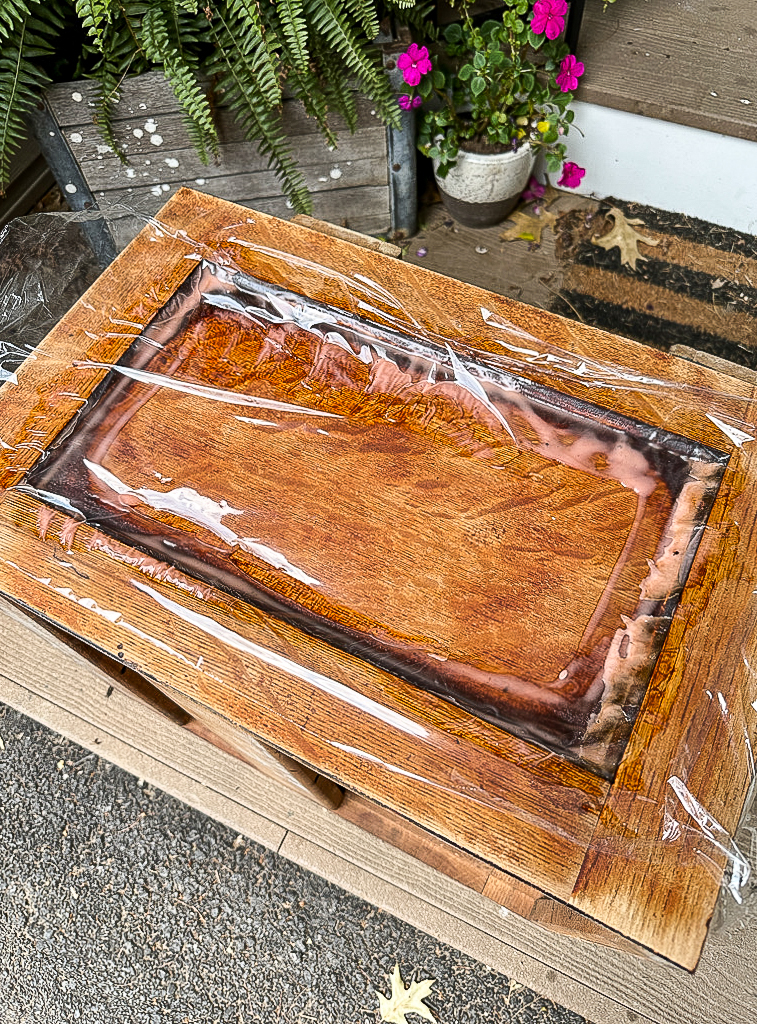
I poured Citristrip around the edge and along the curved trim, covered the area with plastic wrap, and let it sit for about 30 mins.  Covering the Citrisrip keeps it from drying out and extends the time it can be left on a surface. 


Stripping card catalog with citristrip

stripping card catalog with citristrip

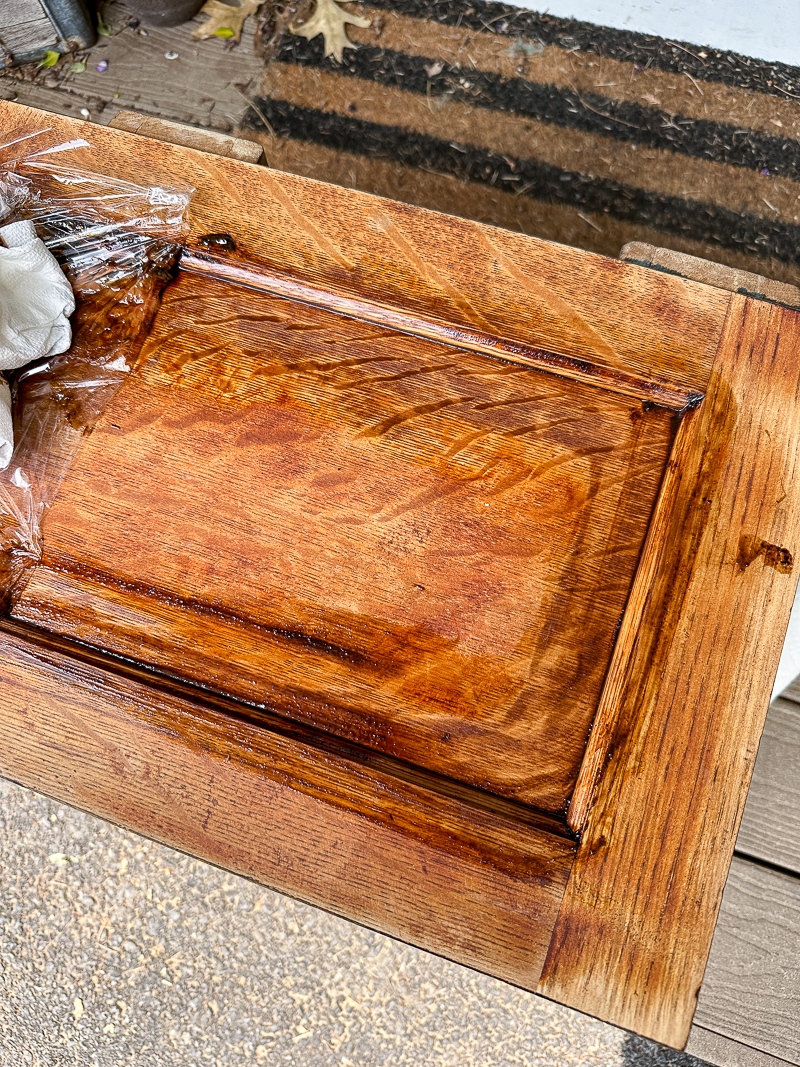
I repeated the process on the other side of the card catalog and the fluted front detail.  I wiped off as much Citristrip and old stain as I could then cleaned up the rest with Mineral Spirits.  

Cleaning card catalog with mineral spirits

Once the majority of the stain was removed,  I gave the entire card catalog another good sanding then wiped it down again with Mineral Spirits. 

Sanded and cleaned oak card catalog

After the wood was dry, I applied one coat of Special Walnut wood stain and two coats of water-based matte poly. 

Clear waterbased matte poly

I prefer the look of age and patina and hadn't planned on cleaning the original hardware, but it really was pretty cruddy.  A good soak in hot soapy water and a little scrubbing with Bar Keeper's Friend was all it needed to remove the majority of build-up. 

Refinished antique oak card catalog

Refinished antique oak Shaw Walker card catalog

Refinished oak card catalog

Refinished oak card catalog

The refinished antique oak Shaw Walker card catalog still isn't perfect, but it sure does look a lot better with its new brighter finish.  

It's fresh and clean, yet still has some of its original dings, character, and charm!


     Pin it for later


before and after antique oak card catalog


shop our home


Click here to subscribe