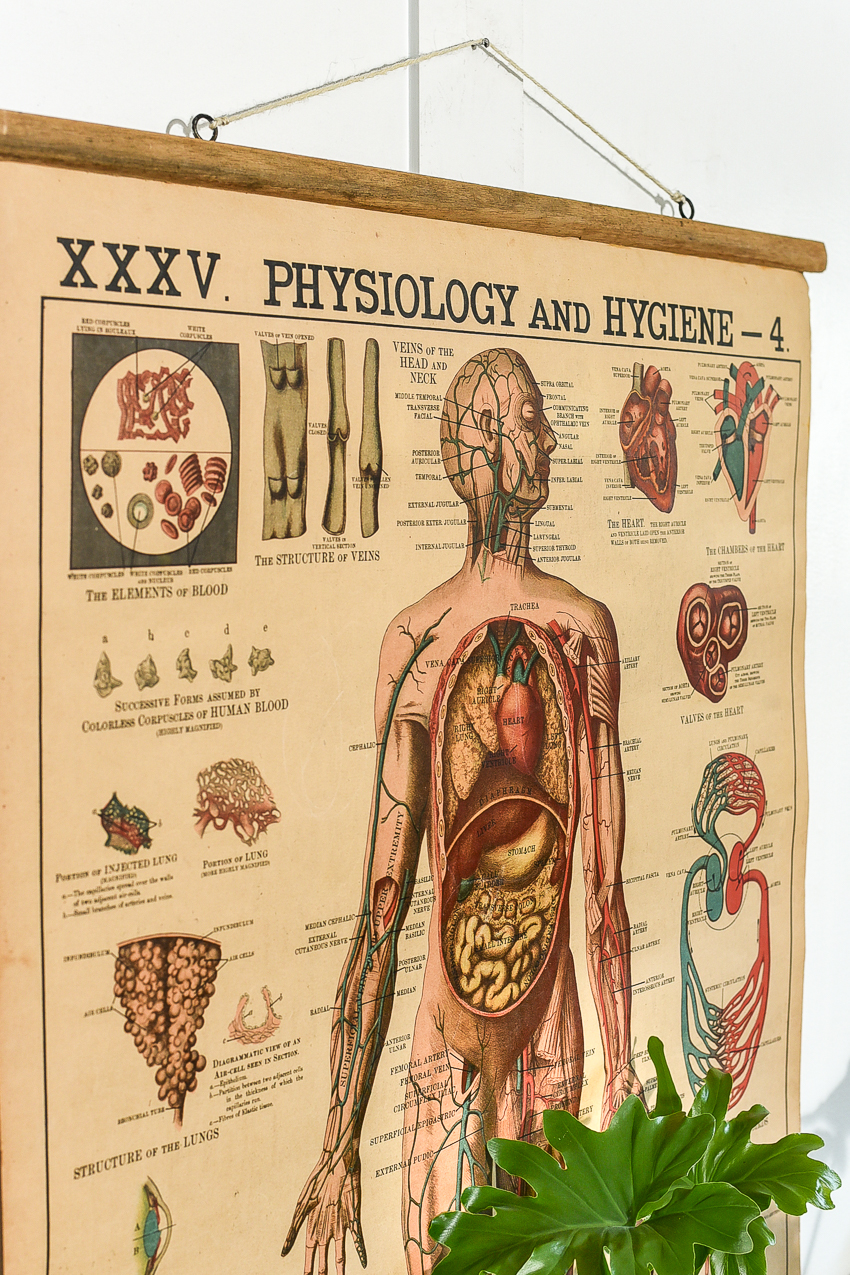
Turn ordinary posters into custom wall art with this easy DIY poster hanger tutorial!
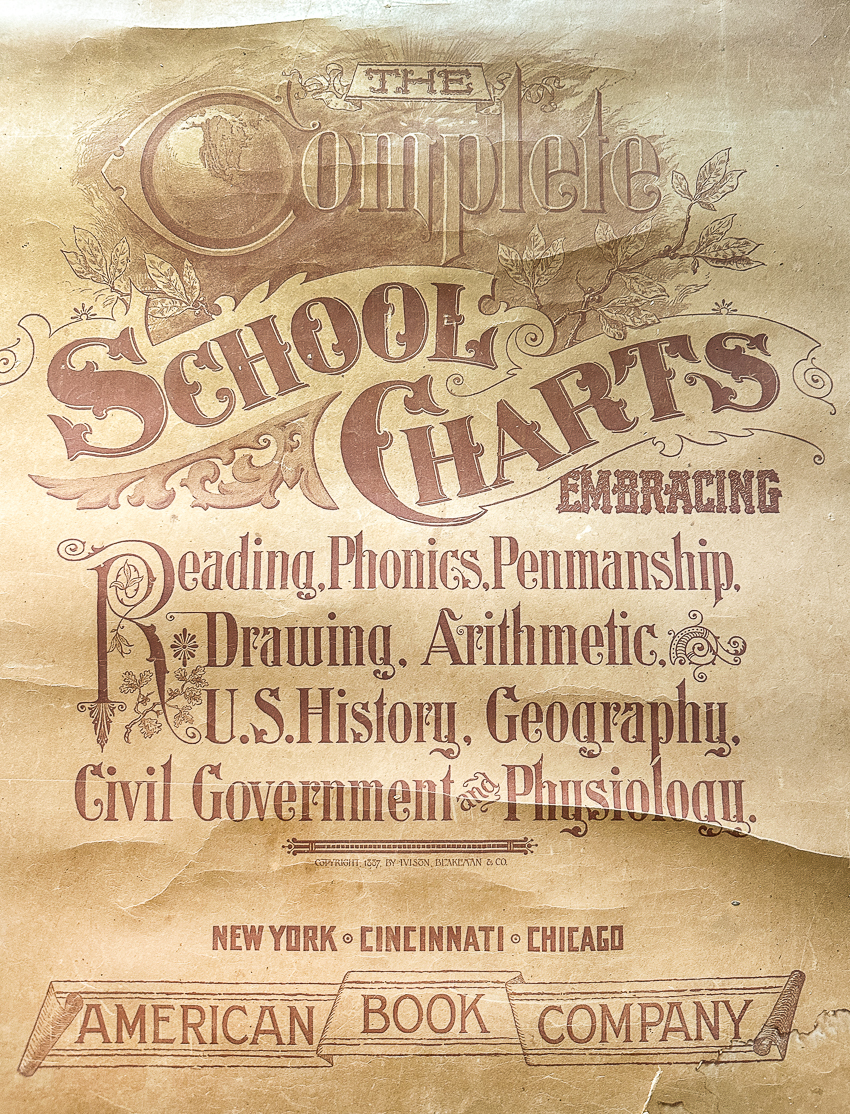
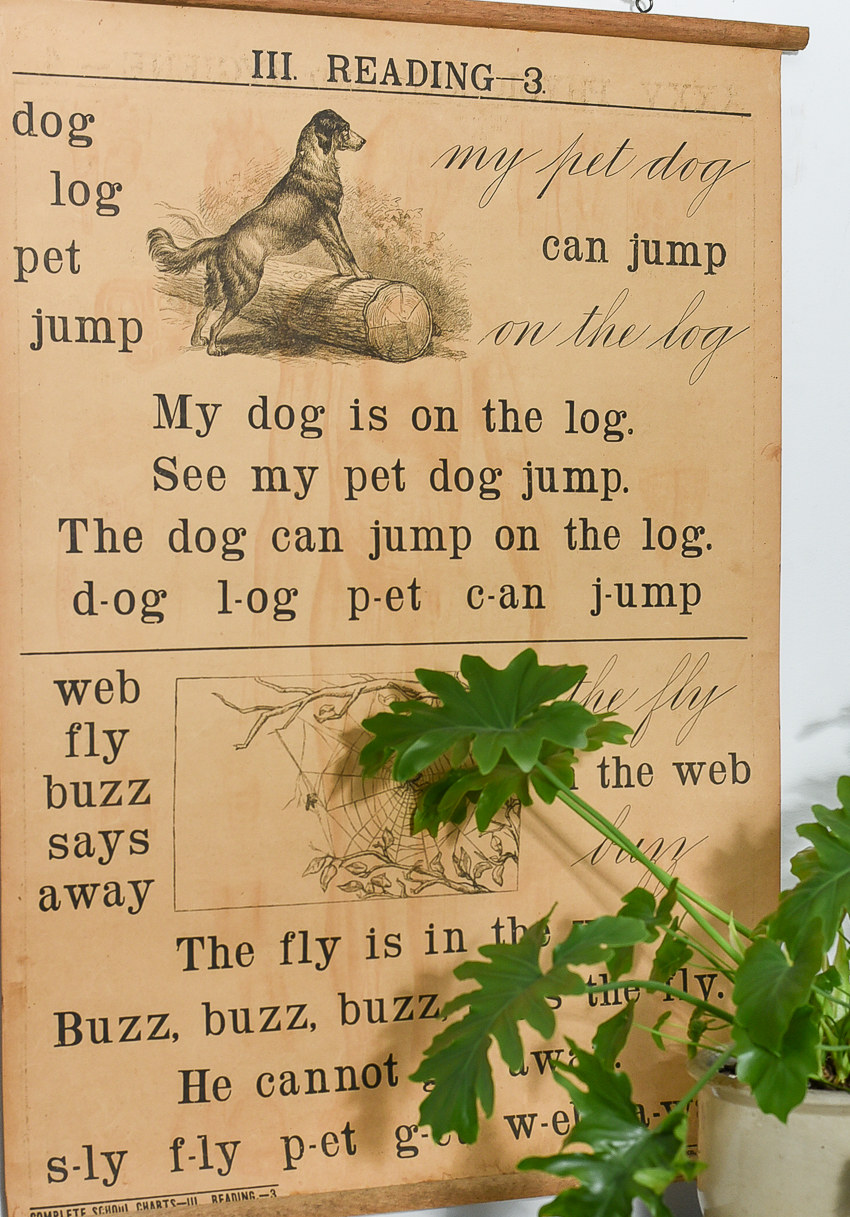
Last year, I found an incredible complete set of vintage school charts.
I planned on selling it at a vintage market, but at the last minute, I decided to bring it home, take it apart, and make individual posters.
Before you gasp that I destroyed an antique, let me explain.
The set of vintage school charts dates back to 1887. The paper is brittle, making it challenging to flip through the charts without causing further damage.
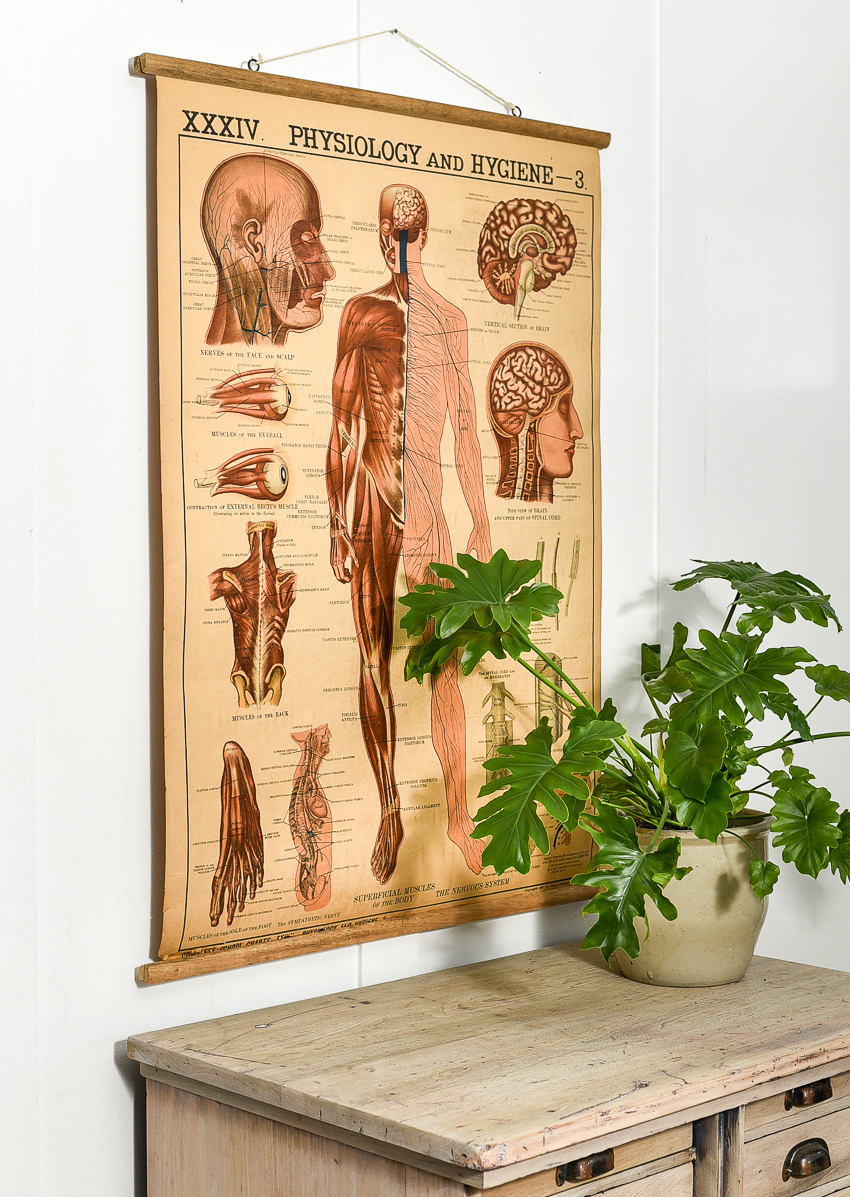
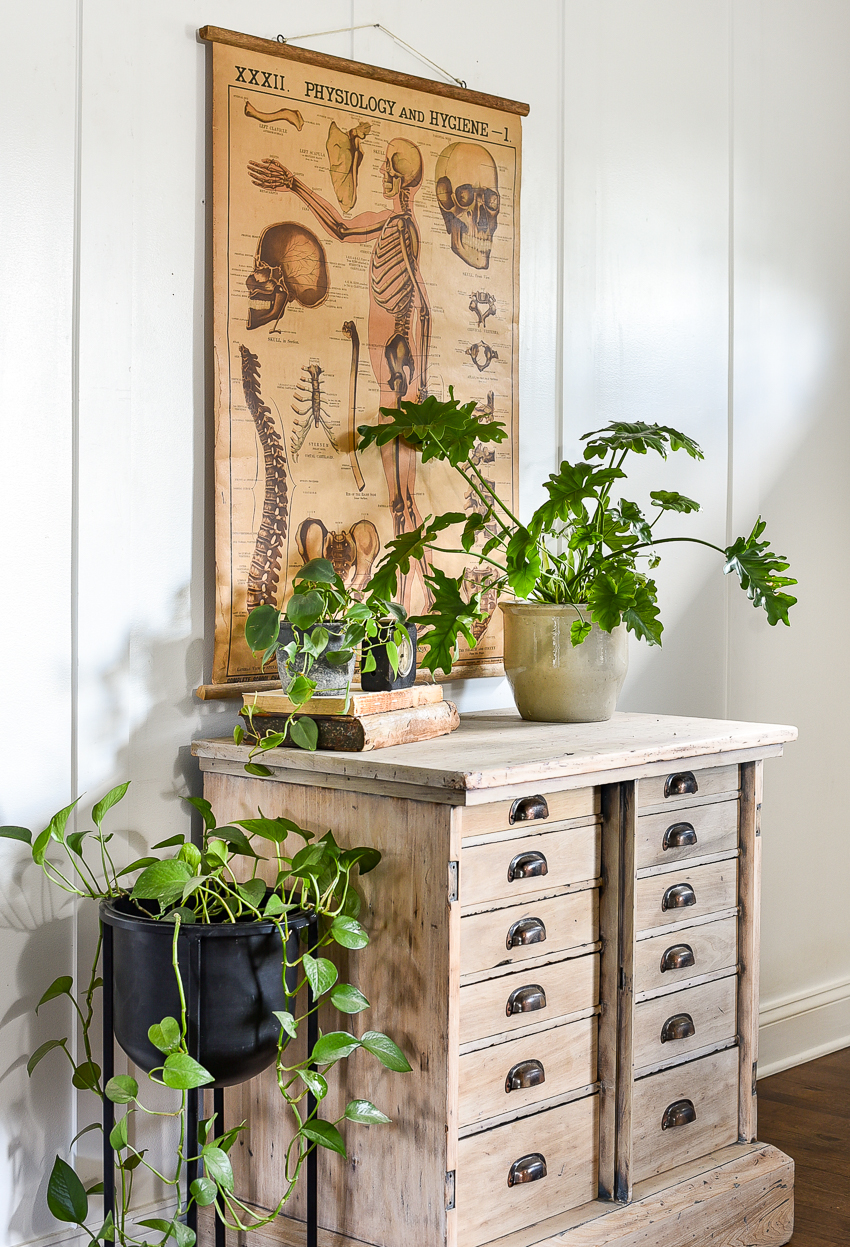
It was best to take them apart and create a way to preserve each page individually. I achieved this by making wood hangers for each chart. The charts can now hang separately or as a group.
SUPPLIES TO MAKE DIY POSTER HANGERS
- Aged trim wood (I found mine at Habitat for Humanity. You can also buy new wood and stain it the color of your choice)
- Tape measure
- Medium grit sandpaper
- Drill
- Drill bits
- Twine or leather cording
- Scissors
- Black and gold metallic paint
HOW TO MAKE DIY POSTER HANGERS
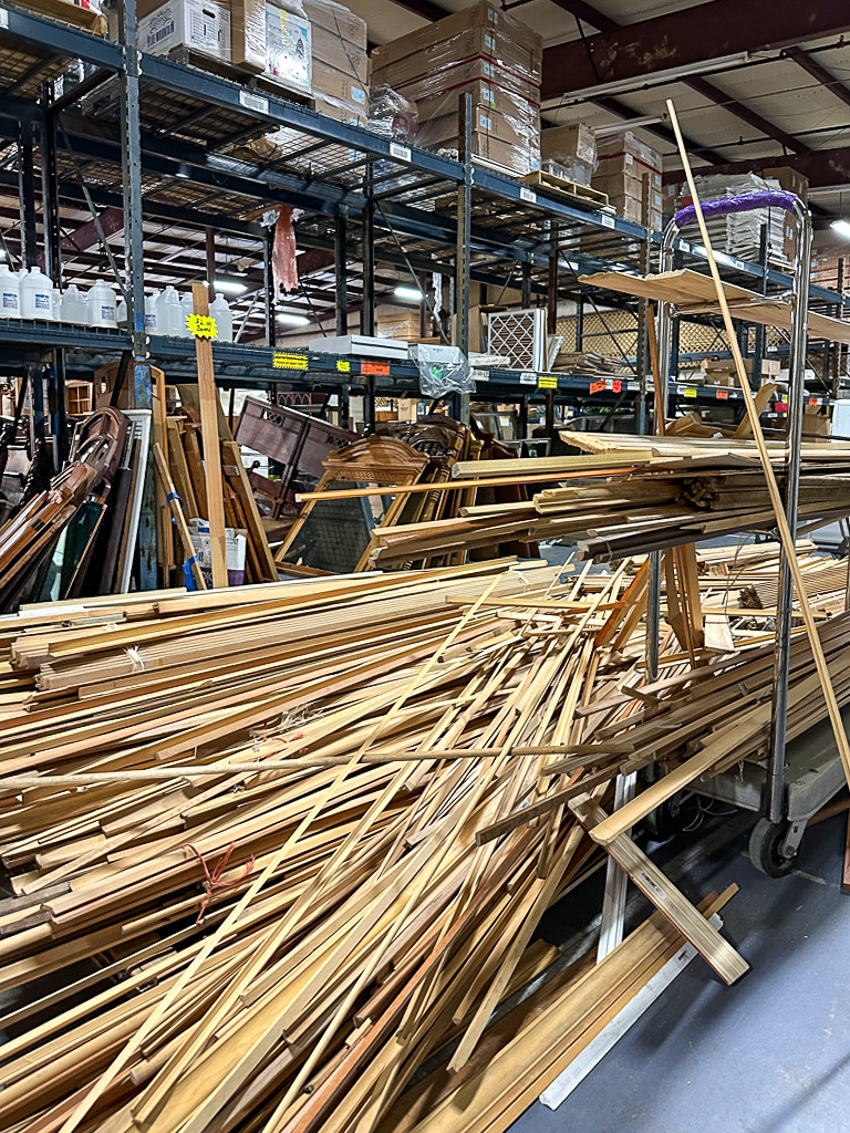
I wanted to use old or aged wood for my poster hangers to keep with the authentic vintage vibe of the old charts. I headed to my local Habitat for Humanity to see what I could find.
Thankfully, they had a large pile of trim wood to choose from.
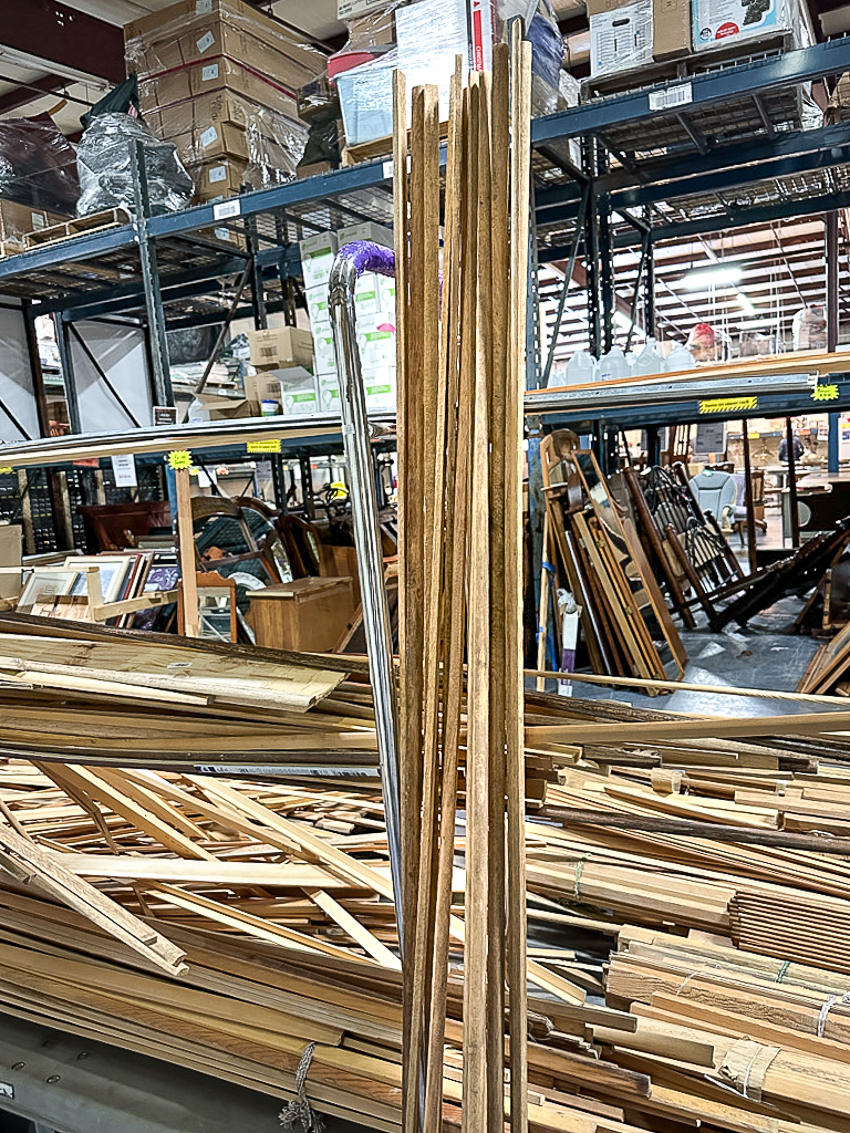
Amongst all the natural wood I found a bundle of old corner round that had seen better days. It was worn, and weathered, and at only $2.00 a piece, it was perfect for the poster hangers.
STEP ONE: MEASURE AND CUT WOOD
Once I had all my supplies, I measured the size of the vintage school charts and then measured and cut the trim wood to size. I used a jigsaw, but a miter or a handsaw would work just as well.
I lightly sanded the ends of each wood strip to knock off any rough edges.
STEP TWO: ATTACH WOOD STRIPS
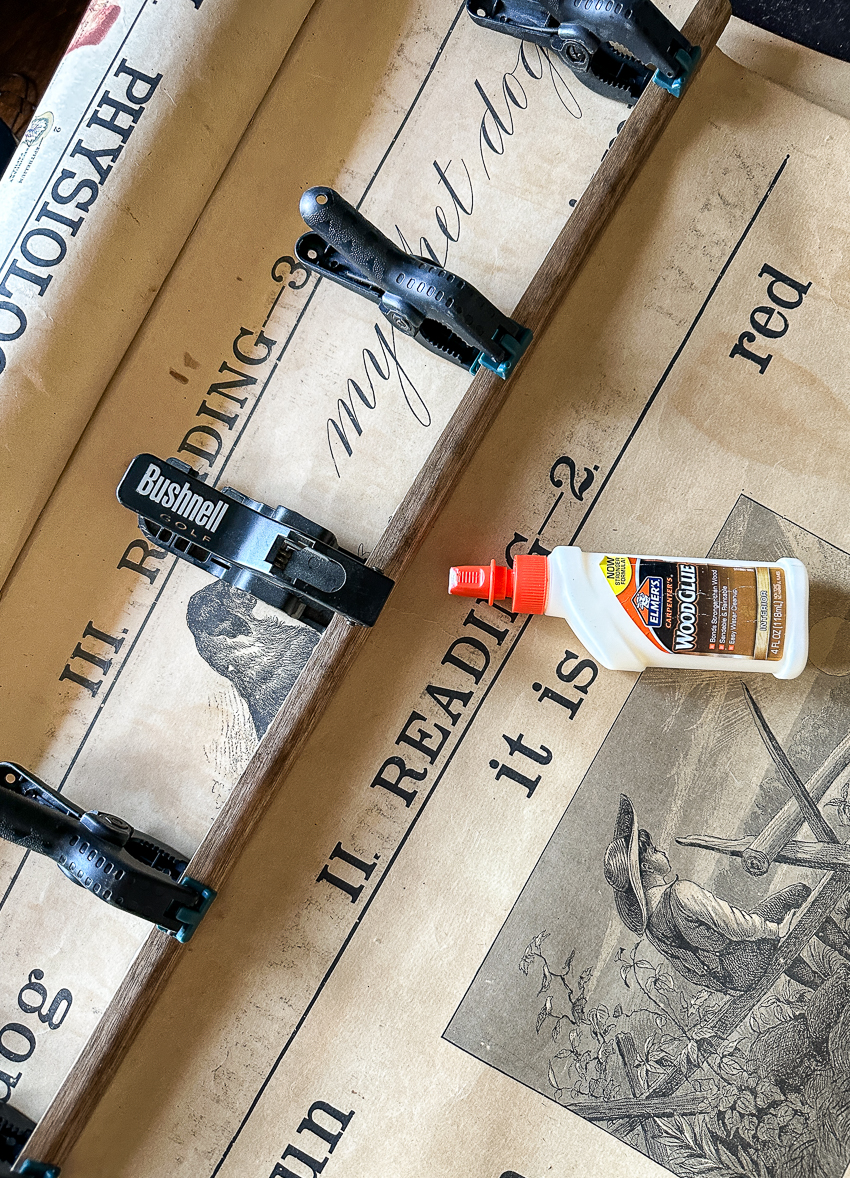
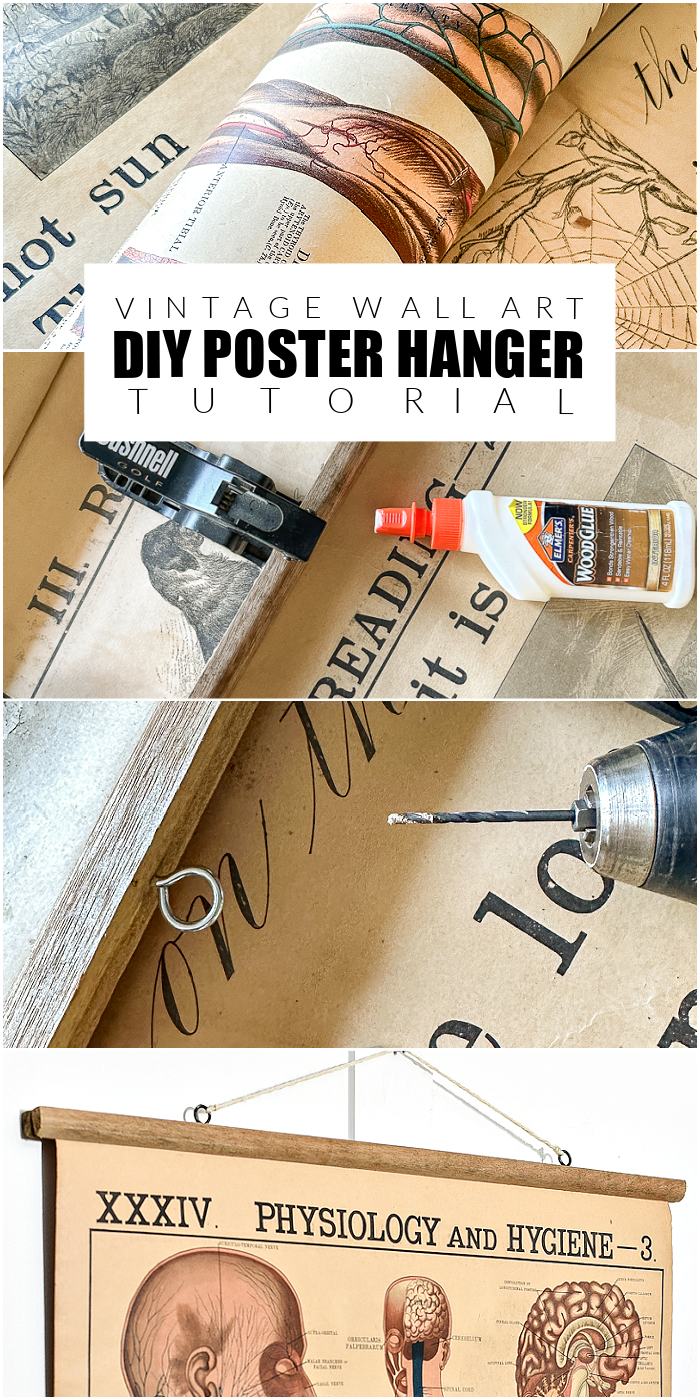
I carefully laid out one poster, applied wood glue to one strip of wood, placed the top edge of the poster overtop, and then gently pressed them together.Tip: Staple the paper to the wood or use plastic clamps to hold the wood and paper in place until the glue is dry.
I applied glue to the other side of the top of the poster, placed another wood strip on top, and then clamped all three pieces together until the glue was dry.
STEP THREE: ATTACH HOOKS AND TWINE FOR HANGING
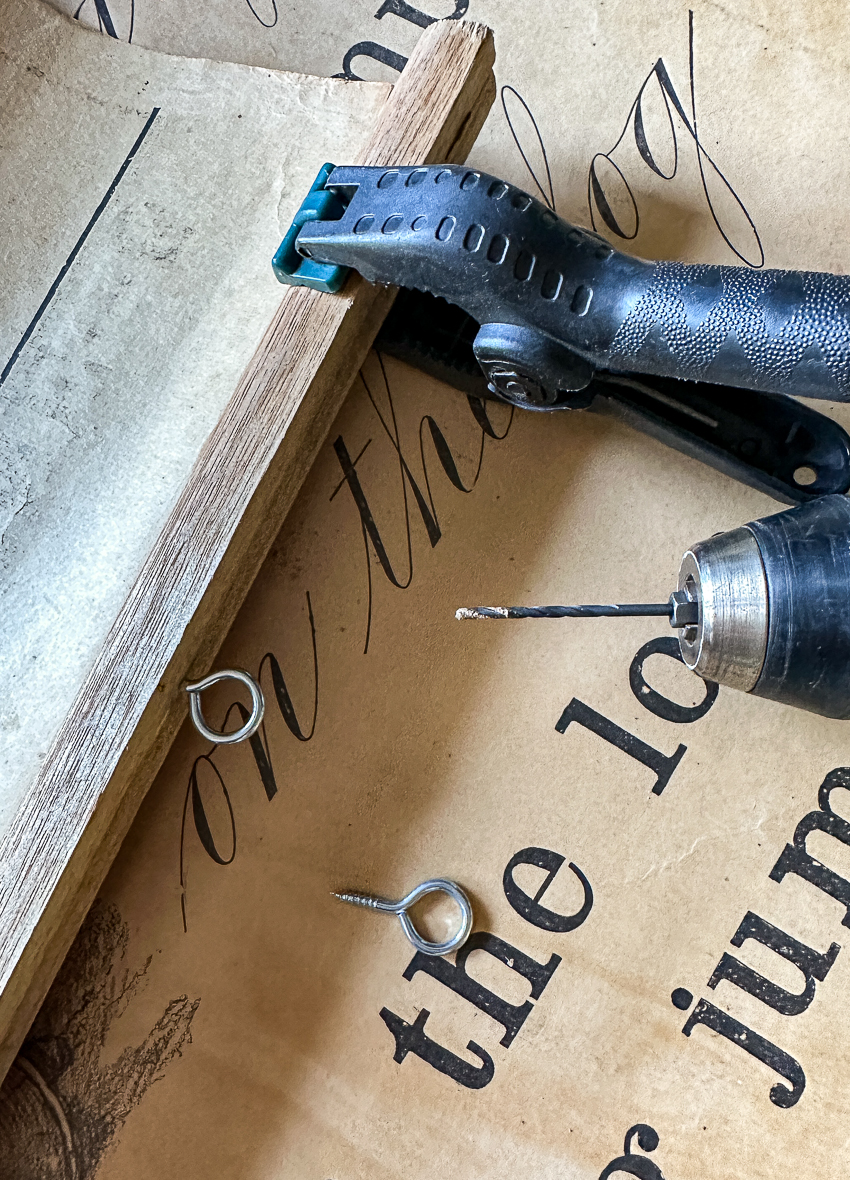
There are many options to choose from for how to hang the posters. I added small metal eye hooks to the top of each chart and then twine for hanging.
At first, I just added the metal hooks, but I didn't like how "new" they looked. I grabbed some black and metallic rich espresso paint and gave them more of an aged look.
I bought white twine and dark brown leather cording to see which I liked better. I went with the white twine simply because I preferred how it looked. You could also use a metal chain, wire, or other medium-weight cording.
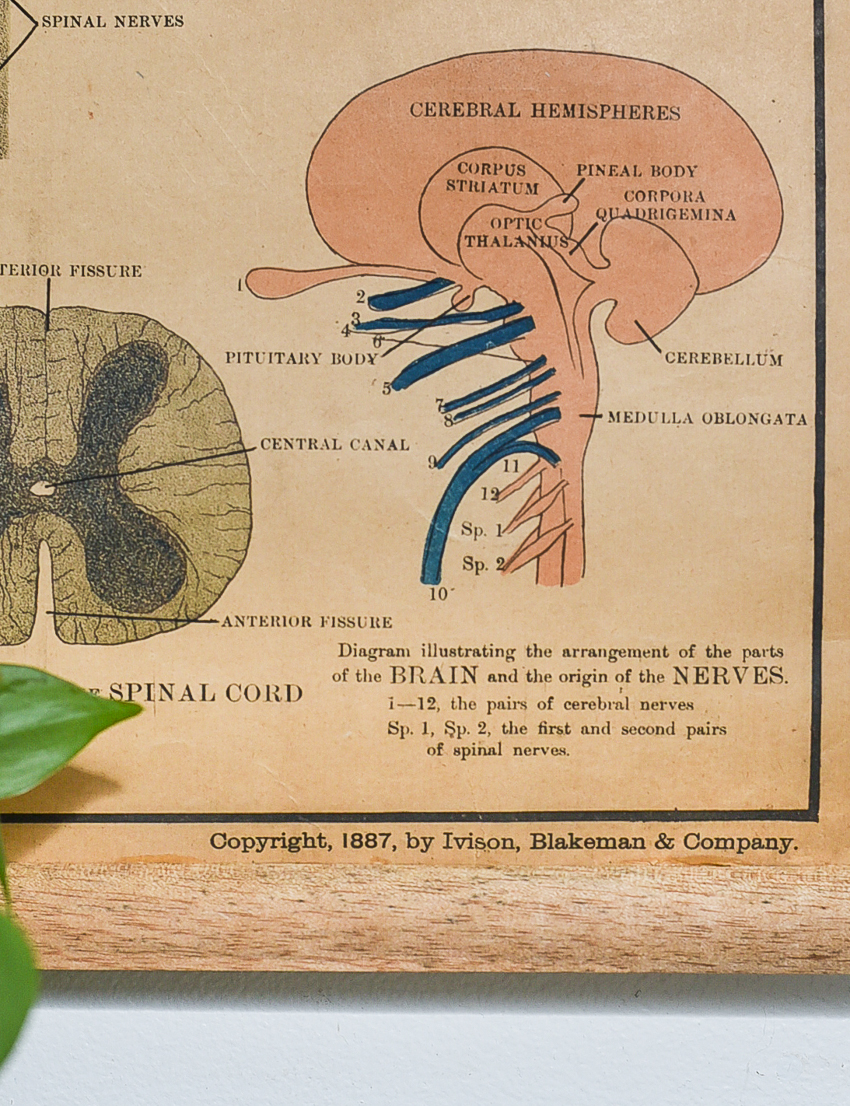
Did you notice the date? Each chart is dated 1887 and double-sided!
I was nervous about separating the charts, but I'm so happy I did. The DIY poster hangers are perfectly weathered and tie in beautifully with the authentic vintage charts to create beautiful wall art!













0 comments: