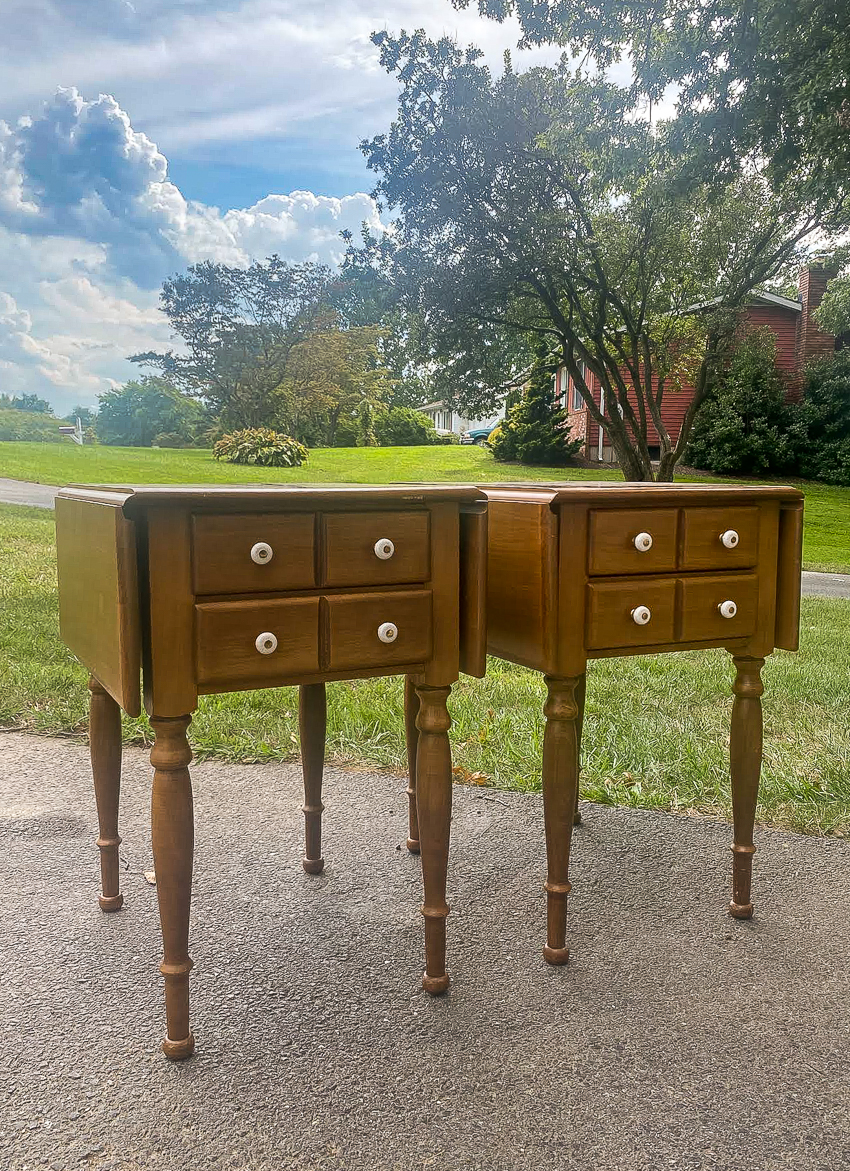
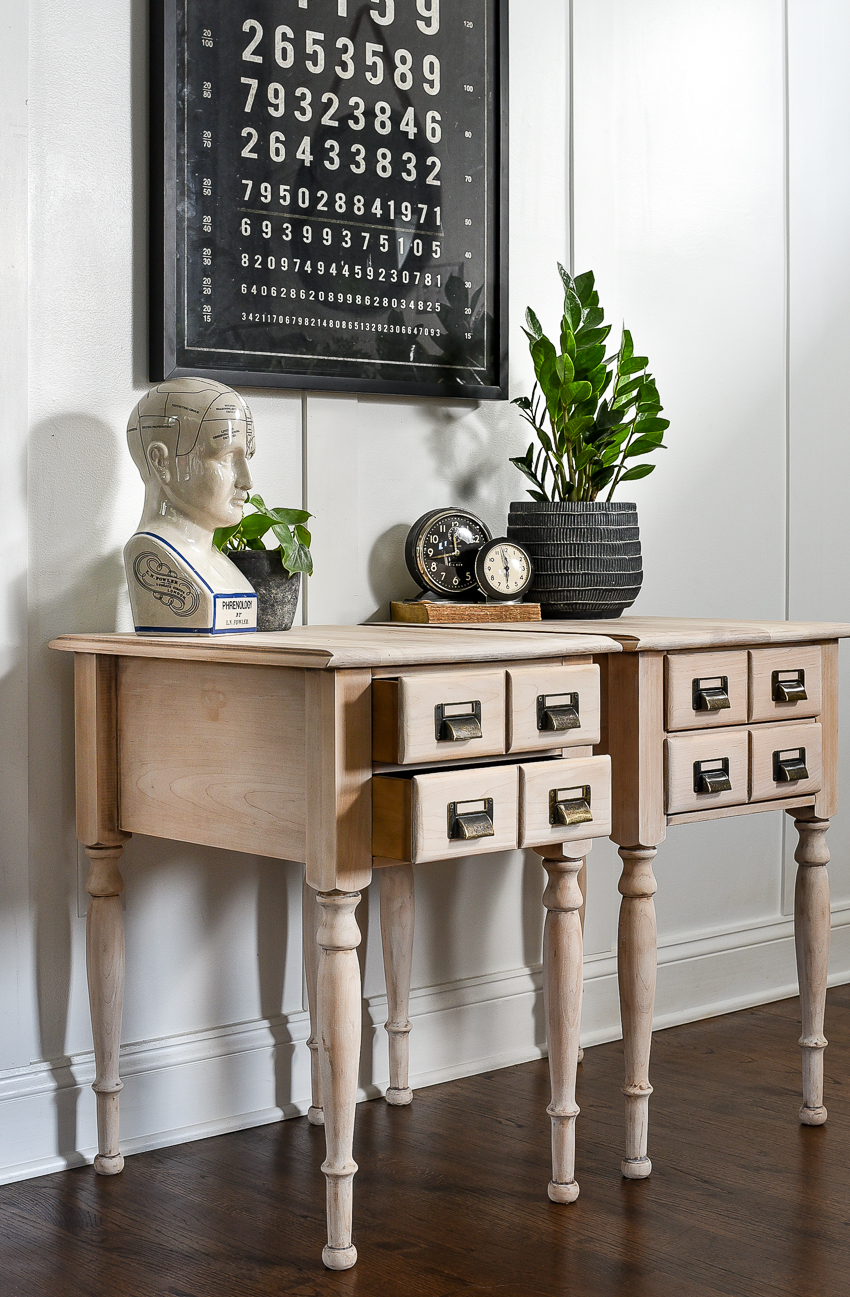
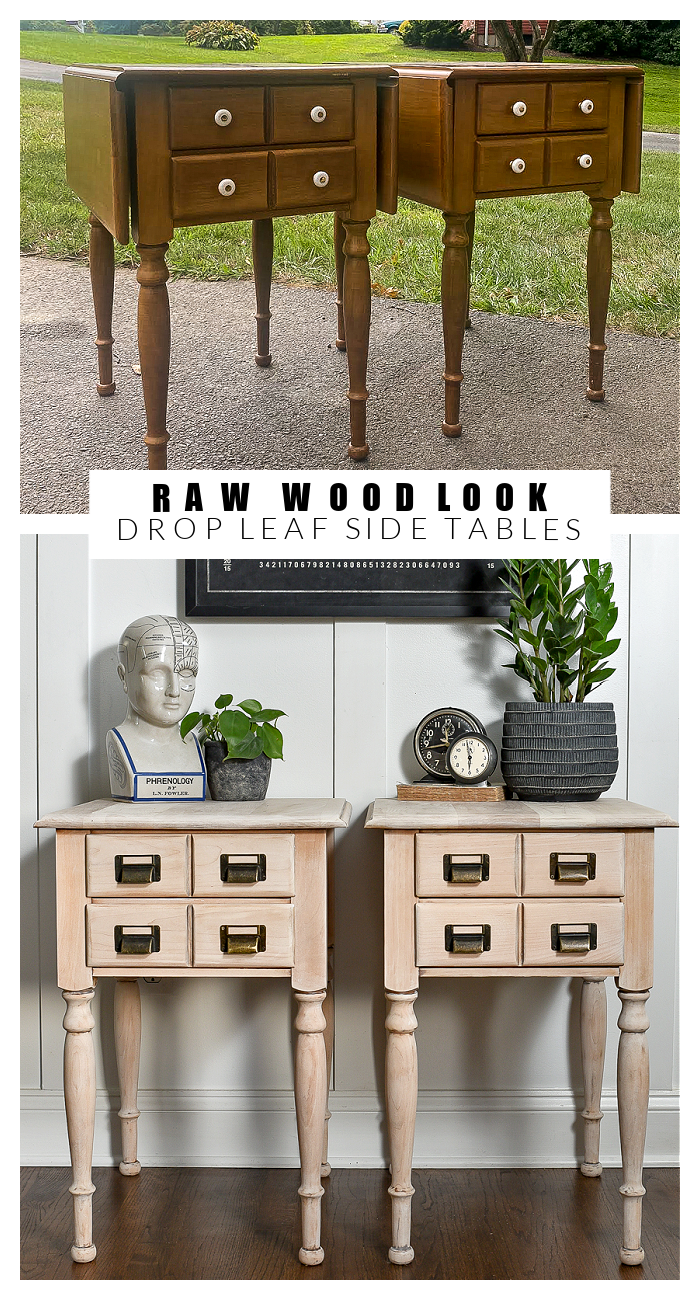
Dated drop leaf side tables get sanded, cleaned and sealed for the perfect raw wood look!
Hey, friends!
I'm popping in quick for another easy scrubbed furniture makeover.
I don't blog about all my furniture makeovers, but I do like to share ones that I think may be helpful.
Today, I'm sharing another drop leaf side table makeover that I hope will inspire you to have an open mind, shop secondhand and update your own dated furniture finds.
Drop leaf side tables aren't my style, but due to their dated look, they are often donated, overlooked and affordable at auctions and thrift stores.
SUPPLIES NEEDED TO GET THE PERFECT RAW WOOD LOOK
- An old or dated piece of furniture
- Screwdriver (for removing old hardware)
- Triangular Head Sander (for sanding corners)
- Sanding Mouse (for sanding tight spaces)
- Wax Brush or Lint-Free Rag
Are you looking for a step-by-step tutorial for sanding furniture?
I shared detailed sanding tips and how to get the perfect raw wood finish in past blog posts, so today, I'm just sharing a quick raw wood finish drop left table makeover.
Do you remember the last set of drop leaf side tables that I updated? I gave them a fresh new look with an easy tone-on-tone vintage modern makeover.
This time, I decided to ditch the paint and give the new set of tables a perfect raw wood finish.
HOW TO GET THE PERFECT RAW WOOD LOOK
STEP ONE: Remove hardware from drawers and drop leaves.
STEP TWO: Fill the old hardware hole with wood filler.
STEP THREE: Sand tables starting with coarse grit sandpaper (60 or 80 grit) then work up to fine grit (320 grit).
STEP FOUR: Clean tables with an all-purpose cleaner.
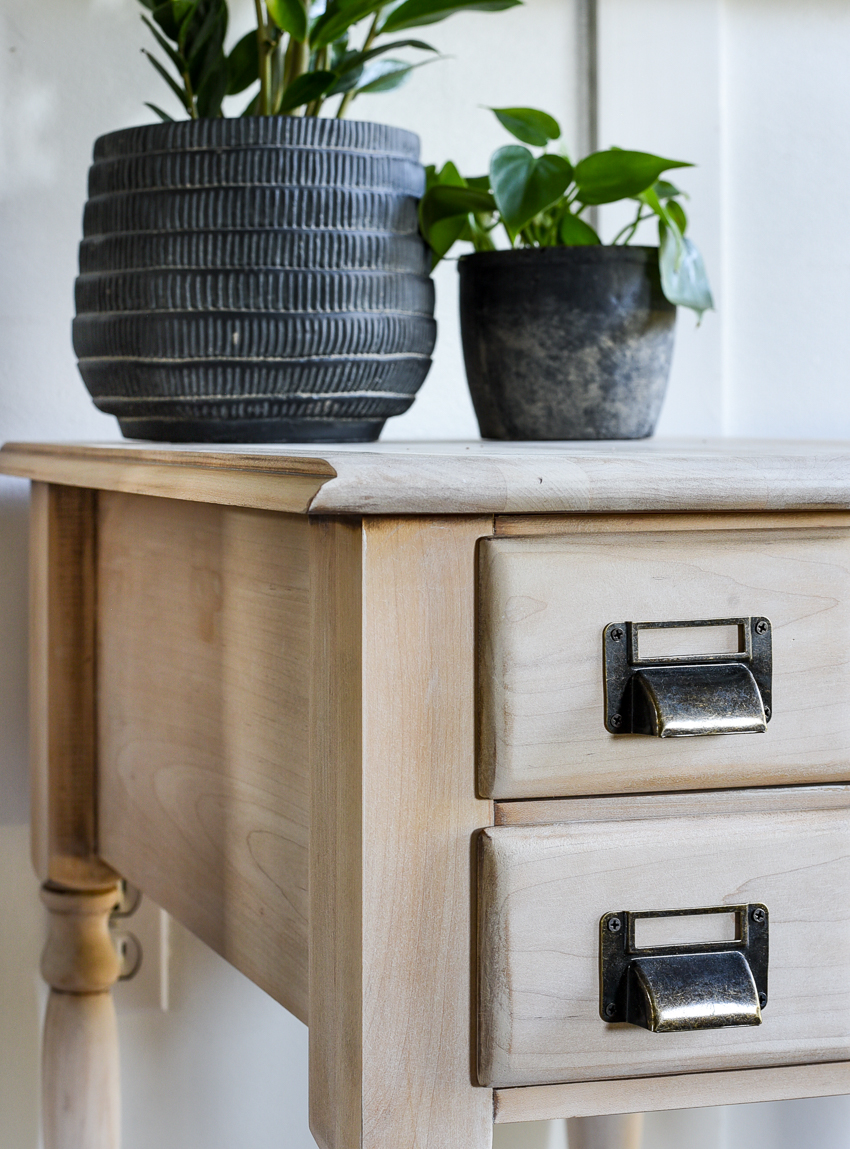
STEP SIX: Attach new hardware.
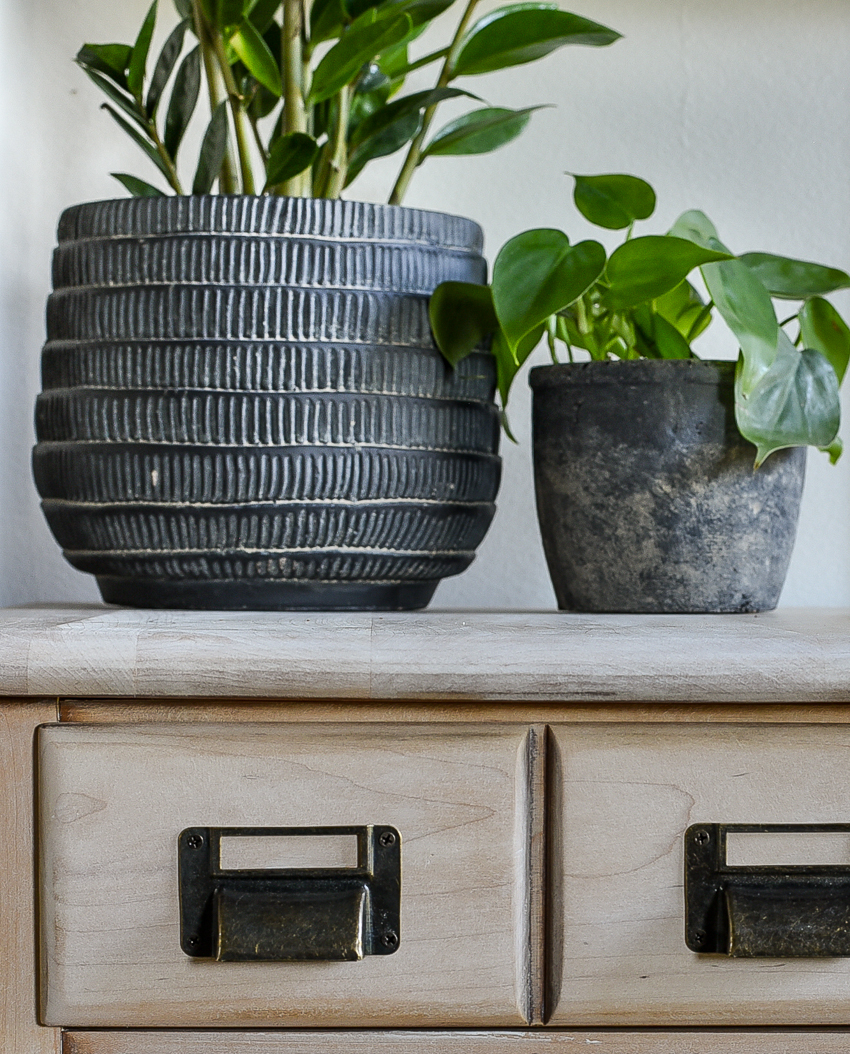
I removed most of the original finish off the top, sides, legs and drawers and left a little stain in the crevices and joints. This gives the tables some depth, dimension and character.
Whether you paint or sand, drop leaf side tables are ideal for updating and a perfect way to add a touch of vintage to your home!








0 comments: