Thursday, November 10, 2016

The lazy person's guide to painting furniture

Hey there! I've been thinking a lot about projects I want to finish up before the end of the year -- especially those that I promised myself I would finish up. One is our guest room and I only have a couple more projects to do that I've put off for months! 

I finally bit the bullet on a bigger one the other day. I decided I was going do it in the quickest and easiest way possible because sometimes you just want to get it done. This is a tutorial on the fastest way to paint furniture for when you're feeling the same. :) 

I told you about these inexpensive IKEA dresser/night stands a few months ago: 
Rast dresser transformation

I also shared some of the many ways you can dress them up. The possibilities are endless with these unfinished pieces! For now I didn't have any grand plans in mind -- I just wanted to get them painted. I may add to them later but I actually a little in love with how they turned out. 

In general I'm not one to say you need to do things perfectly when it comes to DIY projects. I think it discourages people from trying to do things themselves when people like me say it needs to be perfectly done. YOU will be the main person seeing what you do in your house. As I've said many, many times -- if someone notices that something isn't perfect then they get a cookie cause that means they are super observant. But really, it better be your mate, sister or best friend who would actually tell you it isn't perfect because anyone else saying it is just mean. Ha! ;) 

I will tell you -- this job would be much easier if I had done it before I built the dressers. Keep that in mind if you purchase these. I could have just painted the frame and the drawer fronts. But because these are made to "catch" and don't slide out all the way (unless you remove some stuff), I just taped them off and covered them with paper: 
Prepping dresser for paint

Usually I paint furniture with a brush and roller, but we're talking fast this time. These dressers are so small I knew spray paint would make much quicker work of it. 

I've tried two primers in the spray paint version -- BIN and Kilz. I prefer BIN out of the can but their spray drives me nutty. It has never sprayed well for me. This time I used the Kilz spray and it performed MUCH better: 
Kilz spray primer

I will be using this brand from now on when I need to spray prime. 

This furniture is super inexpensive because it's made from cheaper pine and it has knots in it. If you want to paint these a lighter color you'll need to prime well -- those knots will bleed through if you don't. Sometimes it takes a while but they always will (with white). Even sometimes with great primer they'll come through white paint -- I've touched up many spots over the years. 

Because of this I did a few coats where there were knots:
Covering knots in pine

It's important when spray painting to use short, quick bursts instead of long ones. Don't hold the nozzle down and just spray. Numerous lighter coats will work much better than one heavy one. 

I used this light gray color to paint the dressers: 
Pewter gray krylon

Here's a video to show how you should spray: 


I always do a light sanding between coats, whether I'm using rollers or a spray. You'll want do a sanding after the primer as well:
Sanding between coats furniture

It doesn't have to be intense -- a quick sanding is fine! 

I picked this color for the night stands because I wanted to pull in the light blue/gray I'm using in this room:
Light gray night stands

Then it was time to decide on the knobs! I really didn't want to go buy something new right now -- even at the cheapest place I've found they probably would have been three bucks each. I knew I could make the wood knobs that came with it work: 
Finishing wood IKEA knobs

I sprayed them with the same primer and then white paint and started on my little crafting project. I thought it would be pretty to add a little design to them and knew the perfect item to do that -- paper napkins!:
Decoupaging with napkins

I had these already and the color worked perfectly! (I've used napkins on a few projects but these coasters are a favorite gift idea.) I used the cap to my decoupage glue to trace the size I needed.

I cut them out and then put a layer of the glue on the knob:
Making plain knobs pretty with glue and napkins

I flattened out the napkin: 
Using napkins to decoupage knobs

And then put another coat on top immediately: 
Decoupaging knobs

Then you can use your finger to smooth everything out. I made sure the napkin was flat during this part. After they dried for about 20 minutes I did another coat. When these dry they are hard and cleanable! 

I had Mod Podge but chose to use some Decoart stuff I had in my craft stash because it dries in a glossy finish. These glues come in both matte and glossy and either work fine! 

This seriously turned out so cute. I'm a little obsessed with these pretty knobs! I've walked into the room a few times just to look at them: 
DIY custom knobs

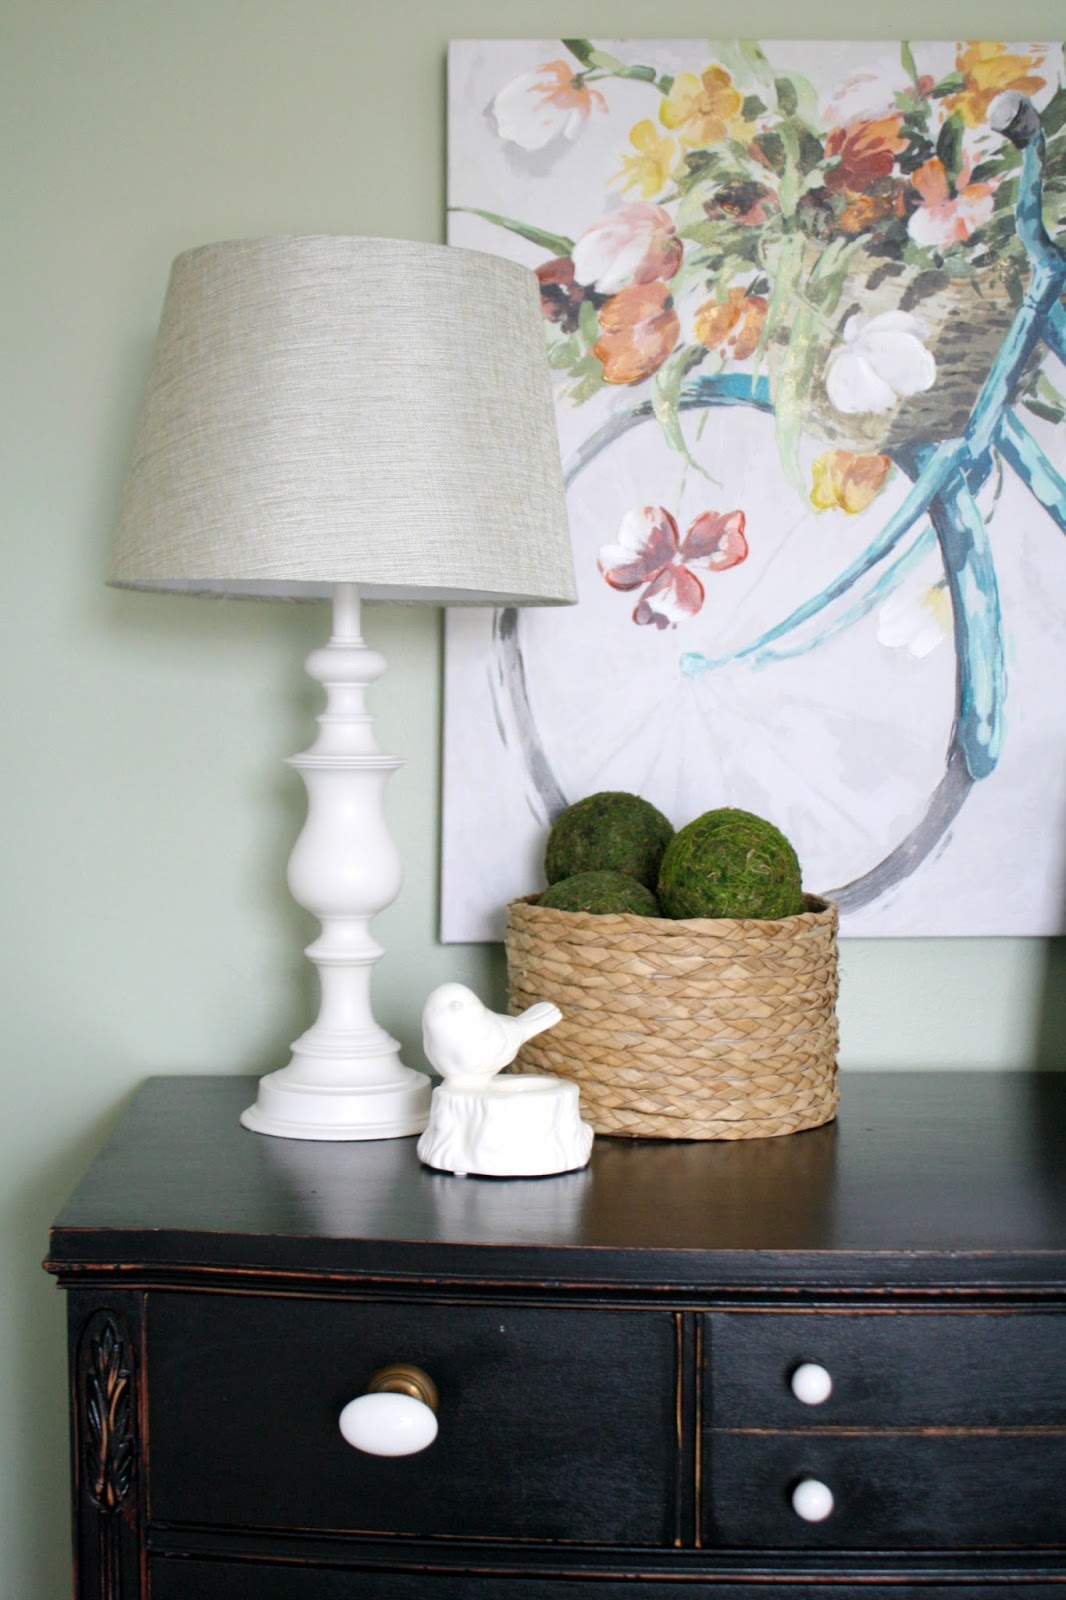
This isn't a dramatic makeover by any means but goodness, I really like it. It's simple and pretty and perfect for this room! 

If something strikes me eventually I may add more detail someday but I'm really happy with them: 
IKEA Rast dresser makeover

The color is so nice and soothing, just like the rest of the room. They work so well with the gray/blue colors in the bedding. And those knobs are a sweet little detail that goes well with the nod to farmhouse style in this room. 

Spray painting furniture is quicker for sure! I was able to prep and paint both of these in less than two hours (including dry time). Sometimes you just want to get it done! Remember you can also use a paint sprayer to do a custom color if you don't like your spray paint options:
IKEA Rast dresser

The only caveat with using spray paint is it can get expensive if you're using it on larger pieces. I used nearly a can on each dresser (two coats each). You just have two weigh the convenience with the cost. 

Now, just one more project in here and I'll be sharing this whole before and after transformation! I'm determined to finish this one up before the end of the year. 

Here's a quick in progress shot I took for Instagram that you can pin if you'd like to try this technique on knobs: 
adding detail to knobs with napkins

And here's a quick list of the items I used again for easy reference: 

Have you tried this technique on knobs? Paper works too but it will not conform to the round edges like napkins will. Do you have any furniture pieces that you've spray painted? Another bonus to spray painting furniture is that it's oil based paint and gives you a great, tough finish once it cures. 


Affiliate links included for your convenience! 

Friday, April 8, 2016

A Pretty Bedroom Vignette

Hey all! Long time no see! How has your week been? We had a great trip down to Florida and arrived back home to find our humidifier had been leaking into the basement the whole time we were gone. GREAT times. This isn't the first time it's happened, so we're replacing the humidifier and have to replace some of the wall and ceiling in the basement. 

It was hard to leave the warm weather and friends in Florida but now I'm so thankful we came home when we did. It could have been so much worse! 

I'm back today with my last post with Better Homes and Gardens -- I have LOVED sharing these products with you every other month! If you've been following along with our guest room redo then you know I've used a lot of these products throughout. I'm going for a casual, slightly farmhouse feel in the space and the items I've found over the past year work so well. 

Here's a reminder of how this side of the room looked last year after I painted in in it's new color, Softened Green
Softened green Sherwin Williams
This was the only part of the room I wasn't thrilled about -- I knew I wanted to paint that dresser. Thing is, it's a hand-me-down and I've never loved it. I knew I could make it look a ton better but kept hesitating on the big job of painting it…I find that when I hesitate it's because I know I can find something better. 

So I waited it out, partly out of laziness and partly because I wanted to see what else I could make work in there. It came to me when I found the new console for the foyer a few months ago. The dresser that had been in the foyer would be SO perfect in this room. It's one of my favorite pieces in our house (I found it on Craigslist years ago) and the black paint and white knobs work so well with the farmhouse feel. I always recommend adding some black to a room -- it grounds the space and adds great contrast.

Next was to accessorize it and that's where I always struggle. I always like the end result but it takes me forever to figure out what works. I found a few BHG pieces that completed the look, starting with a pretty linen-looking drum shade
Linen drum shade

I had a Goodwill lamp I've always loved and this linen shade works so well with it. The shade is a gray with a hint of blue so it works perfectly with the blue accents in the room. 

I couldn't resist this little guy too: 

It's a votive holder but I left it empty -- I thought it would work well to hold rings and jewelry for our guests. Isn't he adorable? Perfect for spring and summer too. 

I think this frame is supposed to lean more nautical, but the wood pieces remind me of planked walls and what is more farmhouse than that?:

I found the art a couple weeks ago and I just love it -- such a fun piece and the colors are perfect in here. I wanted to keep everything light and fresh and this combo of accessories did just that: 
bedroom vignette

I love that Goodwill lamp -- the lines are so pretty. It's been a cream color for years but I sprayed it bright white to go with the art and the knobs on the dresser. 

I've had these candlesticks forever (from GW as well) -- the blue is perfect in the room: 
BHG wood frame

One thing I love about the BHG frames -- if you flip the paper over inside it is an unmarked version of the photo. You can keep it as it is or use your own picture. Such a good idea! I kept this one for now until I decide what will go inside. I don't like to use family photos in a guest room so it will be something different. 

This is such a sweet little spot now!:
accessorizing dresser top

I just love the colors -- it makes me happy every time I look at it. I hope it's a welcoming spot for our guests. It leans a little feminine but I don't get overly girly with many of our spaces and it just works so well in this room:
bicycle art

Love the small changes, and I spent very little on this spot. Here's a reminder of the before with the old dresser: 

And now, with the black dresser and the colorful accessories to brighten up the space: 
softened green walls

(That second picture is a much better representation of the green wall color. It seems to have a little gray in it.)

I can't even tell you how much I love this little room. It is so stinking adorable. I love every detail in this space. Just a few more projects to finish up and I'll share this final reveal with you very soon! 

Have a wonderful weekend my friends! I'll be back to regular posting next week! 

Wednesday, March 30, 2016

IKEA Dresser Hacks (as Nightstands)

Hey there all! As you know, I'm in the middle of finishing up two bedroom redos -- our master bedroom that has been in the works for like five years or something. Seriously, I've lost count. And the guest room that I started last year. I absolutely LOVE the direction both are going. It's funny because the styles are different but I just adore each room.

Both are close to being done but the guest room is closer. I had a few updates done to the room a couple weeks ago, including adding an overhead light (which is amazing after going without all these years!) and crown molding. It was the last room in the house other than the mudroom to get that trim and it finishes off the space nicely.

Now to the last big project in that room -- the nightstands. I tried hard to be cool with mismatched nightstands my friends. REAL hard. I can't do it. I am a lover of symmetry and I have to have matching nightstands.

So of course finding two matching in the style I want is not easy. When it comes to nightstands I love a dresser look -- and for a year now I've searched Craigslist for "small dressers" to no avail. Sometimes I can find one, but never two with the look I wanted. At least for what I was willing to pay.

Last year I did some digging on the IKEA site and found two options -- one was the Rast and one was the Tarva. Both are labeled dressers and both are available with three drawers. The Rast was out of stock at our IKEA so I ended up looking at the Tarva for our master bedroom to see how I liked them:
The size was perfect, the price was great and I knew I could dress them up. I wanted to see how I liked the quality before I went back for the Rast. 

I was pleasantly surprised -- the Tarva is kind of the "grown up" version of the Rast. It's much bigger and taller and just more substantial. The drawer mechanisms are metal and it's just more sturdy in general:

I cut down the legs for two reasons -- it was two tall with them at full height and I plan to wrap the bottom with trim. We've been using them unfinished for months now and I quite like them -- now I just need to get them painted! 

We decided to take a last minute trip to IKEA a couple weeks ago and luckily there were plenty of the Rast in stock that day. I grabbed a couple up for the guest room: 

This is the little sister version of the Tarva. ;) It's less than half the price -- only $35! It's much smaller though, and the drawer hardware is plastic instead of metal. Because these will be mostly for storage (that we'll rarely need to access), I'm not worried about that. 

I gotta say, they are pretty adorable!:

The wood is inexpensive pine so I will need a good primer for both. The Rast has a lot more knots to cover than the Tarva -- even in IKEA furniture you get what you pay for! :) 

Now to decide what I'll do with them! I've actually already come up with a general plan for the master bedroom dressers and of course when I searched hacks for this post it was probably the number one way people have updated it: 
Just changing the hardware and adding simple lattice wood to the front of the drawers makes a big difference!

I loved this version too, with the simple hardware in the middle and the wheels:
I also liked the contrast of stain and paint -- this is always a great look:

Again with the wood trim -- love that! The added base around the bottom really makes a big difference too, right? It helps to beef up this small dresser.

The Tarva is a little bigger and the ideas for this one are endless too! What a great idea for a small desk:

I think this would still be a great nightstand and would do double duty!

There are overlays you can buy for IKEA furniture -- have you seen those? They have tons of options from very ornate to small details like this one:
They are an added expense (some get pricey) but would be a great way to update it if you aren't a big DIYer.

I LOVE how the just a simple cut to the legs of the Tarva completely changes the way it looks:
It looks fantastic paired with the long, modern hardware (these are cabinets pulls you can find at the hardware store).

Great ideas, right? I will most likely go more traditional with our dressers, but I don't want to do the same thing in each room. I plan to change it up a little and I'll be sure to share what I do! Spring break will be a perfect time to tackle at least one set! (Putting them together was enough DIY for me for the time being!)

Have you used either of these dressers in your home? If you've done your own hack feel free to leave a link in the comments. They are such a great, inexpensive option for pretty nightstands -- I'll let you know over time how they hold up!