Learn how to decoupage paper napkins into an easy vintage-inspired Santa garland!
The other week, I ran into Marshall's looking for a particular Christmas gift and stumbled upon the most adorable Santa paper napkins. Apparently, I'm all about vintage Santas this Christmas.
They had the cutest jolly faces and vintage-inspired vibe that I couldn't resist buying a pack. I wasn't exactly sure how I was going to use them, but I knew I had to have them.
Once I got home and took a look at a few of my craft supplies, I realized the napkins would be perfect for a decoupage project!
WHAT IS DECOUPAGE?
Decoupage is an art and refers to decorating an object with paper.
WHAT IS THE BEST GLUE TO USE FOR DECOUPAGE?
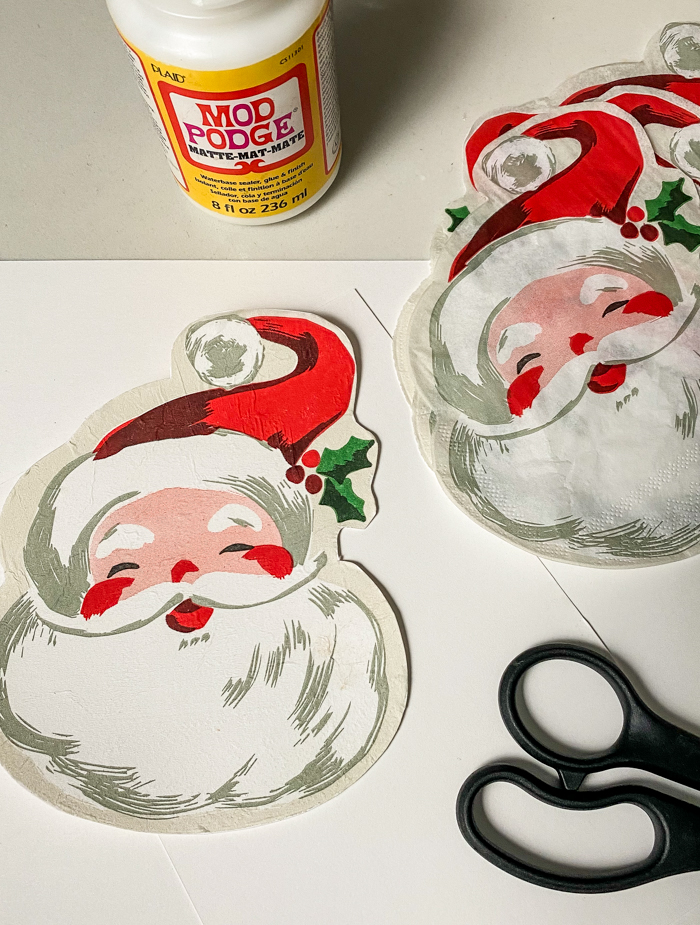
There is a lot of different craft glues out on the market, but Mod Podge tends to work best for decoupaging. It's thinner than Elmer's glue, dries clear, comes in multiple finishes, and is super easy to work with.
SUPPLIES NEEDED TO DECOUPAGE PAPER NAPKINS
- Paper napkins (I found my Santa napkins at Marshall's)
- Saw
- Sander or sandpaper
- Scissors
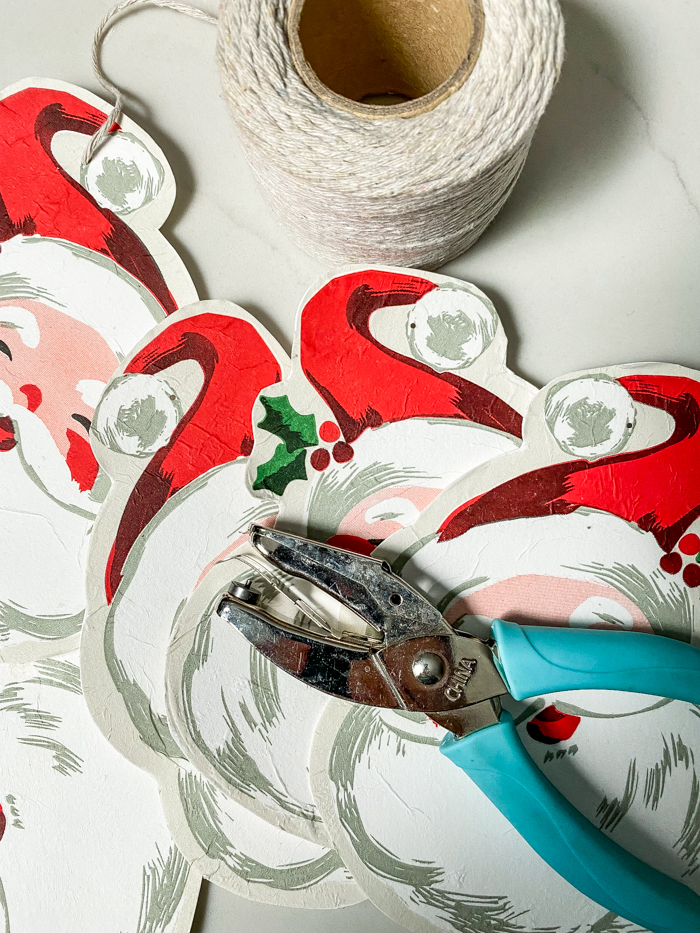
- Hole punch (I used a 1mm hole punch)
- String or jute twine
HOW TO MAKE A DECOUPAGE PAPER NAPKIN GARLAND
There are a variety of different materials and surfaces you can decoupage. Today, I'm going to share how to make an adorable vintage-inspired Santa garland using paper napkins and cardstock.
STEP ONE: CUT AND PEEL APART NAPKINS
Cut napkins into the desired shape then peel apart the layers. Most napkins are 2 or 3 ply and you'll only be using the top printed layer of the napkin.
STEP TWO: APPLY MOD PODGE TO SURFACE
Apply a thin to medium layer of Mod Podge to the cardstock, slowly place the napkin over the Mod Podge, and carefully press into place. Gently pat the napkin to remove any unwanted air bubbles or wrinkles.
I liked the vintage Santa image on my napkin and felt imperfections would just add to the vintage vibe, so I wasn't overly concerned about a completely smooth finish.
STEP THREE: CUT OUT THE DECOUPAGE IMAGE
Allow the Mod Podge to dry for about 20 minutes then cut out each decoupage Santa image.
STEP FOUR: PUNCH HOLES AND STRING IMAGES
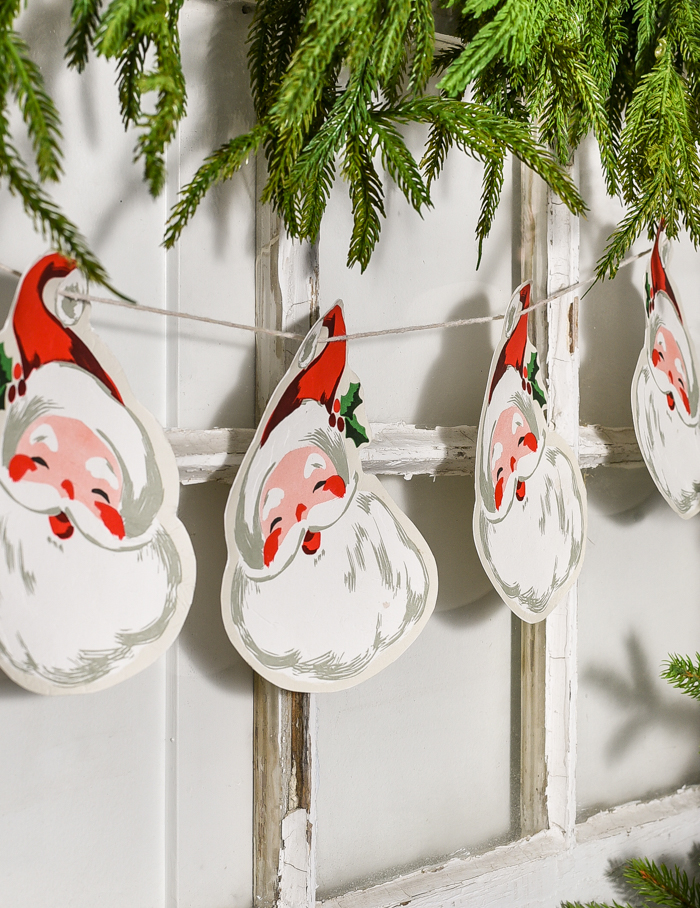
I prefer the look of a very small hole, so I used a 1mm hole punch to punch holes in the top of each of my Santa faces then strung them together using white cotton string.
TIP: Make a loop at each end of the string for easy hanging.
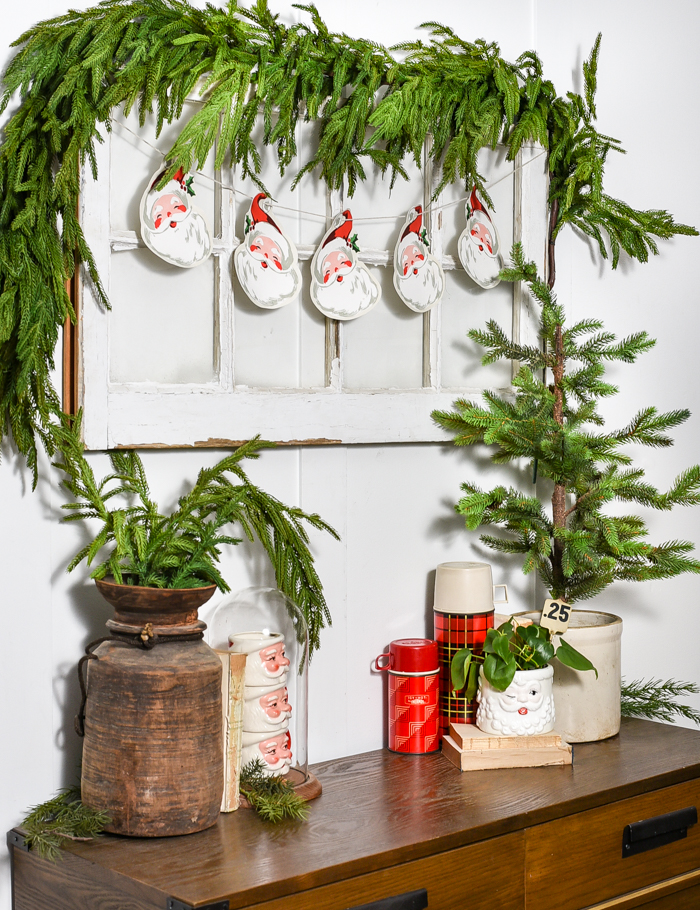
I strung my garland from a decorative antique window, but it would also look great hung from a mantel or house window.
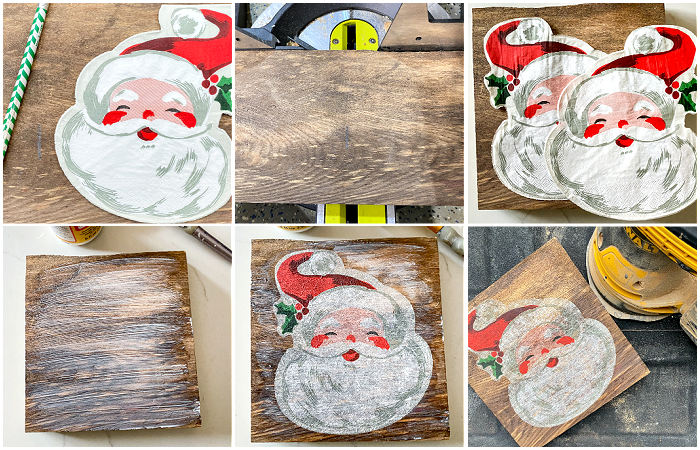
While I was in the crafting mood, I decided to also decoupage a piece of old scrap wood for a little different look.
I cut the wood down to size then decoupaged a napkin to one side of the wood to make cute Santa Christmas art.
If the image on your napkin is small enough you could also decoupage coasters (make sure to seal them with dishwasher-safe Mod Podge), wood ornaments, gift tags or picture frames. Really, the project possibilities are endless!


